Account Setup
Welcome to Loupe Factory. This guide walks you through creating your account, signing in securely, and configuring your organization settings so your team is ready to go.
Sign Up
To get started, navigate to loupefactory.com and click Get Started or Sign Up.
- Enter your work email address.
- Choose a password or continue with a supported identity provider (Google, Microsoft, or SSO).
- Verify your email address using the confirmation link sent to your inbox.
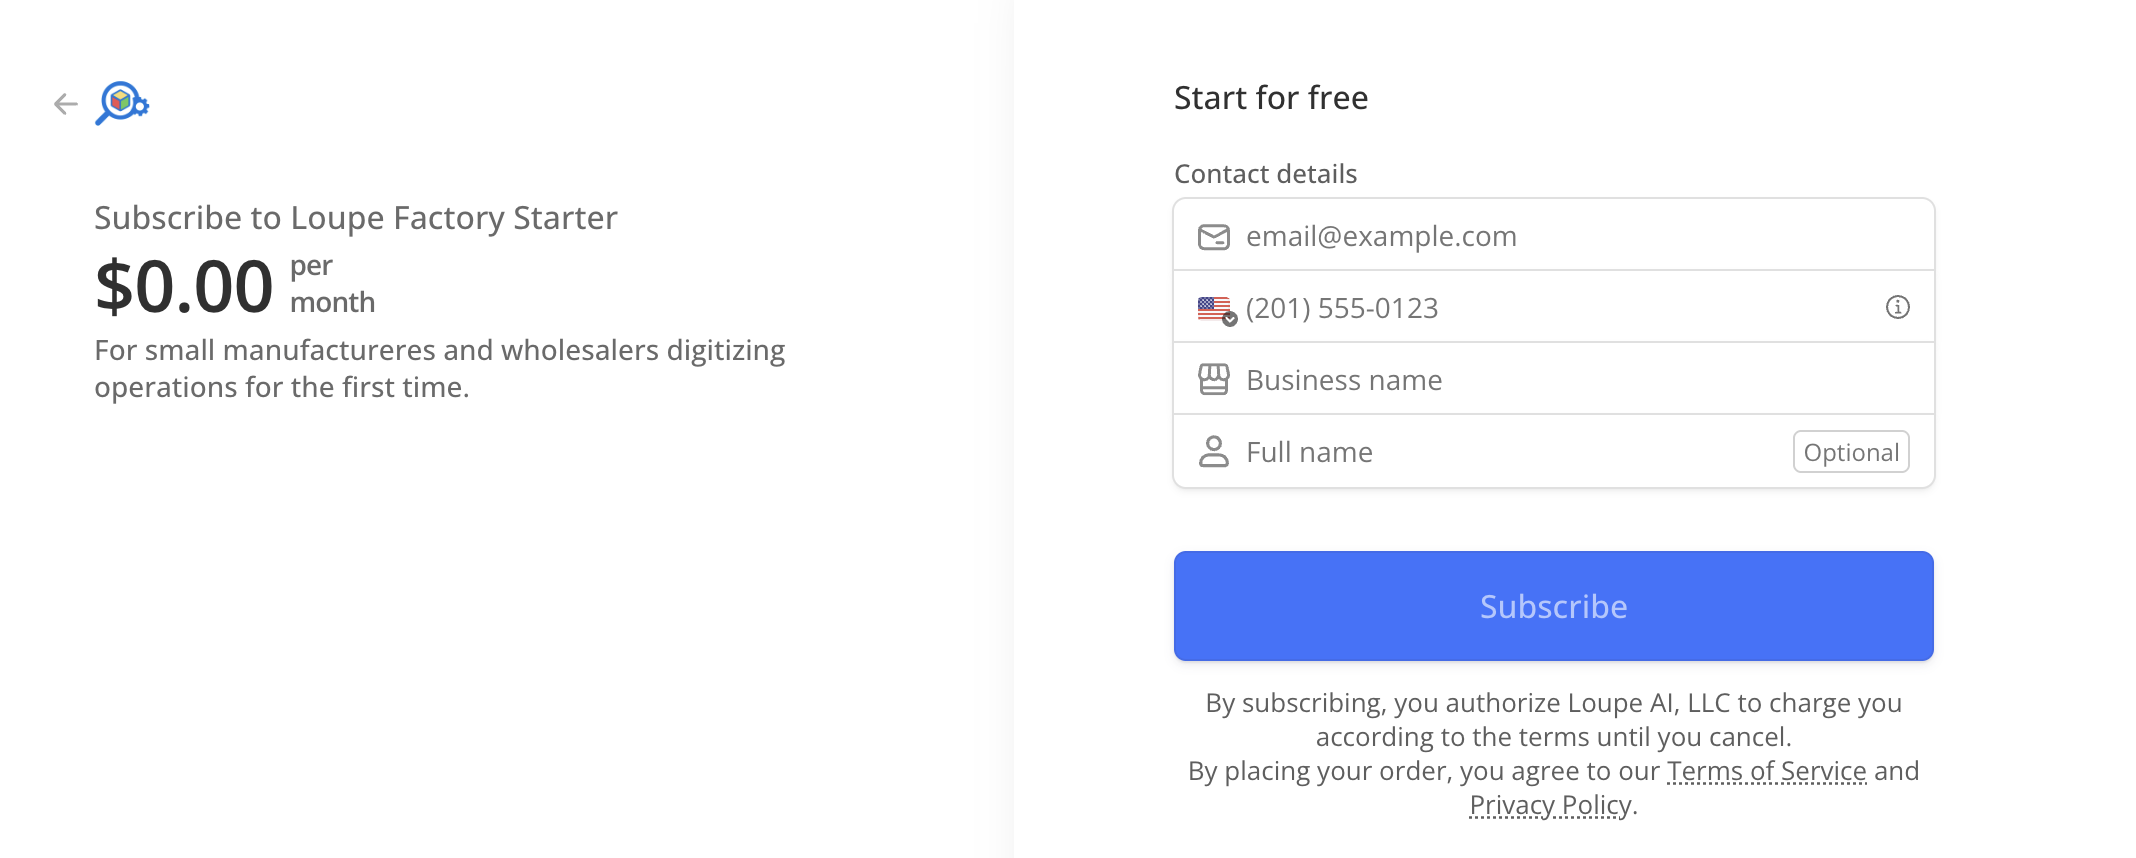
Once your email is verified, you'll be prompted to create your organization.
Sign in securely
Loupe Factory uses industry-standard sign-in so your organization can use email and password, magic links, or single sign-on (SSO) where your admin has enabled it.
Standard login
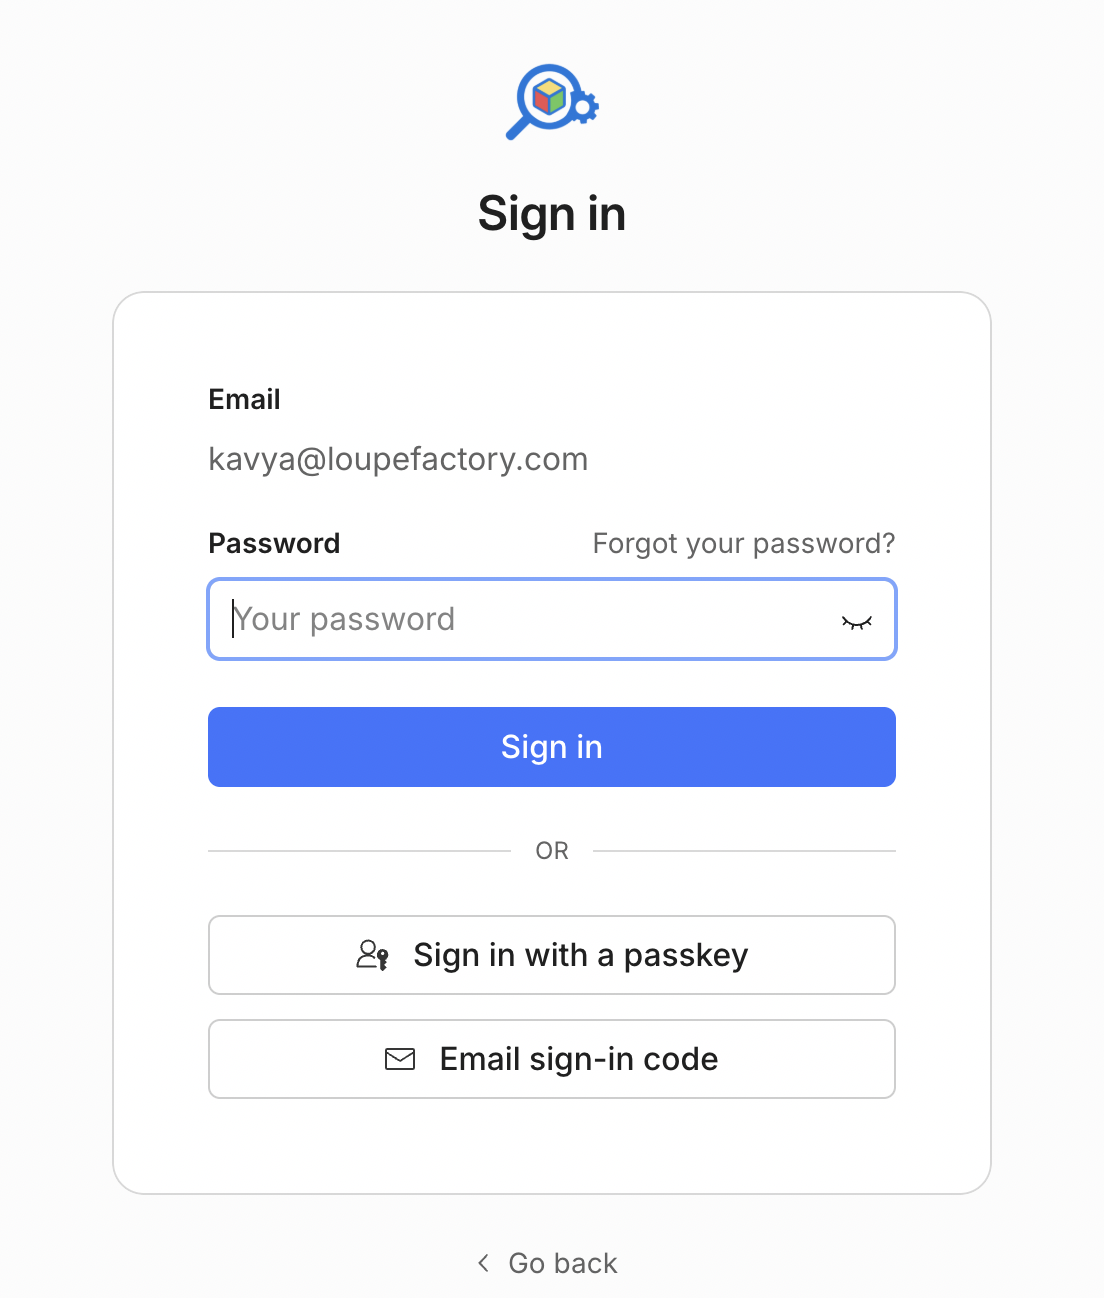
- Go to loupefactory.com and click Log In.
- Enter your email address. You will be guided to the sign-in method your organization uses (for example, password or SSO).
- Complete authentication with a password, magic link, or your company identity provider.
SSO / Enterprise Login
If your organization has configured SAML or OIDC-based SSO, users are automatically redirected to your identity provider (e.g., Okta, Azure AD, Google Workspace) after entering their email. No separate setup is needed on your side. Your admin handles SSO configuration in the organization settings.
Initial Organization Settings
After signing up, admins can use Admin Settings to configure the workspace for the organization.
Organization Profile
In Admin Settings > Organization Settings, fill in your organization details:
- Organization name: the name displayed across the platform and on invoices.
- Industry: select the option that best describes your business (e.g., Gemstones, Jewelry, Auto Parts, Furniture, or Cosmetics). Review the Industry Starting Points before choosing so you know which starter catalogs and workflow labels will be loaded.
- Default currency: used for pricing, invoices, and reports.
- Timezone: ensures timestamps and scheduled reports are accurate for your location.
Inviting Team Members
Once your organization is created, you can invite colleagues:
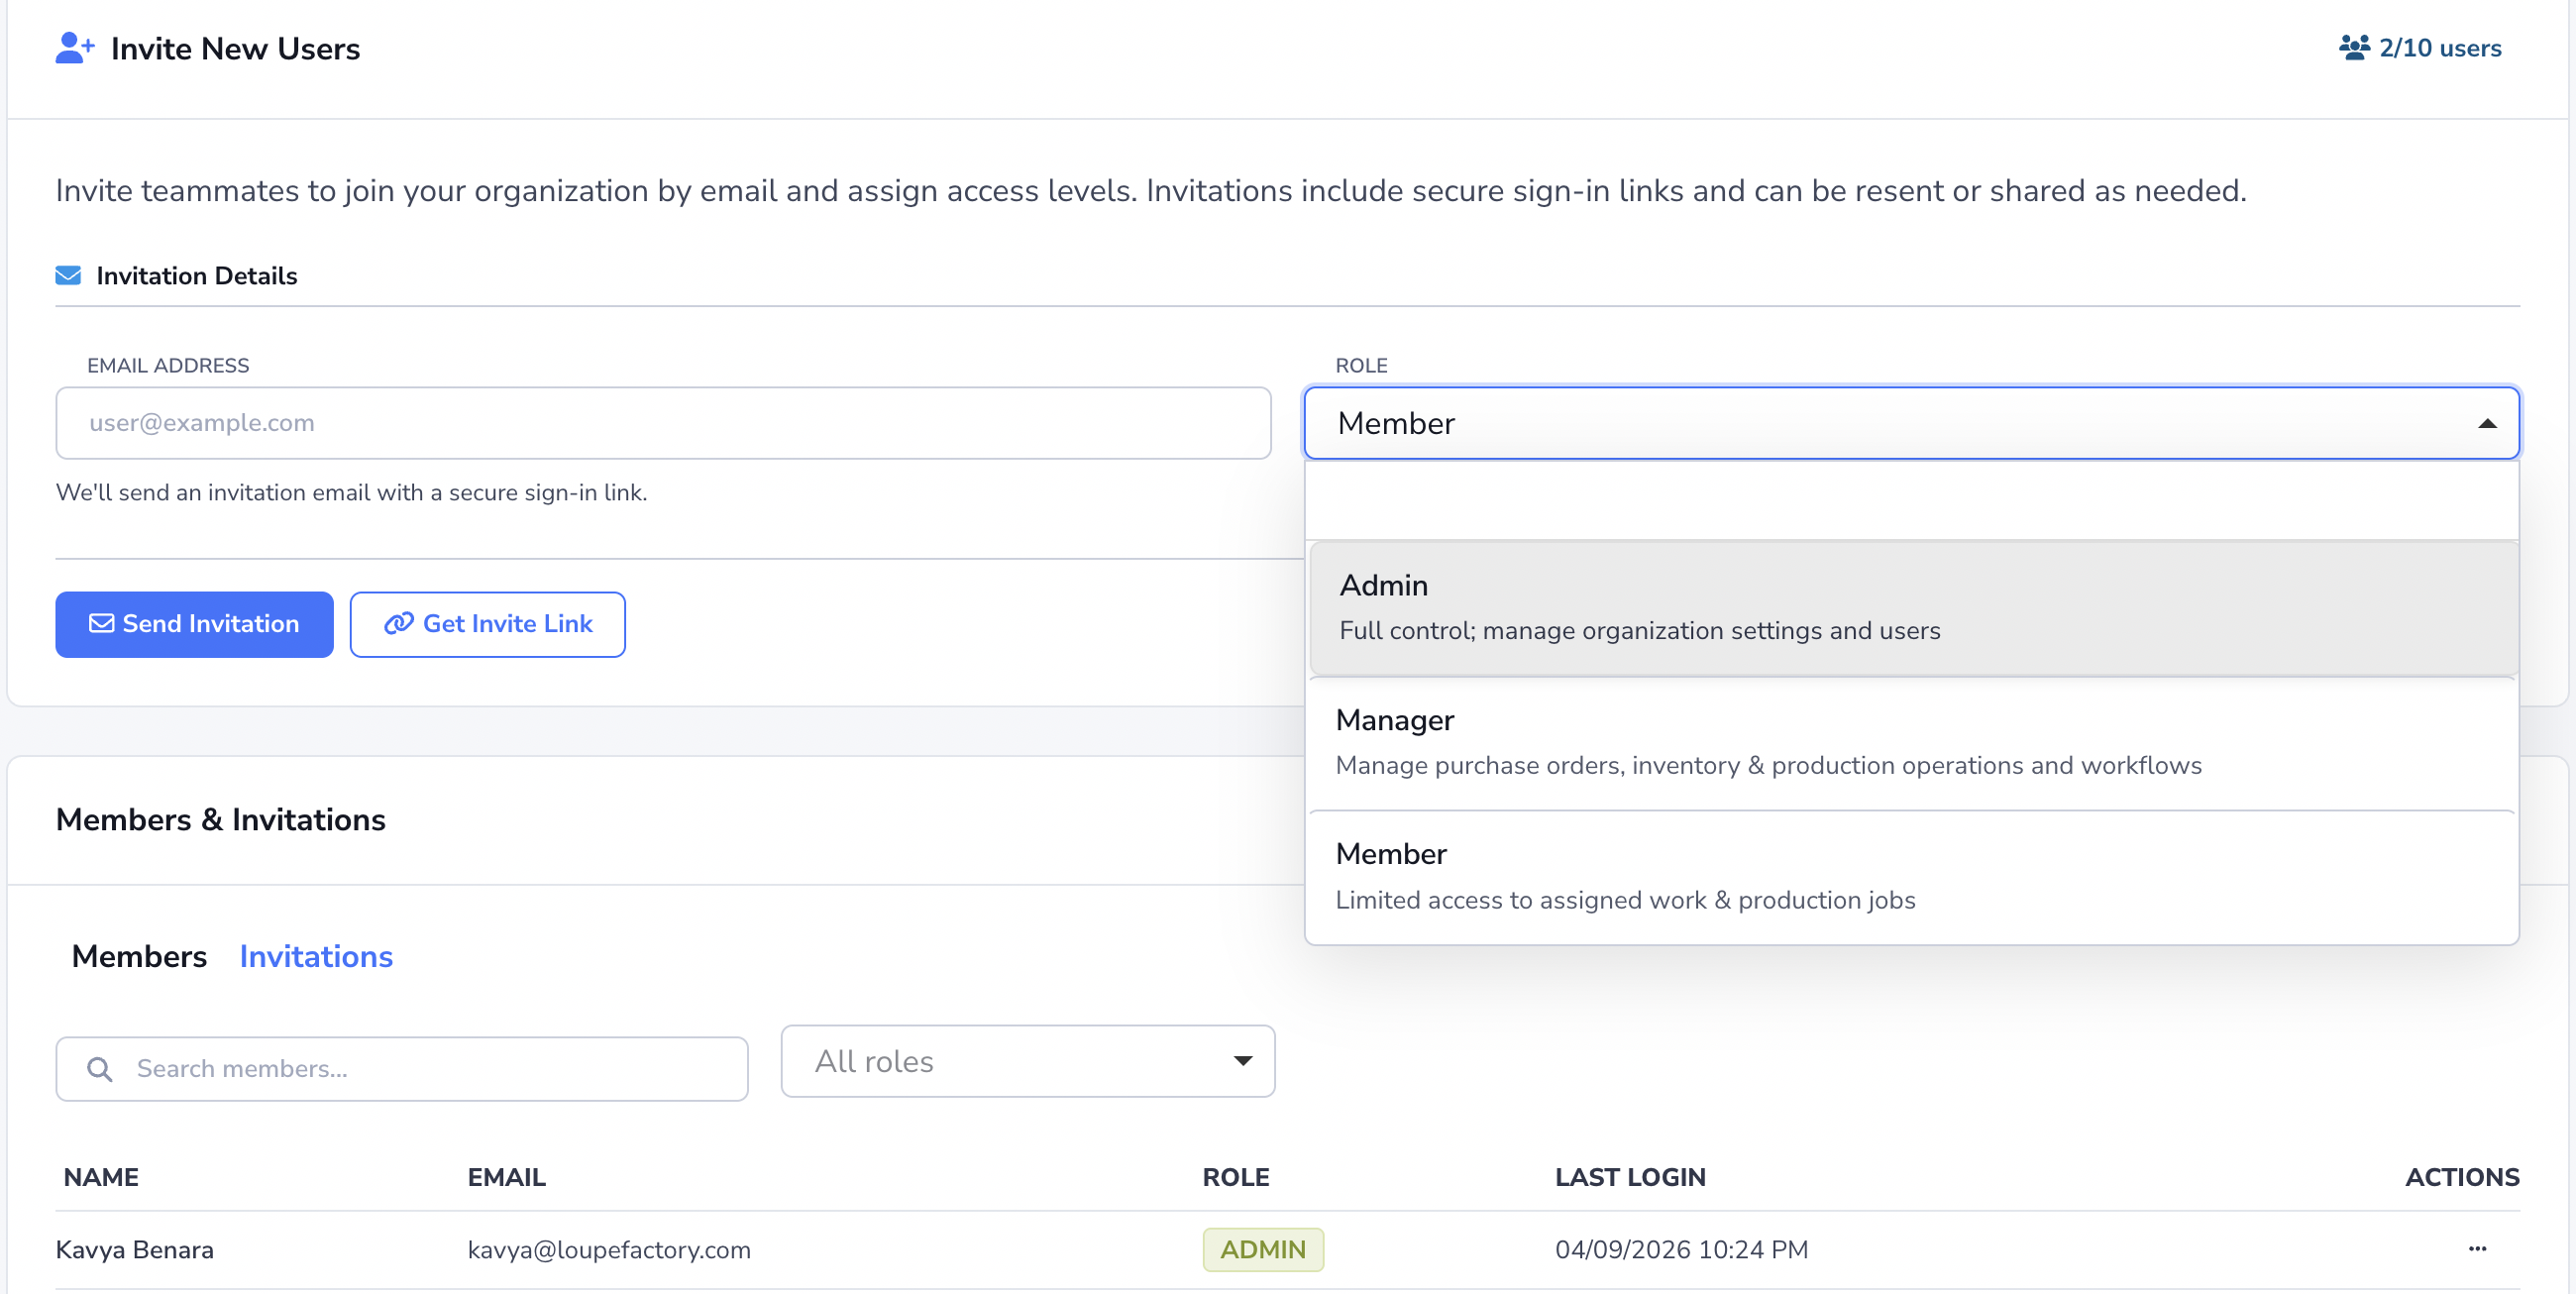
- Go to Admin Settings > Users & Access.
- Click Invite Member and enter their email address.
- Assign a role: Admin, Manager, or Member.
- The invitee receives an email with a link to join your organization.
Next Steps
- Dashboard Overview: get familiar with the main dashboard layout and key metrics.
- Quick Start Guide: follow a step-by-step walkthrough to add inventory, create a production process, and place your first order.
- Admin Settings: review organization settings, access, catalogs, and workflow defaults.
- Profile: update your personal profile and password.