Product Settings
Use Admin Settings > Product Settings to manage the catalog structure your team uses across Loupe Factory. Admins can set the default weight unit, manage product types, organize size groups, assign shapes to the right groups, keep the one list of colors and finishes that items pick from, and reset product catalogs when needed.
Before You Start
Only admins can open Admin Settings > Product Settings. If you do not have admin access, ask an existing admin to make these changes for you.
Default Weight Unit
Use the General section to set the default weight unit used when your team creates new product and inventory records.
- Go to Admin Settings > Product Settings.
- In General, choose the Default weight unit.
- Click Save Settings.
This setting helps keep new records consistent across the workspace.
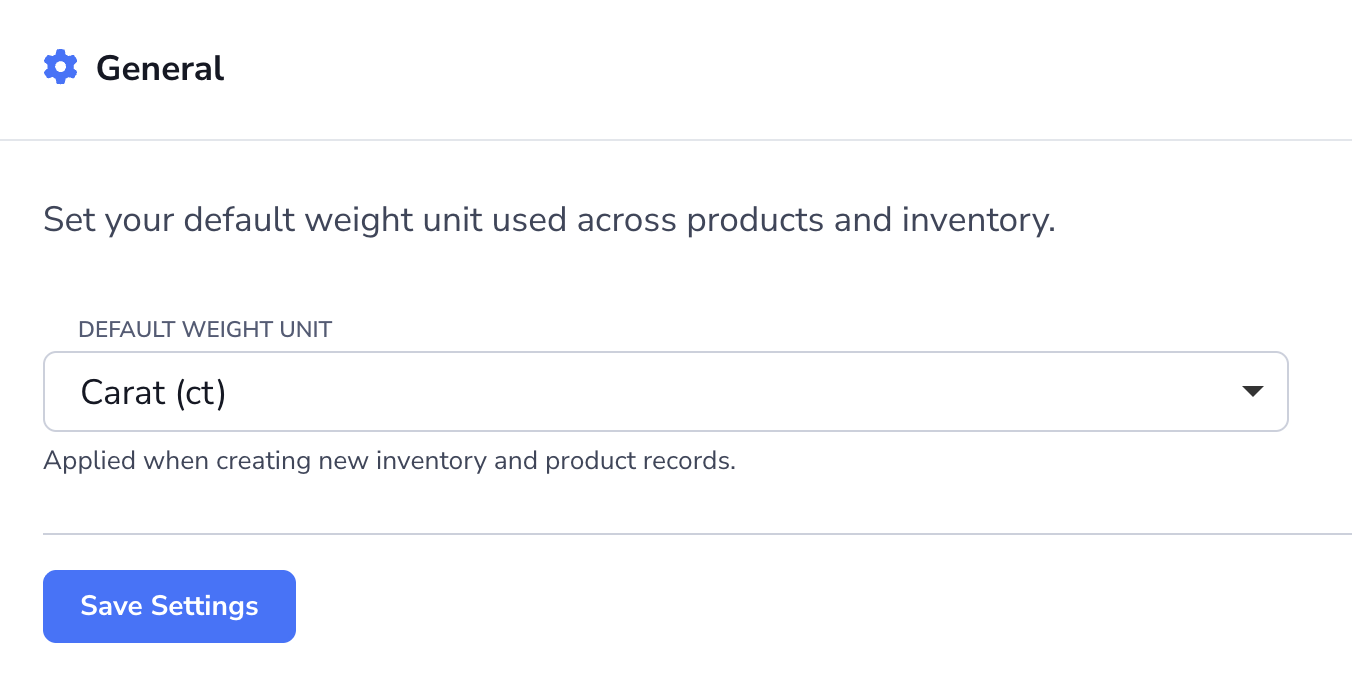
When you choose an industry, Loupe Factory starts with the weight unit below. You can change it in General whenever another unit fits your catalog better.
| Industry | Starting weight unit |
|---|---|
| Gemstones | Carat (ct) |
| Jewelry | Gram (g) |
| Auto Parts | Kilogram (kg) |
| Furniture | Kilogram (kg) |
| Cosmetics | Gram (g) |
Loupe Factory supports these default weight units:
| Category | Unit | Symbol | Gram equivalent |
|---|---|---|---|
| Metric | Milligram | mg | 0.001 g |
| Metric | Centigram | cg | 0.01 g |
| Metric | Decigram | dg | 0.1 g |
| Metric | Gram | g | 1 g |
| Metric | Decagram | dag | 10 g |
| Metric | Hectogram | hg | 100 g |
| Metric | Kilogram | kg | 1,000 g |
| Metric | Tonne | tonne | 1,000,000 g |
| Gemstone and jewelry | Carat | ct | 0.2 g |
| Gemstone and jewelry | Pennyweight | dwt | 1.555 g |
| Gemstone and jewelry | Grain | gr | 0.0648 g |
| Imperial and US | Ounce | oz | 28.3495 g |
| Imperial and US | Pound | lb | 453.592 g |
| Imperial and US | Stone | st | 6,350.29 g |
| Troy | Troy Ounce | ozt | 31.1035 g |
| Troy | Troy Pound | lbt | 373.242 g |
| Traditional and regional | Tola | tola | 11.664 g |
| Traditional and regional | Masha | masha | 0.972 g |
| Traditional and regional | Ratti | ratti | 0.1215 g |
Managing Product Types
Use Product Types to define the main catalog labels your team works with, such as product families, collections, or commercial categories.
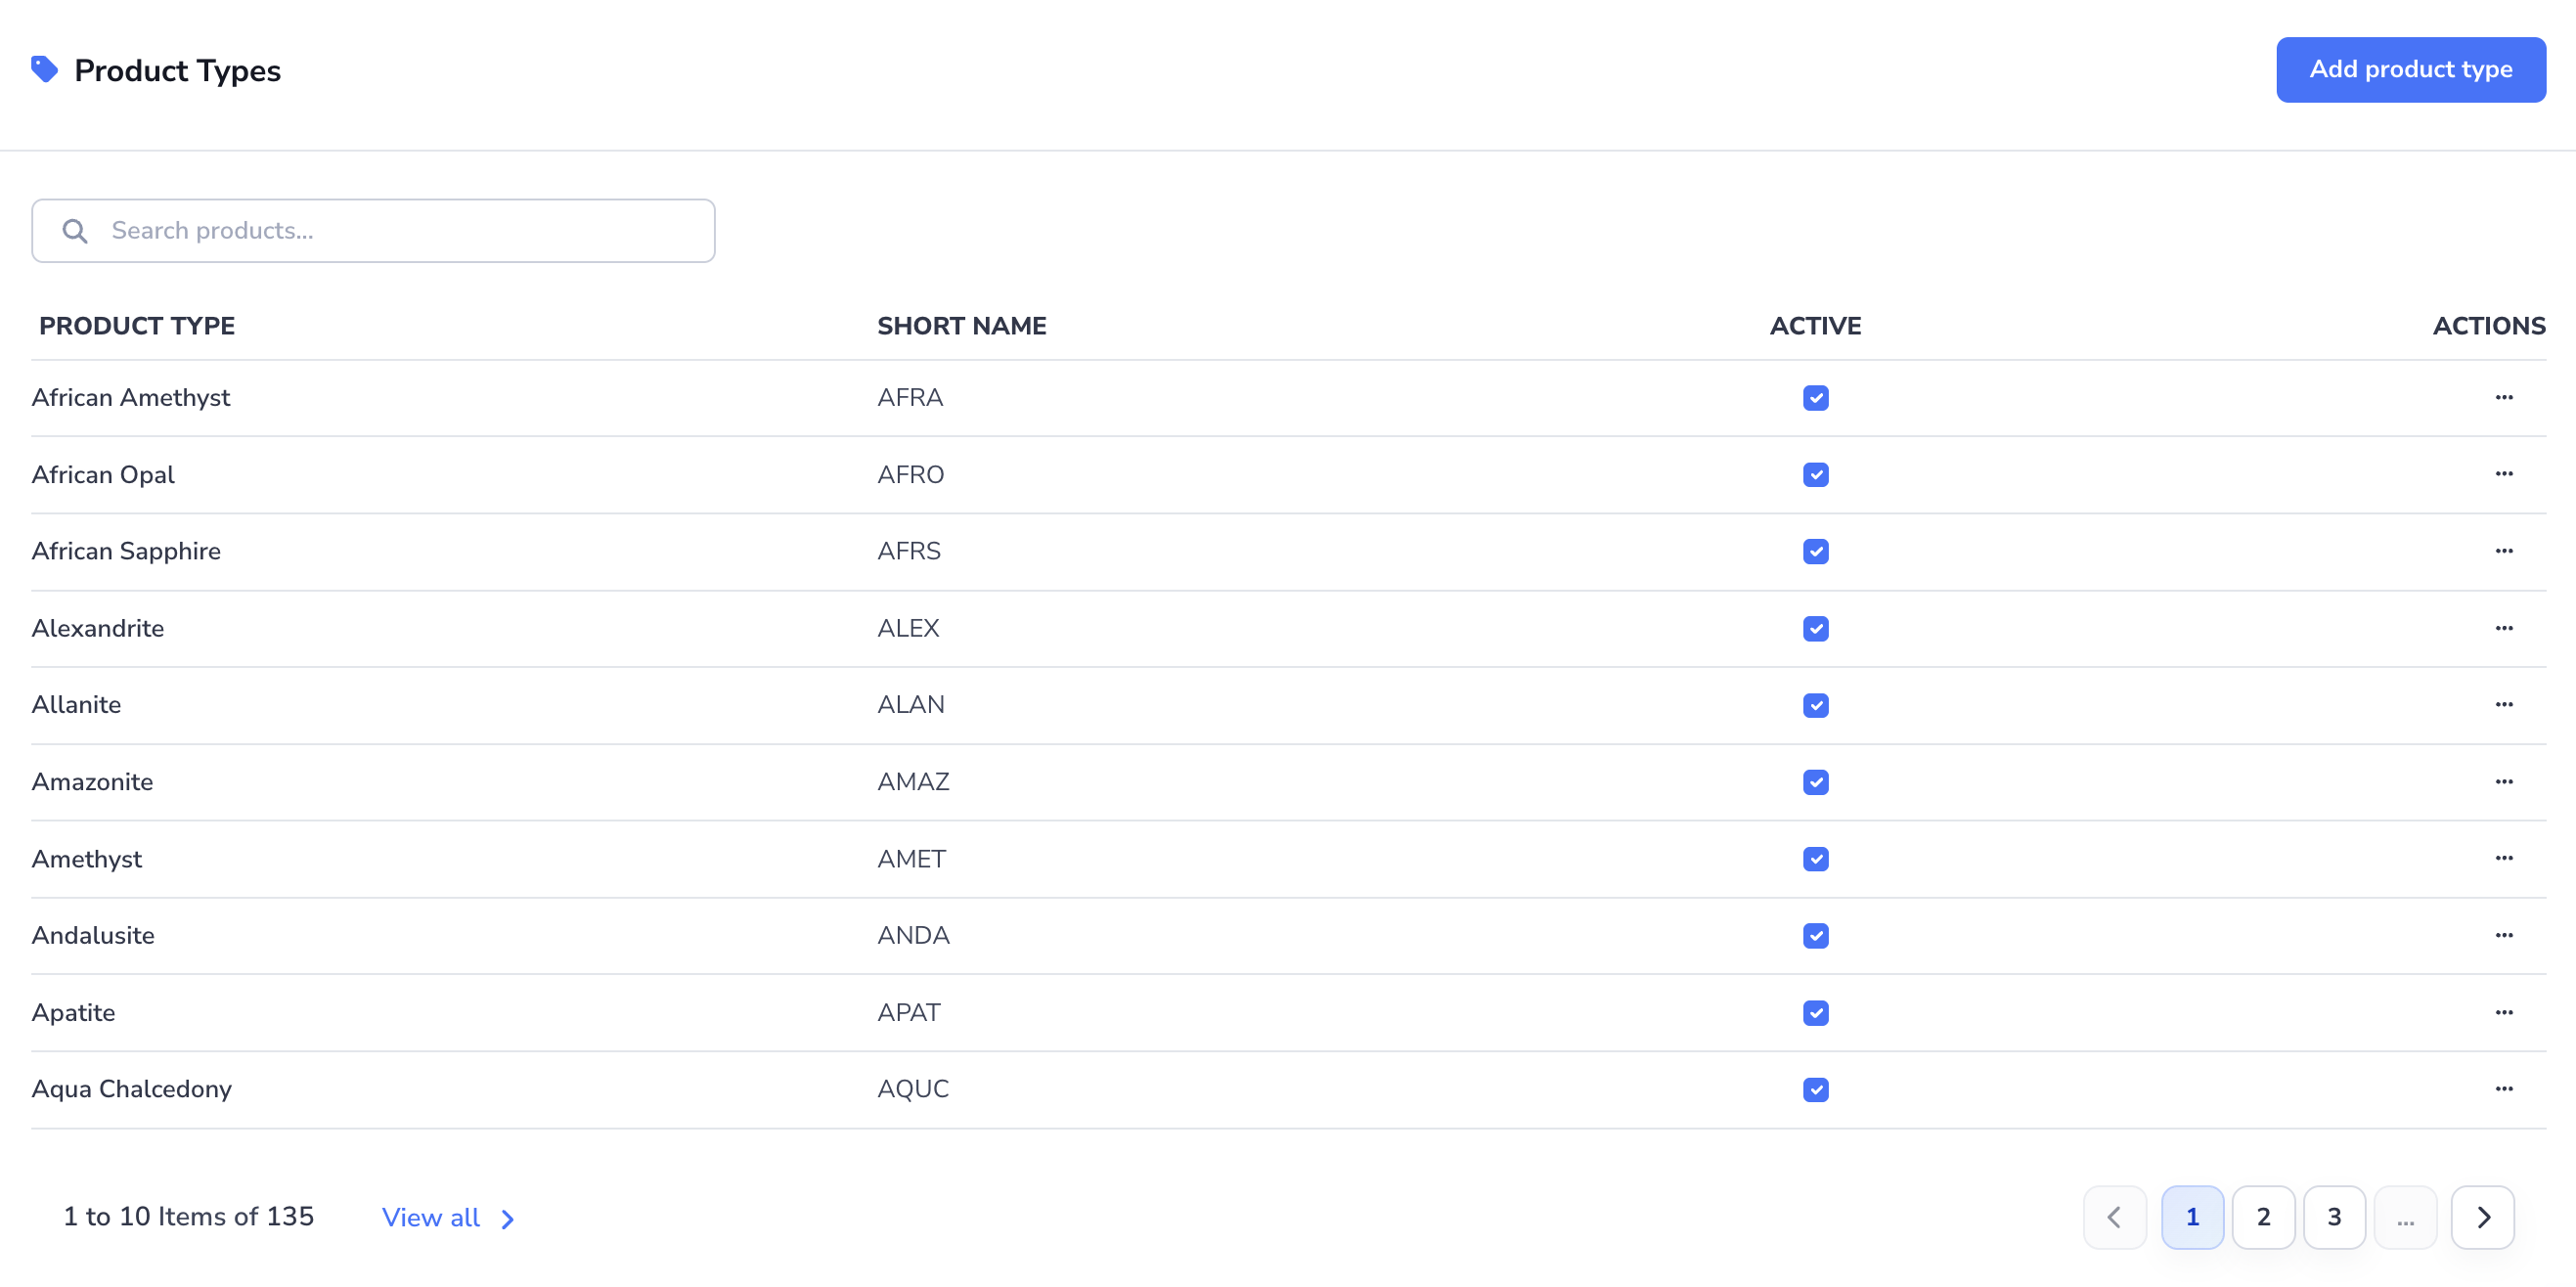
Add a Product Type
- Go to Admin Settings > Product Settings.
- In Product Types, click Add product type.
- Enter the Product type name.
- Optionally enter a Short name, such as
AB12. - Leave Active enabled if the type should be available right away.
- Leave Draft storefront description with AI on if you want shopper-facing copy written after you save. It uses the Balanced tone, the product's name, your industry, and any descriptions its lots already have. Token usage is billed to your AI credits.
- Click Save.
A green message confirms the draft. If the AI is unavailable, the product type is still saved, and a warning tells you the draft was skipped.
The short name is four letters or digits, such as AB12. Lowercase letters are converted to uppercase for you. Tag IDs for this product's inventory start with your organization prefix and this code. The product page address uses the code too. Leave the short name blank and tag IDs use the full product name. Imports give new product types a generated code, and a sales channel sync fills in any blank code.
Edit, Activate, or Remove a Product Type
- In the Product Types list, find the type you want to update.
- Use the search bar if you need to narrow the list.
- Use the Active checkbox to enable or disable the type.
- Open the row's three-dot menu to choose Edit, Remove, or Media Gallery. Choosing Media Gallery lets you manage product-level CAD files, engineering drawings, spec sheets, and videos that apply to every lot of that type. See Media Gallery.
- In the edit form, Draft storefront description with AI is off when the type already has a description. Turn it on to replace that copy with a fresh Balanced draft.
- If you edit the type, update the fields and click Save.
Deactivate a product type when it should no longer be available for new work. An inactive type stays linked to its inventory and tasks. An import that names the type turns it back on.
Storefront Descriptions
A storefront description is the shopper-facing copy for a product type as a whole. Each of its inventory lots can also have its own description.
Only admins can write or generate the product type's description. Managers and members can read it on the product page.
Write a storefront description for a product type
- In Product Types, open the type's three-dot menu and choose Add storefront description, or Edit storefront description if it already has one.
- Check the type and its short code at the top of the window. A bar shows how many of its lots already have a description.
- Choose a Tone: Balanced, Luxury, Technical, Warm, or Concise. These are the same five options used for item descriptions.
- Click Generate.
- Read and edit the draft in the formatting editor. You can use up to 8,000 characters.
- Click Save Description.
Cancel closes the window and discards the draft.
To draft the product copy, the AI reads the product name, your industry, and the range of shapes, sizes, colors, quality grades, labels, types, and attributes across its lots. It also reads up to 12 existing lot descriptions. It never sees tag IDs, weights, prices, notes, or HS codes.
Draft descriptions for its lots
The Also draft descriptions for the N lots without one switch is on whenever some lots have no storefront description. The number in the label shows how many lots need one.
With the switch on, saving writes the product copy first, then drafts those lots in the same tone, using the product copy as context. Lots that already have a description are never changed. Each drafted lot records the change in its history.
Up to 100 lots are drafted per save, newest first. The confirmation tells you how many still need a description. Save again to draft the next batch. Each batch is billed to your AI credits.
The switch is off and locked when every lot has a description or the type has no lots yet.
Managing Size Groups
Use the Sizes section to create reusable size groups and manage the size values inside each group. These groups can then be assigned to shapes.
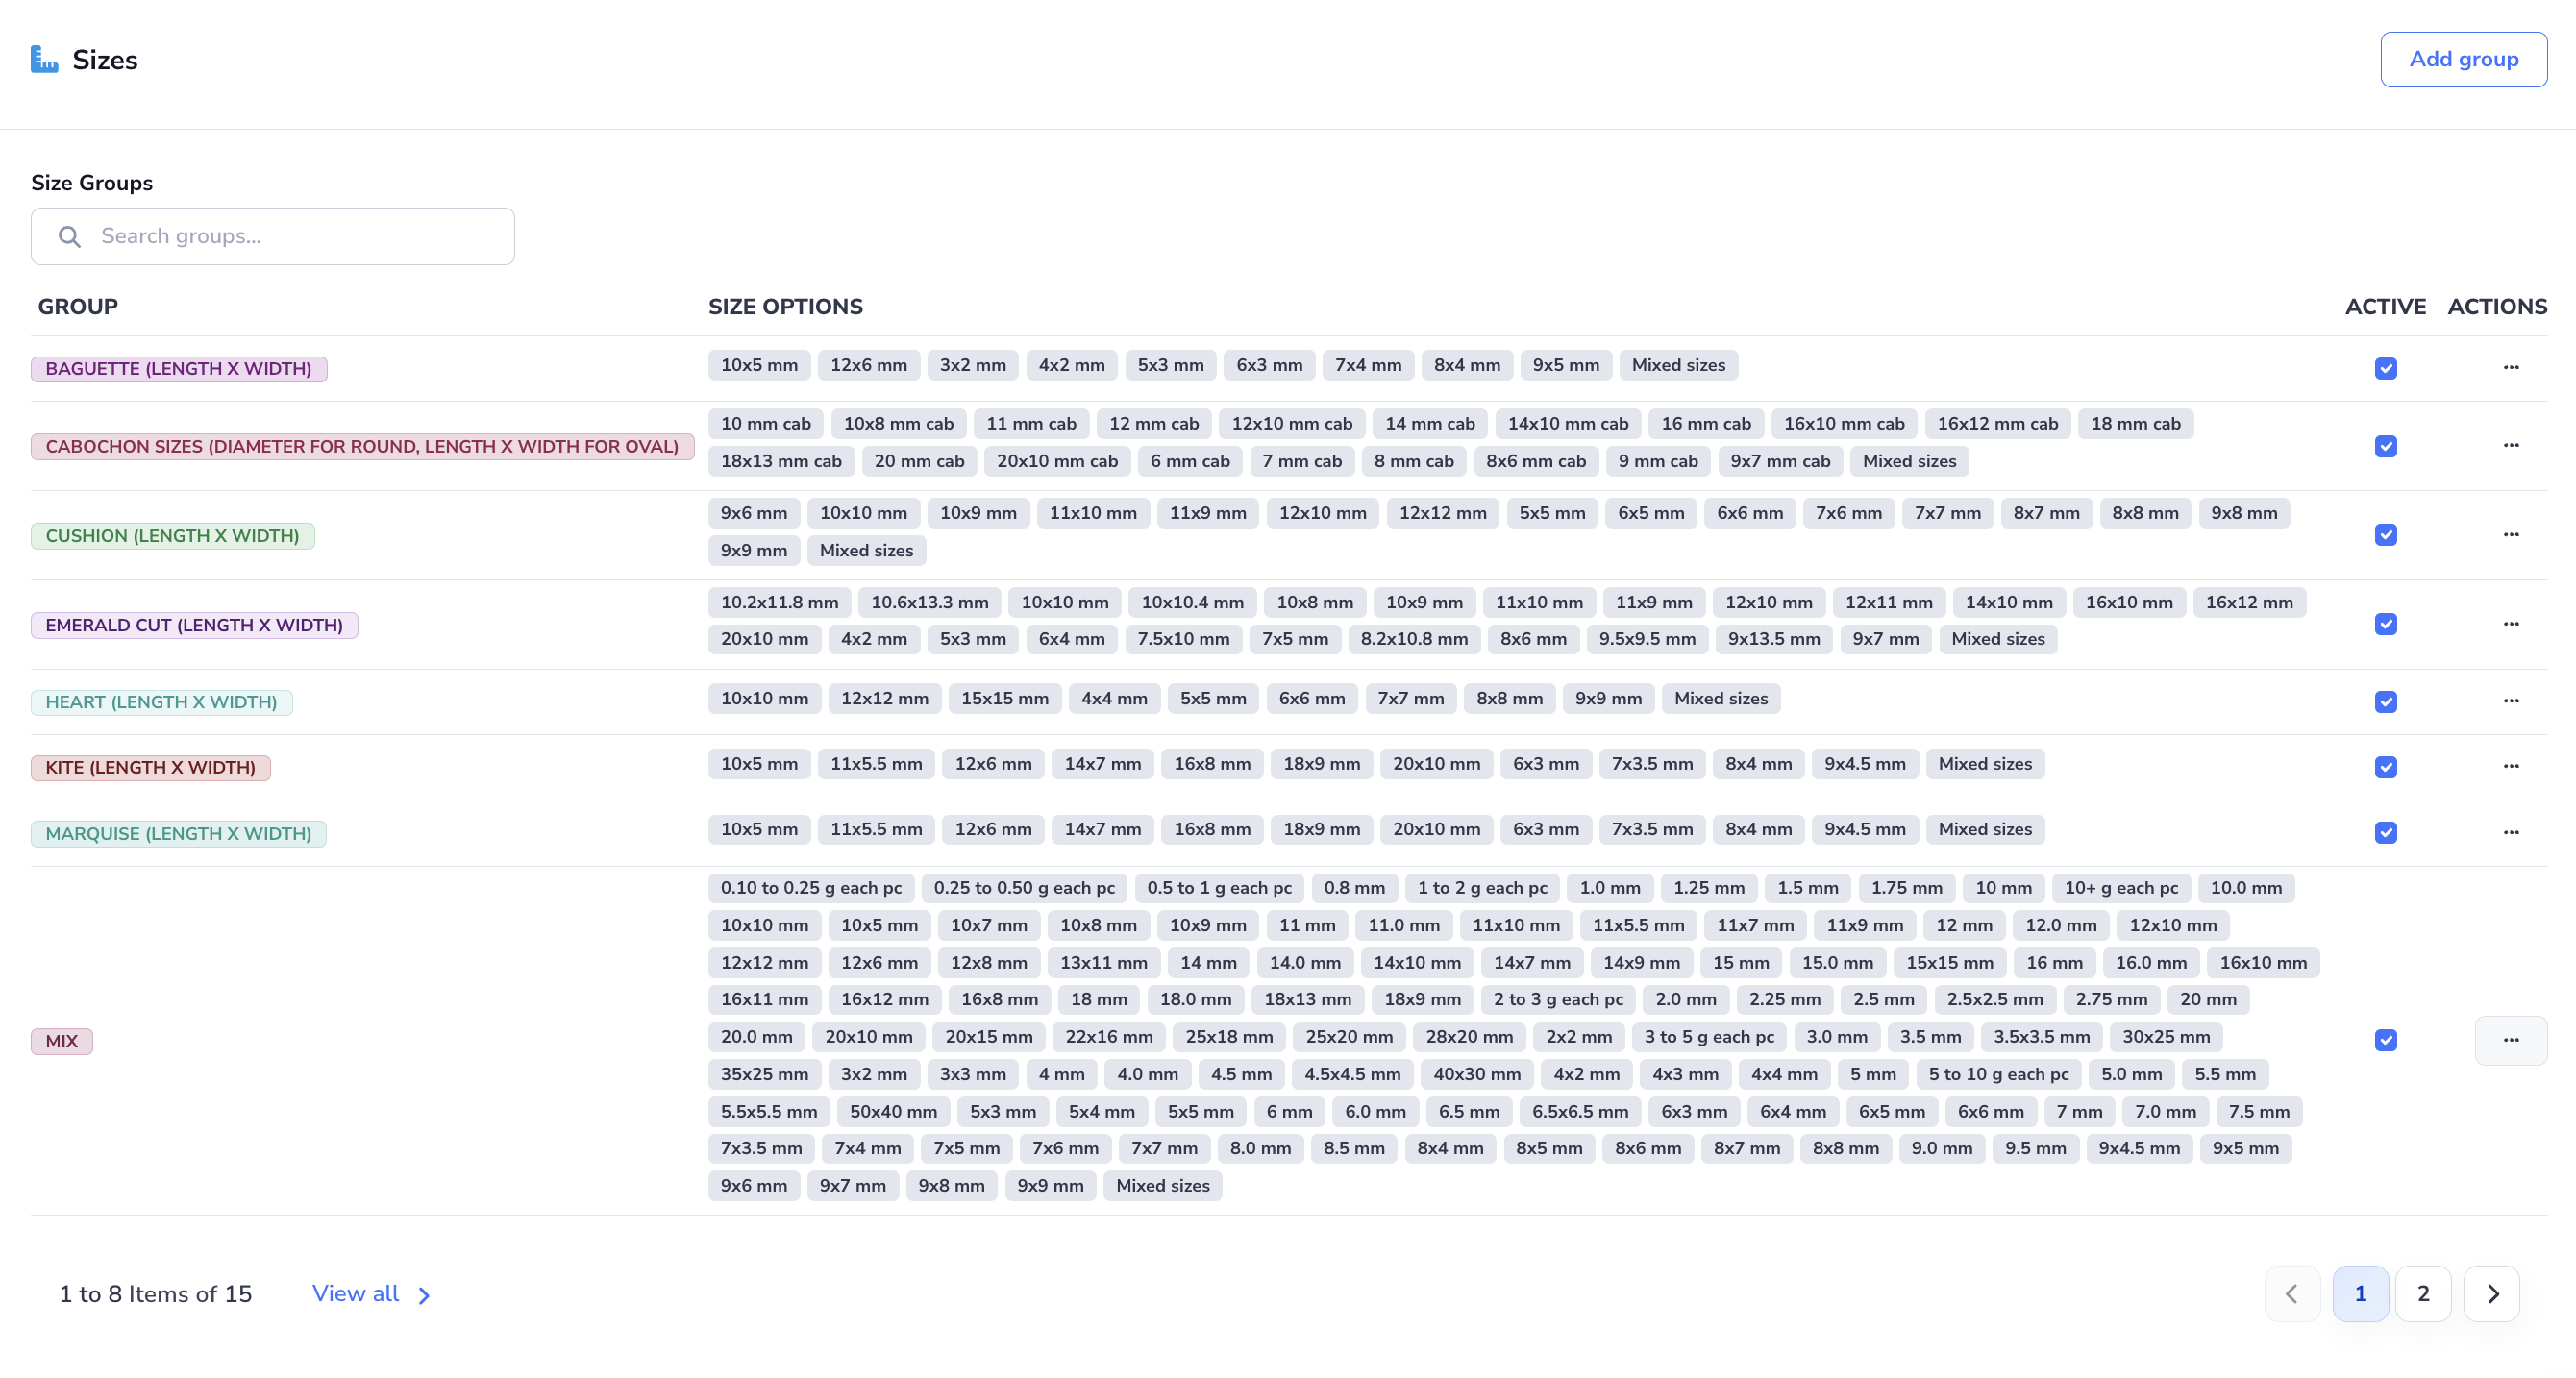
Add a Size Group
- Go to Admin Settings > Product Settings.
- In Sizes, click Add group.
- Enter the Group name.
- Enter one or more size values in the size field.
- Leave Active enabled if the group should be available right away.
- Click Save.
Update Size Options in an Existing Group
- In the Size Groups list, find the group you want to update.
- Open the row's three-dot menu and select Edit.
- In Current Size Options, keep the size values you still want in the group.
- In Add Size Values, enter any new sizes you want to add.
- Save the size option changes.
- If needed, update the Group name or Active status.
- Click Save Size Group.
This editing flow is useful when you need to refine a size range without creating a brand new group.
Remove a Size Group
- Find the group in the Size Groups list.
- Open the row's three-dot menu.
- Select Remove.
- Confirm the action.
Managing Shapes
Use Shapes to define form factors and connect each shape to the size groups that apply to it.
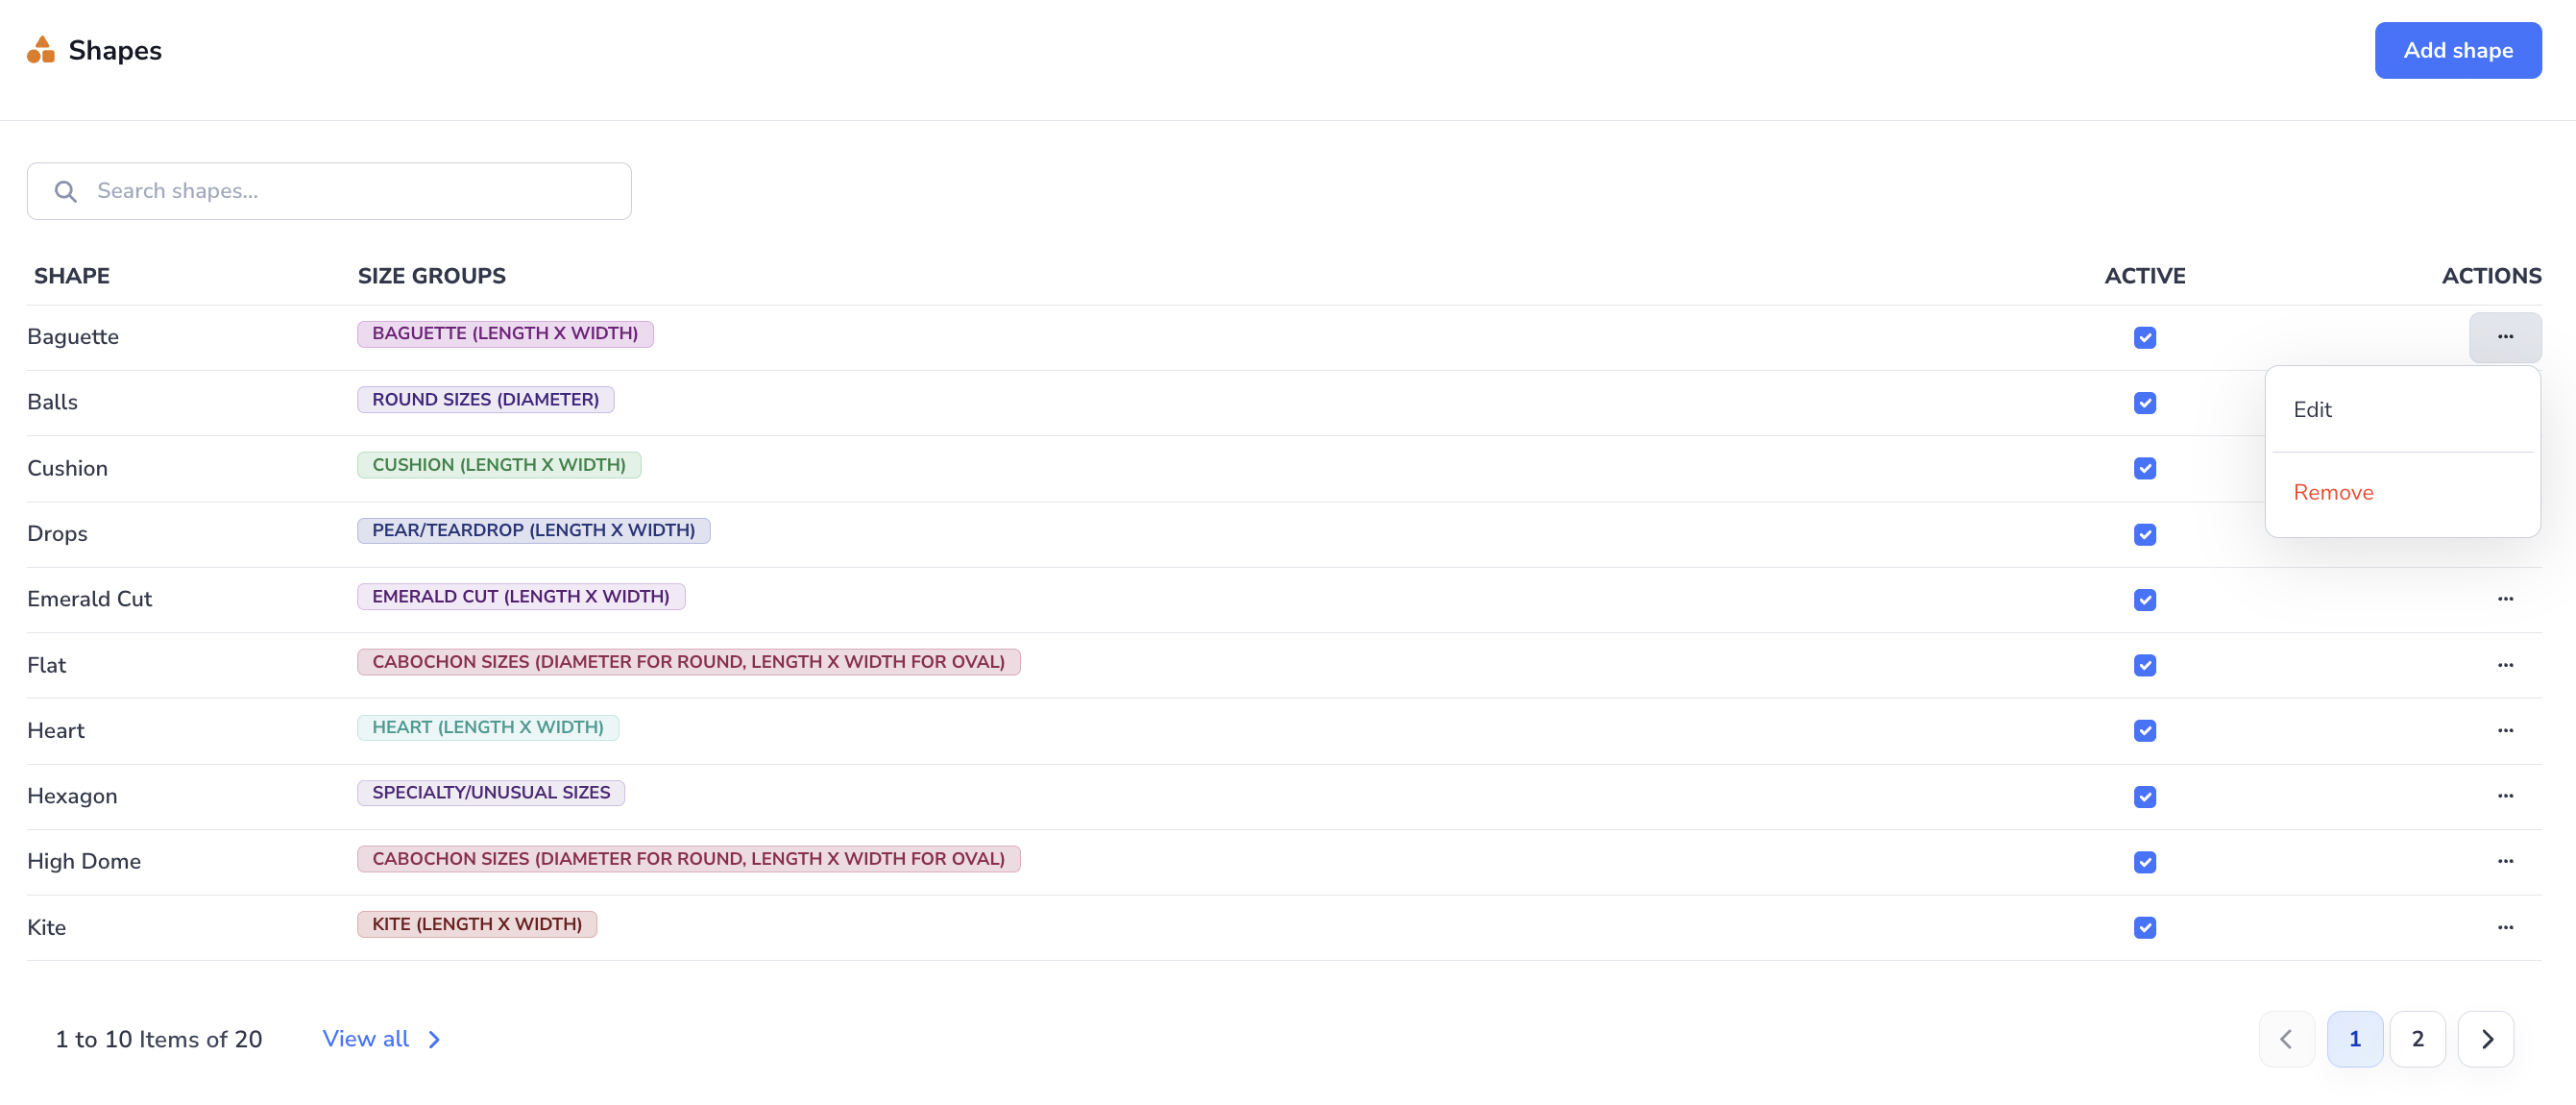
Add a Shape
- Go to Admin Settings > Product Settings.
- In Shapes, click Add shape.
- Enter the Shape name.
- Select one or more Size groups if they are available.
- Leave Active enabled if the shape should be available right away.
- Click Save.
If you do not see any size groups to assign, create them first in the Sizes section.
Edit, Activate, or Remove a Shape
- In the Shapes list, find the shape you want to update.
- Use the search bar if you need to narrow the list.
- Use the Active checkbox to enable or disable the shape.
- Open the row's three-dot menu to choose Edit or Remove.
- If you edit the shape, update the name or assigned size groups.
- Click Save Shape.
Managing Colors
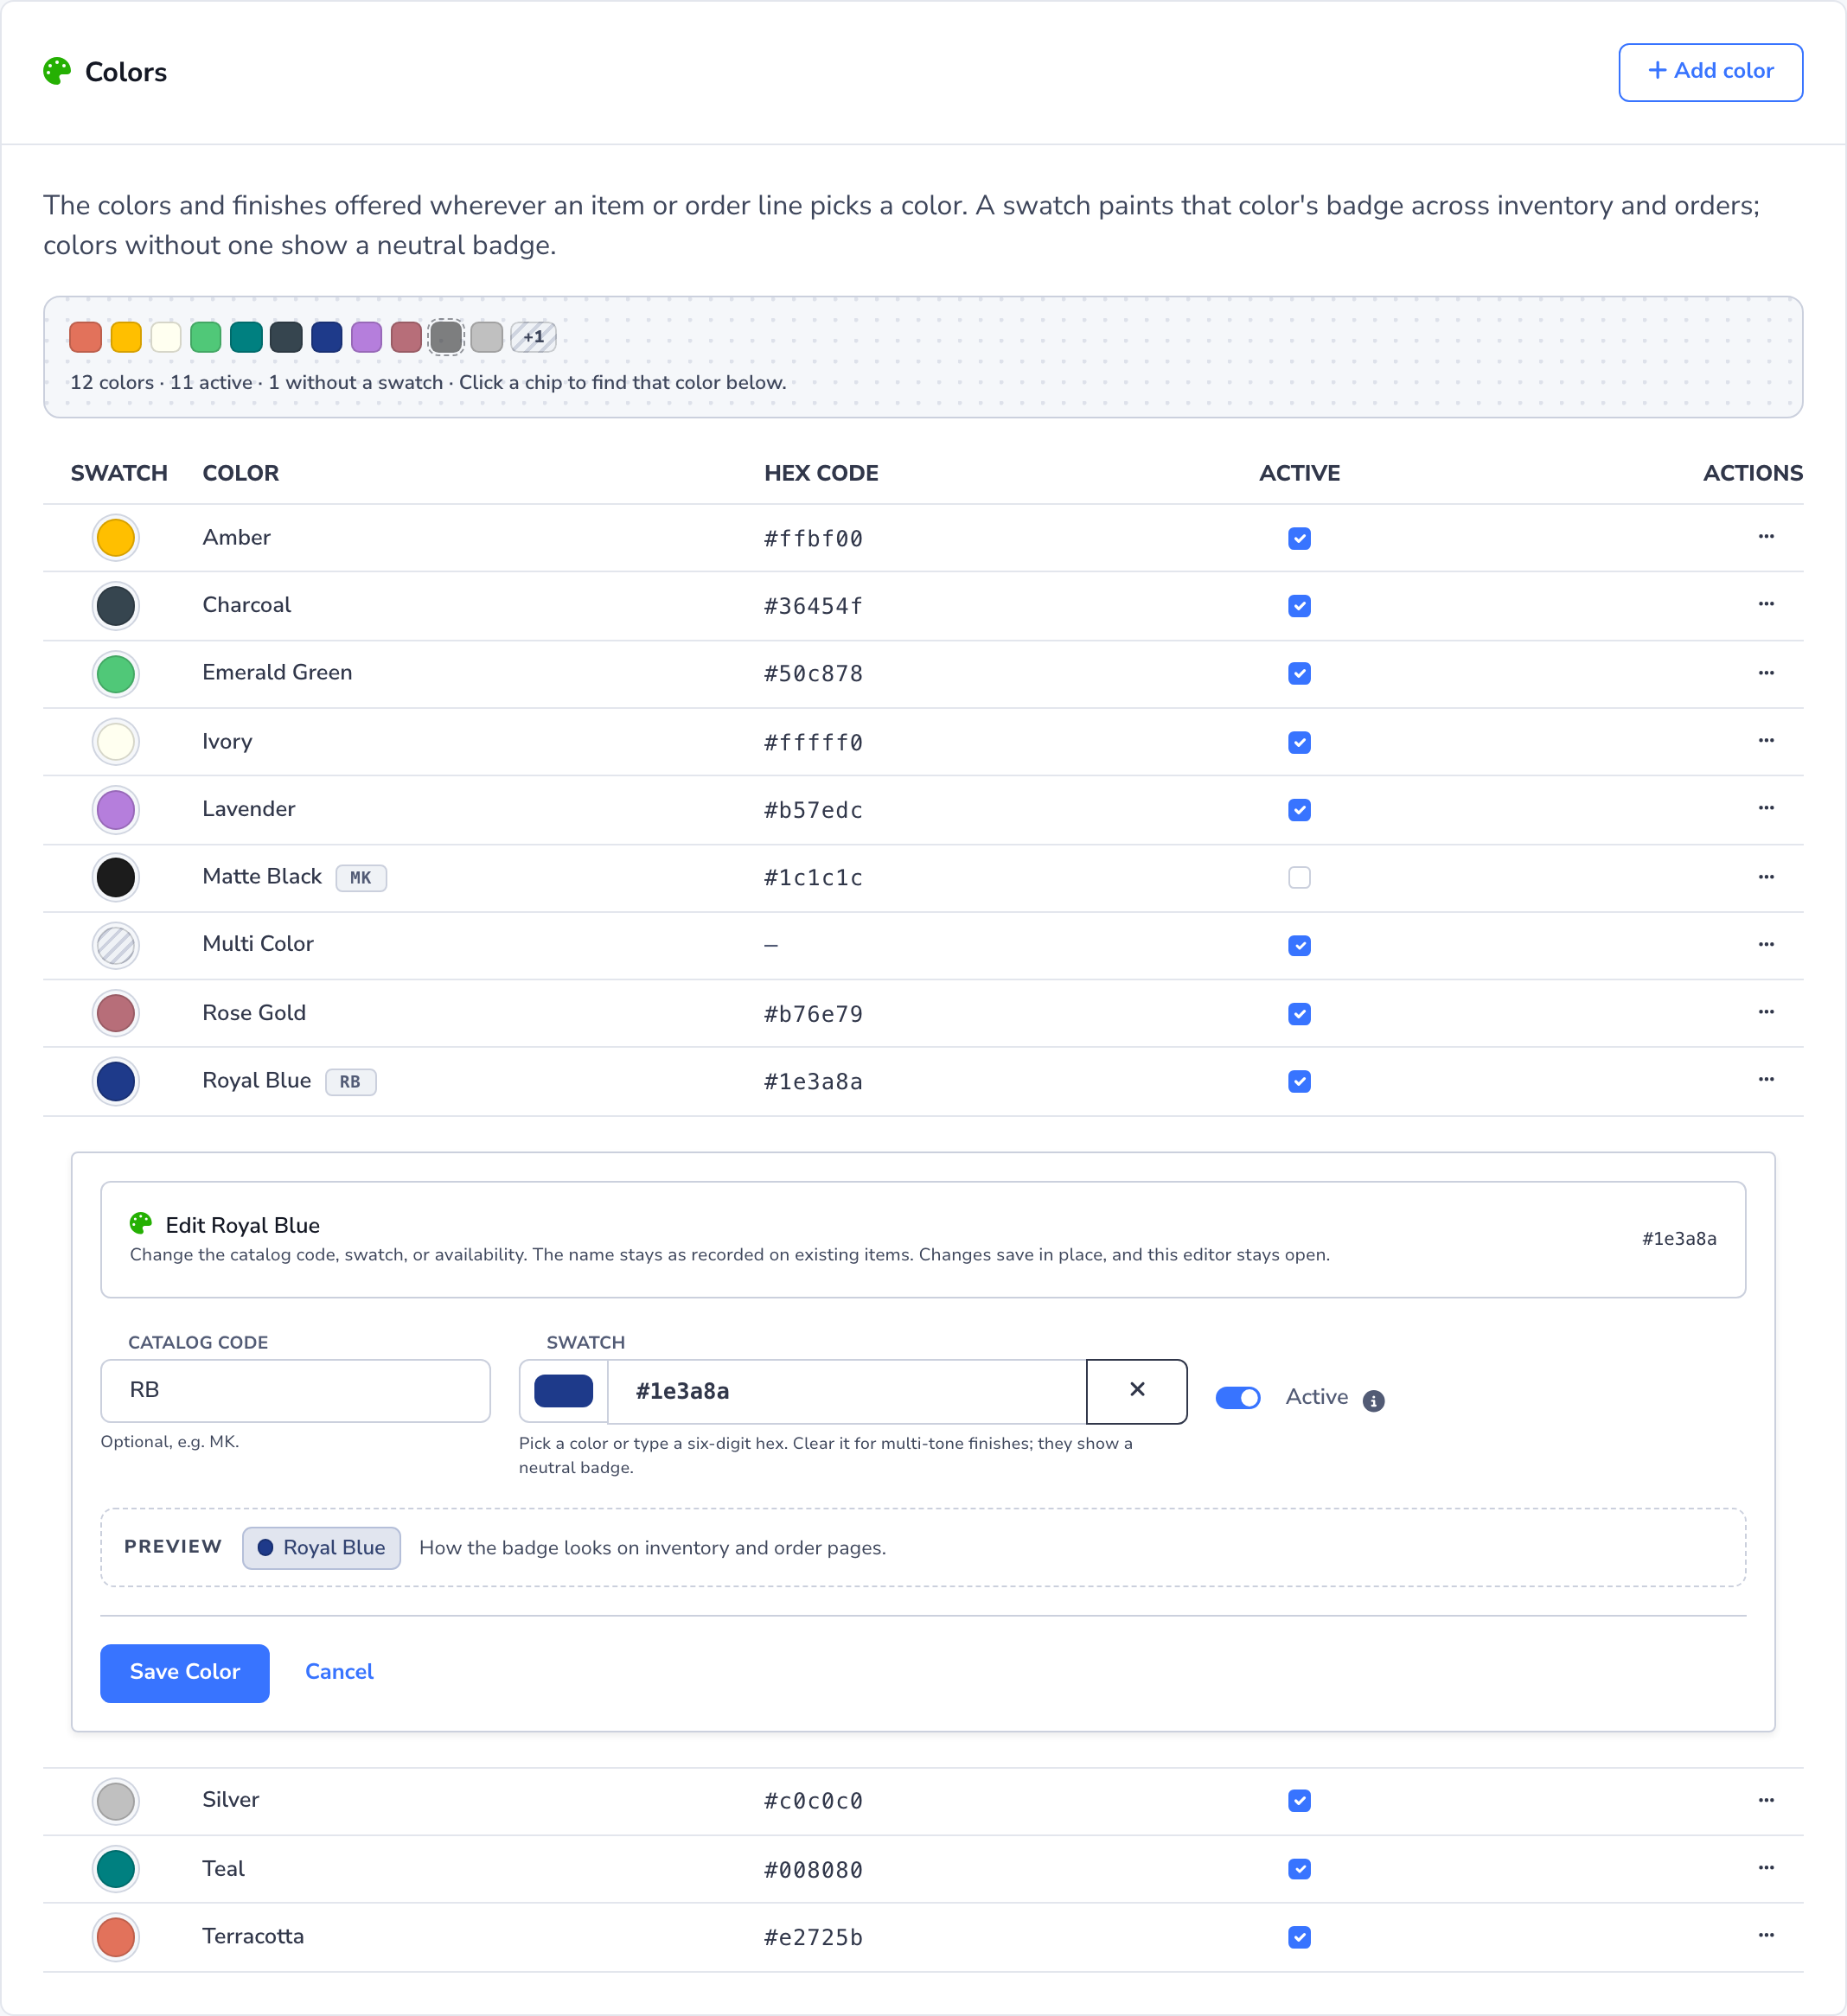
Use Colors to keep the one list of colors and finishes that every inventory item in your workspace picks from. Color used to be a box people typed into, so Rose Gold, Rosegold, and RG could end up as three different colors on three different items. Now the color field on the add and edit item forms opens this list, and a color spelled one way here is spelled that way on every item, table, and order that shows it.
Each color can carry a swatch and a catalog code. The swatch paints a dot in that shade beside the name in Loupe Factory. The code shows beside the name everywhere the color is picked, so Matte Black with the code MK reads as Matte Black (MK). A color with no swatch, such as Two-Tone or Bi-Color, shows as a labeled badge without a dot.
Your list starts with your industry's presets, for example 69 colors for gemstones and 32 for jewelry. See Default Colors by Industry for each list. For how the list appears when your team adds items, see Item Colors.
Shopify Color reference
The Shopify Color column shows each catalog color's saved Shopify mapping. To set or change a mapping, add or edit the catalog color and choose its standard Shopify color, then save. Your local color name and swatch stay as they are.
When a lot's Color matches a catalog color with a saved mapping, a Products and stock push can update its Shopify variant's Color option. Loupe Factory reuses or creates the standard Shopify color entries needed for mapped colors. Pulls continue to update the lot's Color, but do not change saved mappings.
Loupe Factory's hex swatches do not transfer automatically to Shopify or configure storefront swatches. Review the Shopify color entry and your theme. See Shopify color mappings for the required permissions, mapping checks, and existing-variant requirements.
Add a Color
- Go to Admin Settings > Product Settings.
- In Colors, click Add color.
- Enter the Color name, such as
Royal BlueorMatte Black. Each name can be listed once, and a name cannot contain parentheses. - Enter a Catalog code if the color has one, such as
MKfor Matte Black. Leave it blank when there is no code. - Set the Swatch. Pick the shade with the color picker, or paste a six-digit hex code such as
#1e3a8a. The Preview shows how the badge will look on inventory and order pages. - Leave Active enabled if the color should be available right away.
- Click Save.
Leave the swatch blank for a multi-tone or textured finish that has no single hue, such as Two-Tone, Bi-Color, or Matte Black-Antique Gold. Use the clear button beside the hex field to blank a swatch the picker has filled in. Colors without a swatch show as a labeled badge without a dot.
Find a Color in the List
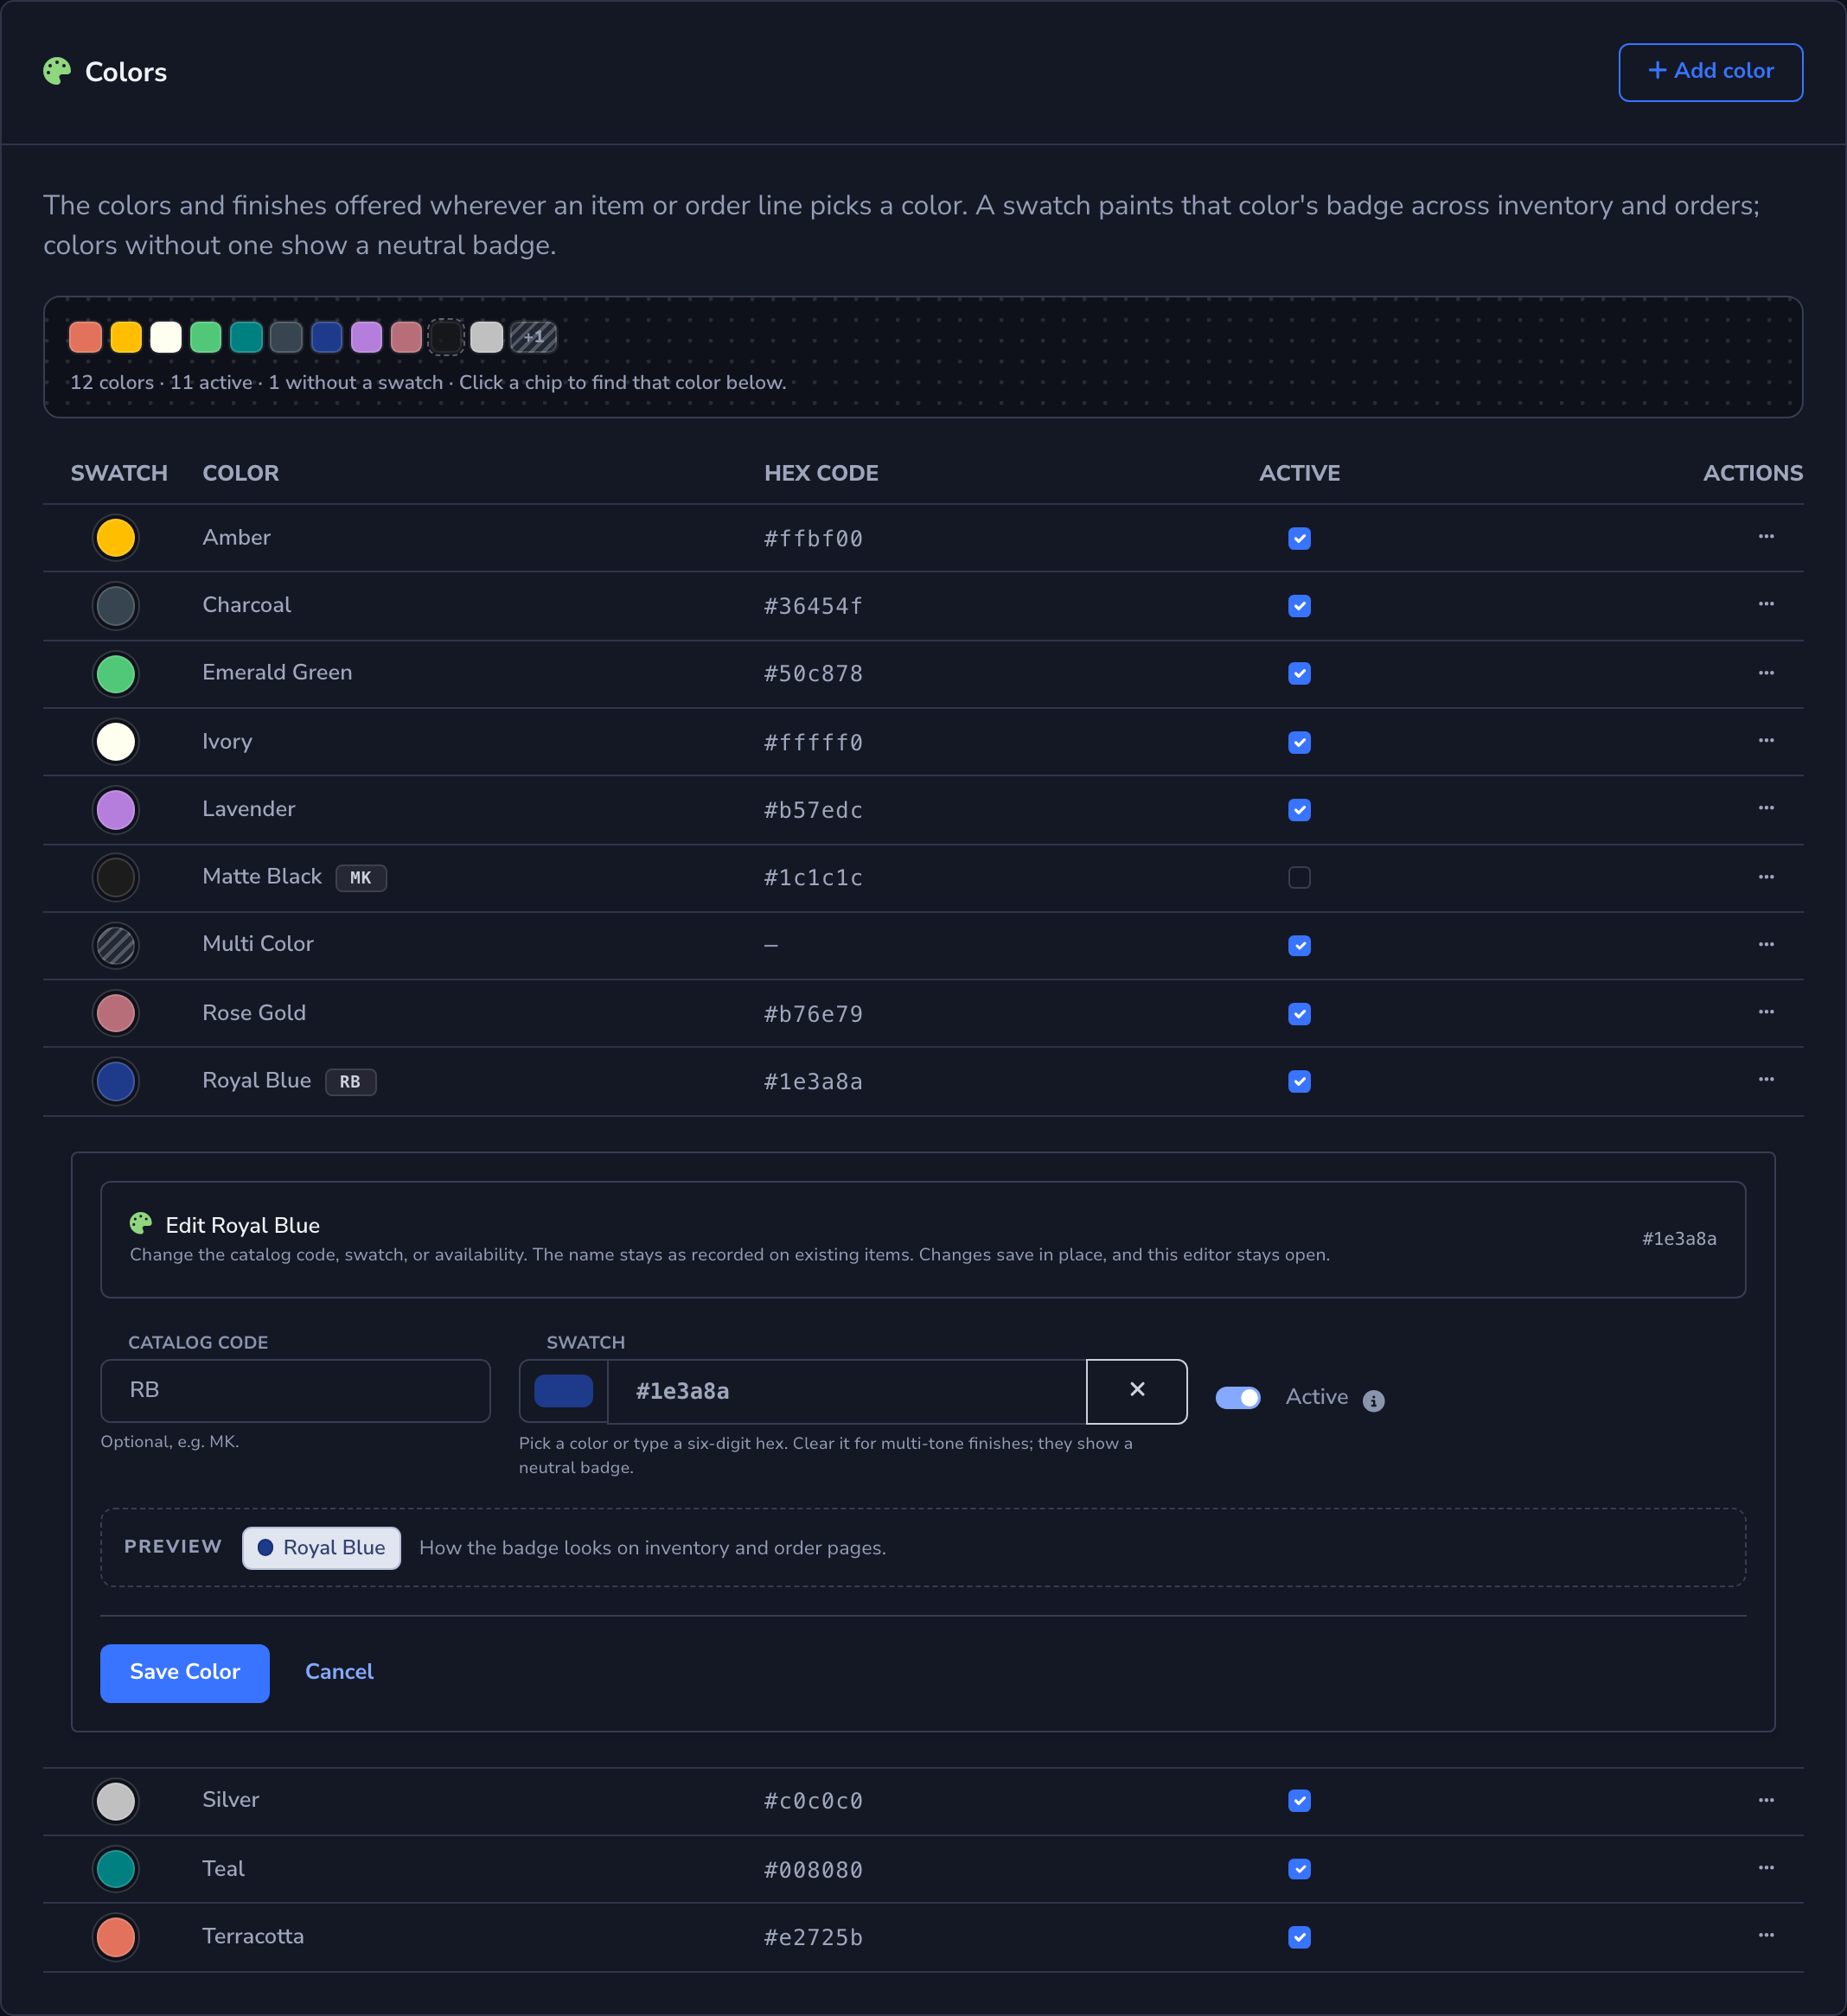
The palette rail above the table shows every swatch in hue order. Click a chip to jump to that color in the table. The count beside the rail tells you how many colors are on the list, how many are active, and how many have no swatch. Use Search colors to narrow the table by name, and click the Swatch column heading to sort the table as a spectrum.
Edit, Switch Off, or Remove a Color
- In the Colors table, find the color you want to update.
- Use the Active checkbox on the row to switch the color off or on.
- Open the row's three-dot menu to choose Edit or Remove.
- If you edit the color, change the Catalog code, the Swatch, or Active, then click Save Color.
The name stays fixed because your items carry it. To rename a color, add the new name, then switch the old color off so nobody picks it for new items.
Switching a color off takes it out of every picker without deleting it. Items already recorded with that color keep it. Select Active again at any time to bring the color back.
Removing a color takes it off the list. Items recorded with it keep their color.
Note
Only admins can change the list. Admins can also type a color that is not on the list when adding or editing an item. That color is saved on that item only and does not join the list. To offer it to everyone, add it here.
Loupe Factory confirms every add, edit, switch, and removal on screen and keeps the message in the notification bell.
Resetting Product Settings
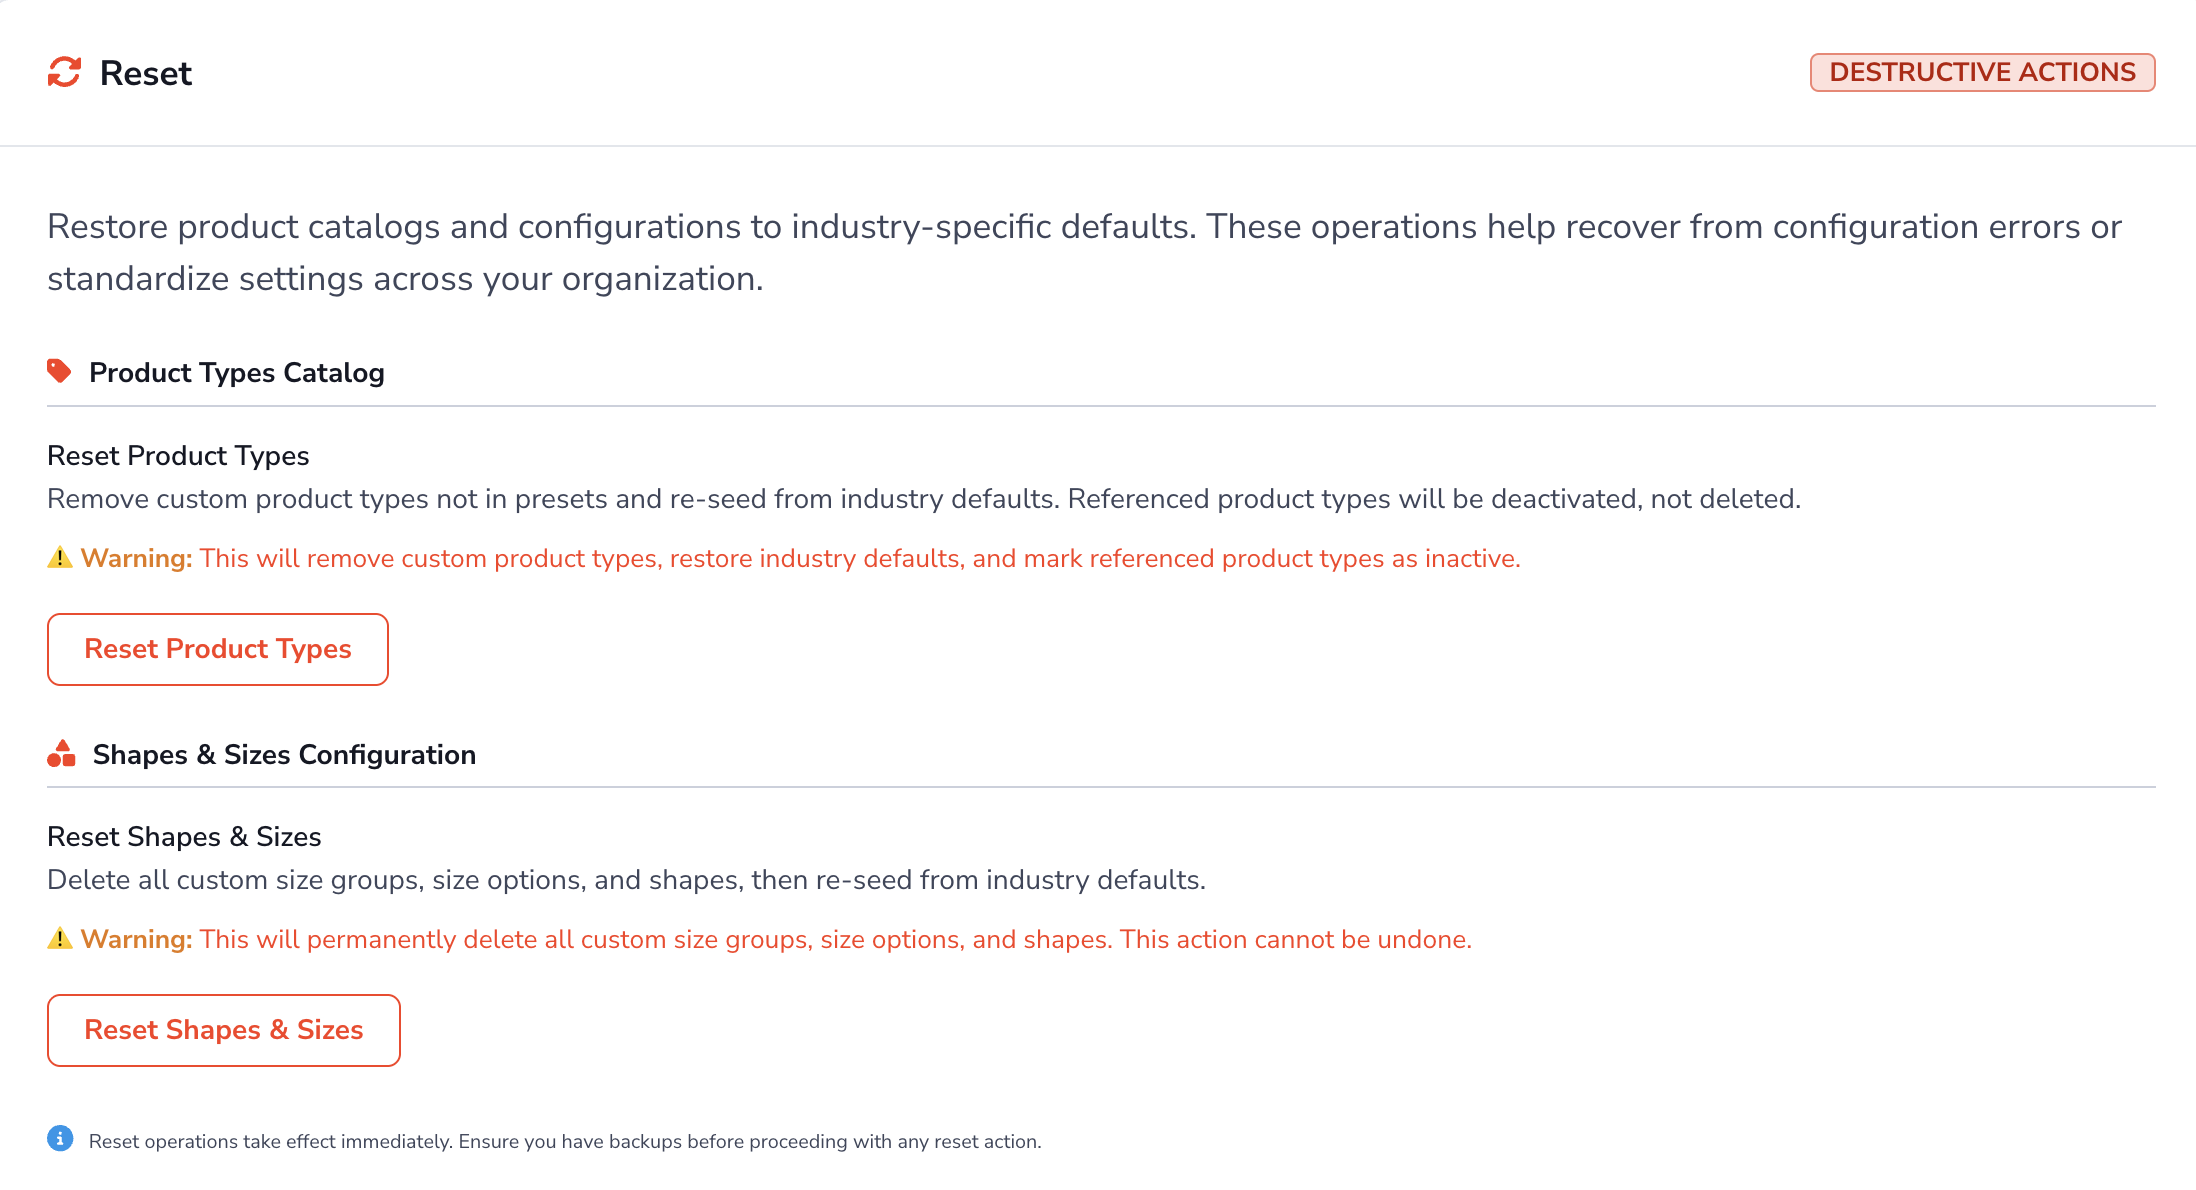
Use the Reset section when you want to return product catalogs to the industry defaults for your workspace. Before resetting, open Industry Starting Points and select your industry to review the product types, sizes, shapes, and colors that will be restored.
Warning
Reset actions take effect immediately. Review the warning text carefully and make sure your team is ready before you continue.
Reset Product Types
- Go to Admin Settings > Product Settings.
- Scroll to Reset.
- In Product Types Catalog, click Reset Product Types.
- Confirm the action if prompted.
This reset removes custom product types that are not part of the preset catalog. If a product type is already referenced elsewhere, Loupe Factory marks it inactive instead of deleting it.
Reset Shapes and Sizes
- Go to Admin Settings > Product Settings.
- Scroll to Reset.
- In Shapes & Sizes Configuration, click Reset Shapes & Sizes.
- Confirm the action if prompted.
This reset permanently deletes custom size groups, size options, and shapes, then reloads the default configuration for your industry.
Reset Colors
- Go to Admin Settings > Product Settings.
- Scroll to Reset.
- In Color Catalog, click Reset Colors.
- Confirm the action if prompted.
This reset restores every preset color for your industry with its catalog code and switches each one back on. Colors you added that are not in the presets are removed. Blank swatches are filled from the presets, and any swatch you set by hand is kept. Items recorded with a removed color keep their color.
Reset Colors needs your industry set under Organization Settings. If it is not set, Loupe Factory asks you to update your branding first.
Next Steps
- Inventory Settings: Set inventory defaults and type catalogs that work with your product setup
- Production Settings: Align stages and policies to the products your team makes
- Inventory Management: Learn how product settings connect to daily stock work