Organization Settings
Use Admin Settings > Organization Settings to manage the company-level settings that shape how your workspace looks and behaves. Admins can update company identity, locations, cross-location manager inventory access, regional defaults, language and formatting preferences, department structure, and compliance details, including bank fields that print on invoices.
Before You Start
Only admins can open Admin Settings > Organization Settings. If you do not have admin access, ask an existing admin to make these changes for you.
Branding and Organization Identity
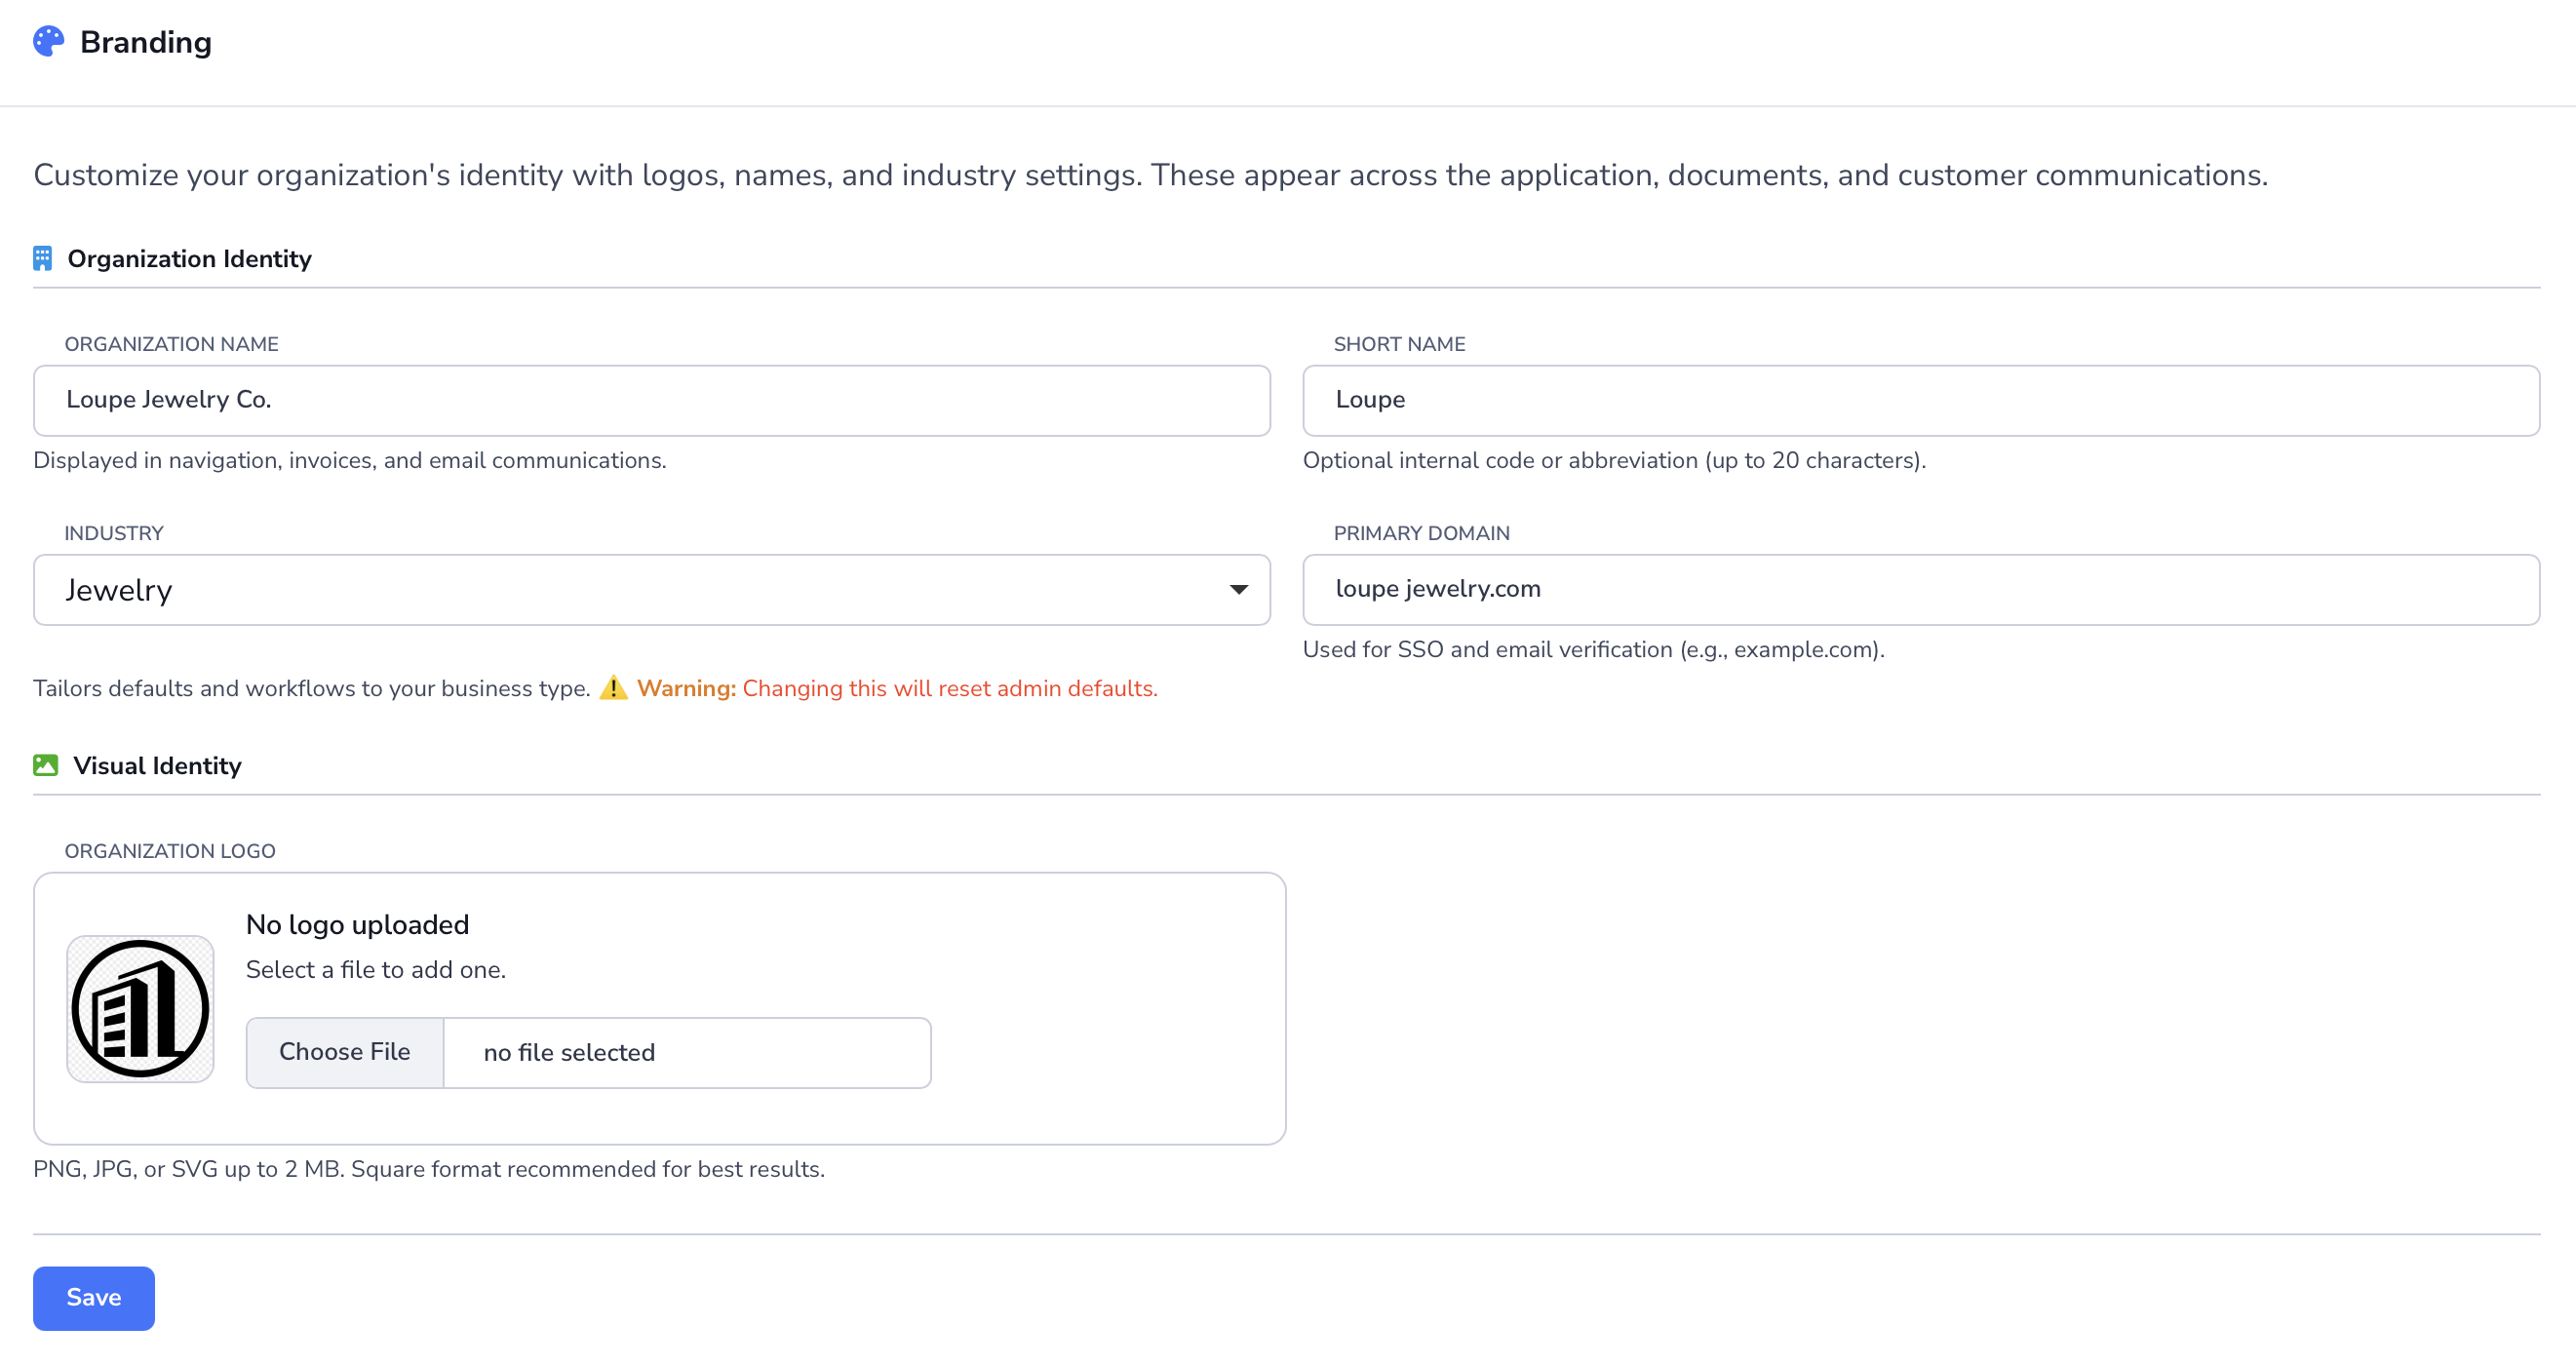
Use the Branding section to manage how your company appears across Loupe Factory.
- Go to Admin Settings > Organization Settings.
- In Branding, update the Organization name, Short name, Industry, or Primary domain.
- Upload or replace the Organization logo if needed.
- Click Save.
These values appear in navigation, invoices, emails, and other customer-facing or team-facing areas of the platform. Images marked as locked will not be uploaded to the organization record.
Warning
Changing Industry reloads industry-based defaults for products, inventory, materials, sizes, shapes, colors, departments, designations, production stages, and shipping carriers. Size groups, size options, and shapes are recreated; custom entries in other catalogs, including colors you added, may be removed or deactivated. Review the Industry Starting Points before you save, then verify the related settings afterward.
Managing Locations
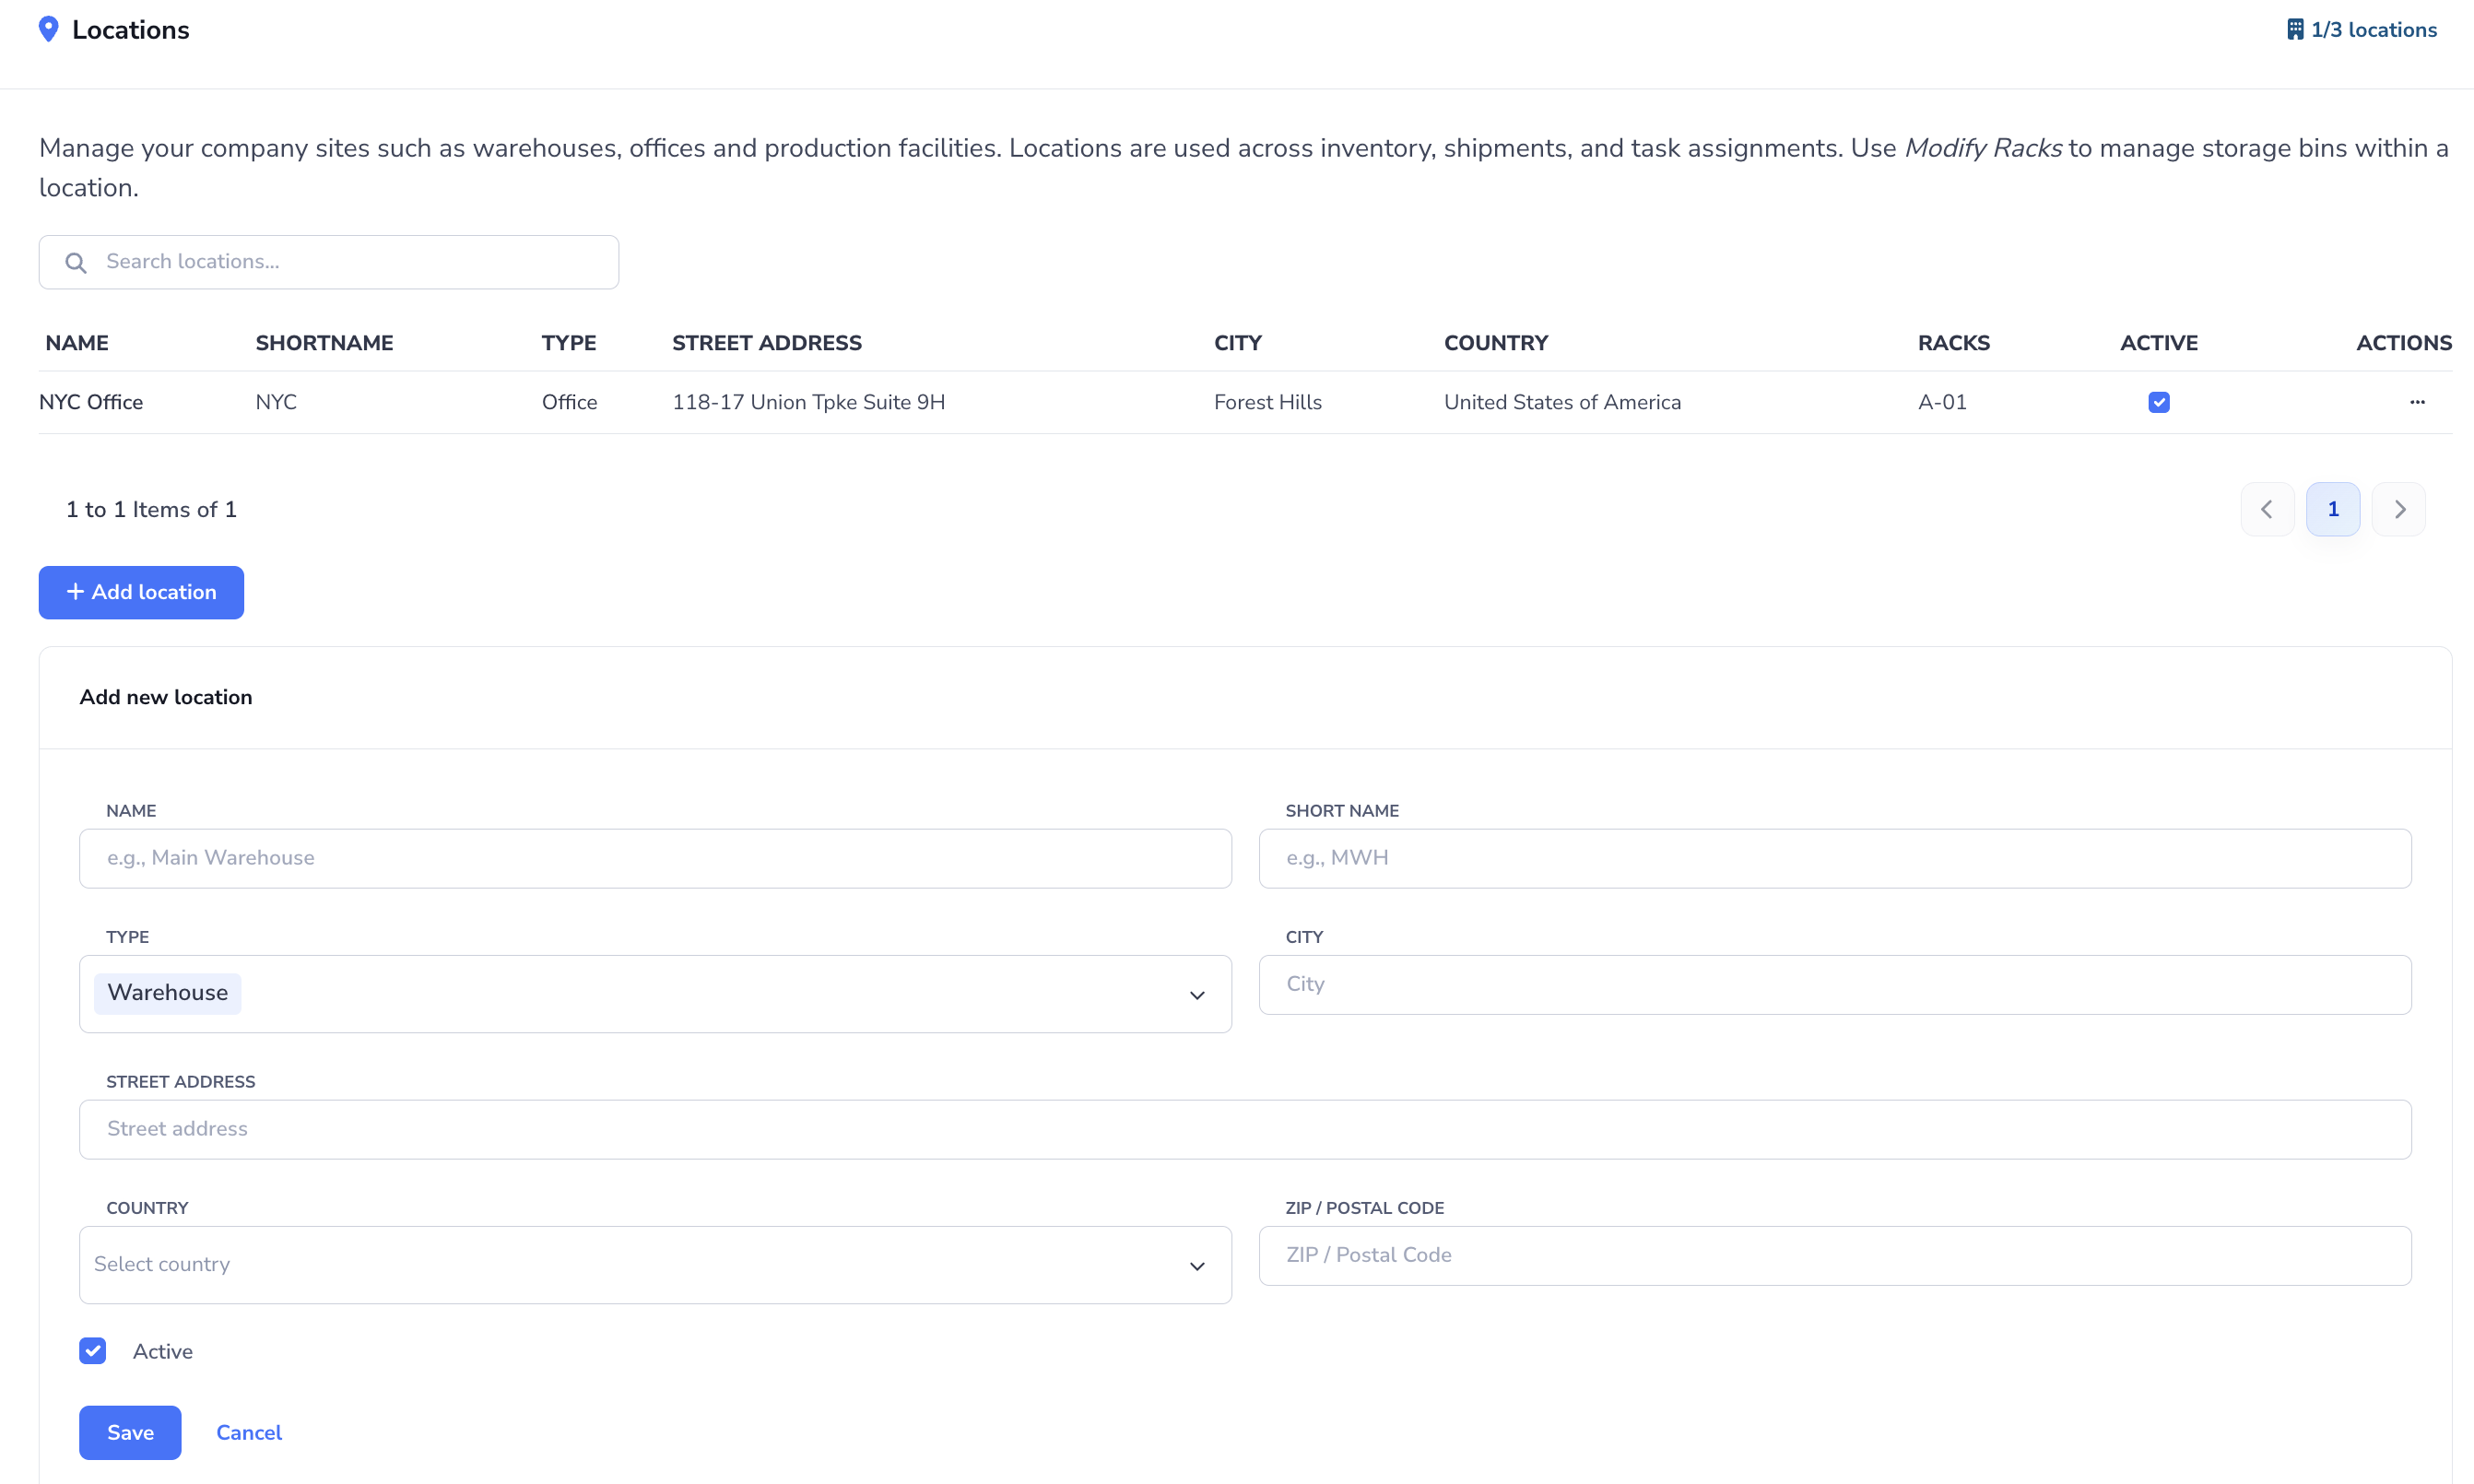
Use the Locations section to keep your operational sites organized. This is where you manage warehouses, offices, stores, and production facilities used across inventory, shipments, and staff assignments.
To add a location:
- Go to Admin Settings > Organization Settings.
- Open the Locations section.
- Click Add location.
- Enter the location details, including Name, Short name, Type, Street address, City, Country, and ZIP / Postal Code.
- Leave Active enabled if the location should be available right away.
- Click Save.
To update or remove a location:
- Find the location in the location list.
- Use the ⋯ menu to choose Edit, Modify Racks, or Remove.
- If you choose Edit, update the location details and click Save.
- If you choose Modify Racks, manage the rack or bin names used inside that location.
If your plan includes a location limit, Loupe Factory shows the number of locations already in use and asks you to upgrade before adding more.
Starter includes 1 location. Professional includes up to 3 locations. Business and Enterprise include unlimited locations. A location can represent a warehouse, factory, store, showroom, office, or another place where your organization tracks work or stock.
Manager Inventory Access Across Locations
The Managers can use inventory from all locations setting controls whether Manager users can work with inventory beyond their assigned location. You can find it in Organization Settings > Locations, below the Add location button.
Turn this setting on when managers need to view and select inventory items or products across multiple warehouses, factories, showrooms, or fulfillment sites. This helps multi-site teams find available stock without moving between separate location-specific workflows.
| Setting state | Manager behavior | Member behavior |
|---|---|---|
| Enabled | Managers can view and select inventory items or products from every location in the organization. | Members can only see inventory items and products from their assigned location. |
| Disabled | Managers can only use inventory from their assigned location. | Members can only see inventory items and products from their assigned location. |
This setting is available on the Professional, Business, and Enterprise plans. On the Starter plan, the option is unavailable and users need to upgrade to use manager cross-location inventory access.
Regional Defaults
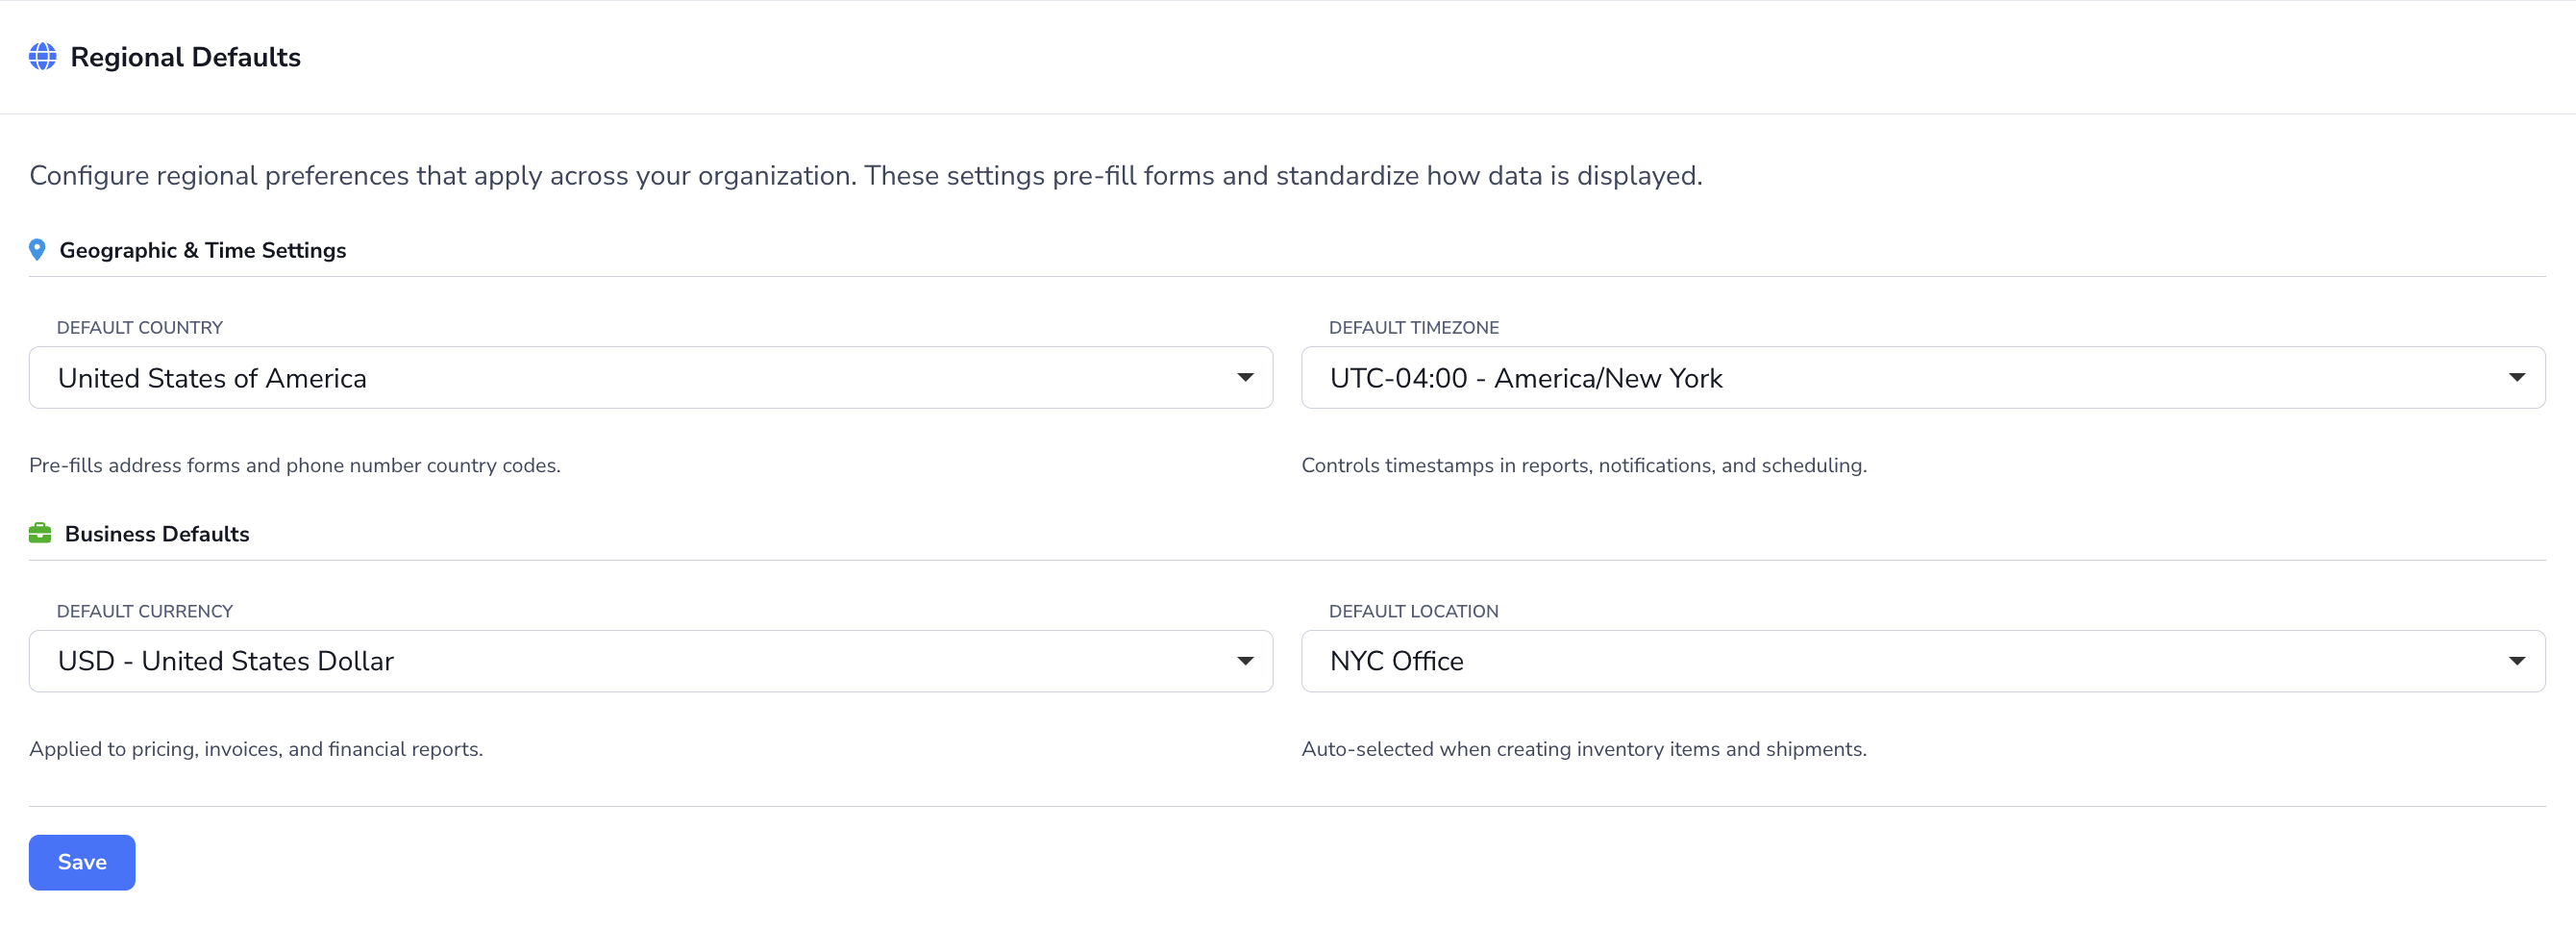
Use Regional Defaults to set the standard country, timezone, currency, and default location used across your organization.
- Go to Admin Settings > Organization Settings.
- Scroll to Regional Defaults.
- Choose the Default country, Default timezone, Default currency, and Default location that should be used across the workspace.
- Click Save.
These defaults help pre-fill forms and keep time, currency, and location-based data consistent across the platform.
Locale Preferences
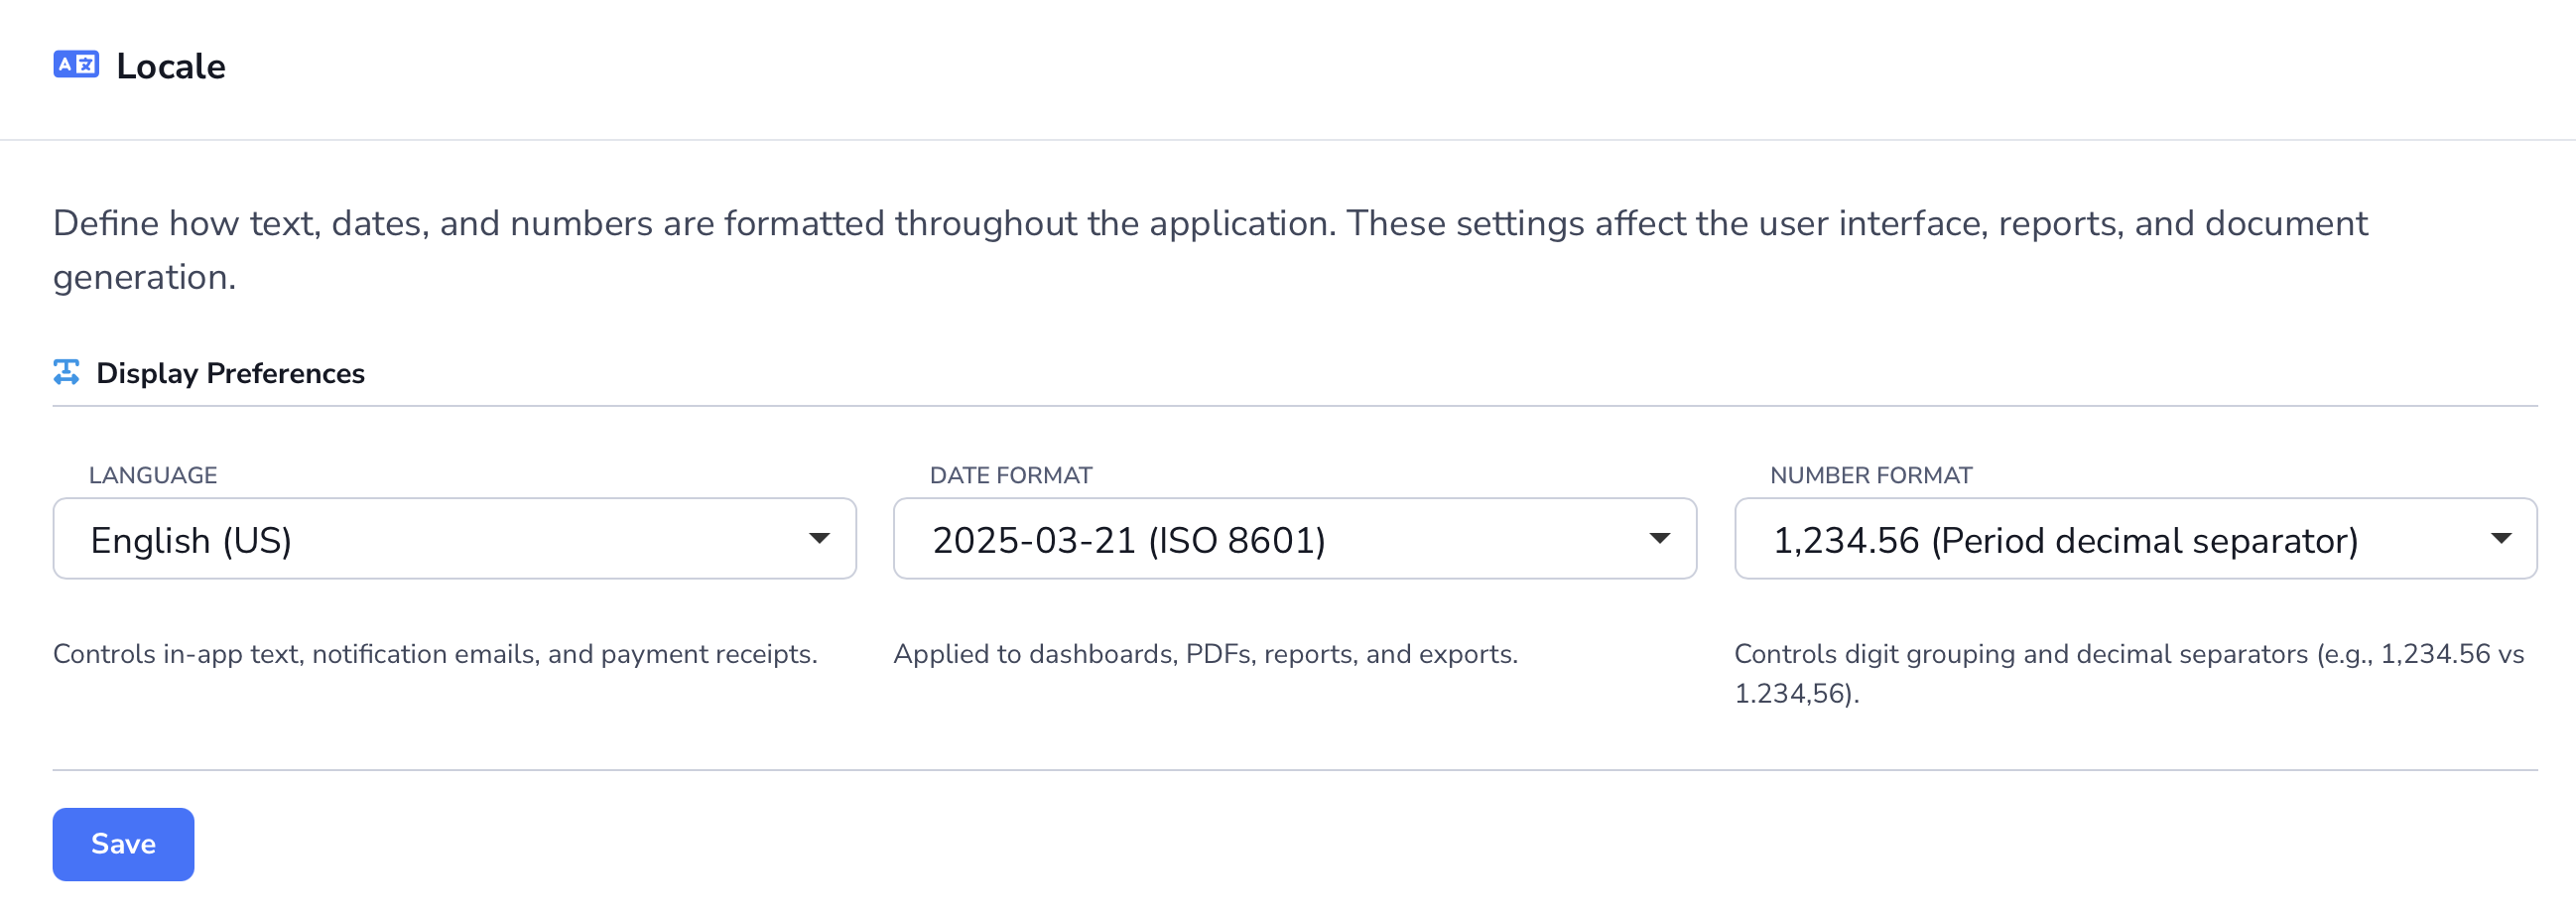
Use the Locale section to control how language, dates, and numbers appear across the platform.
- Go to Admin Settings > Organization Settings.
- Scroll to Locale.
- Choose your preferred Language, Date format, and Number format.
- Click Save.
These settings affect in-app labels, reports, exports, and document output.
Departments and Designations
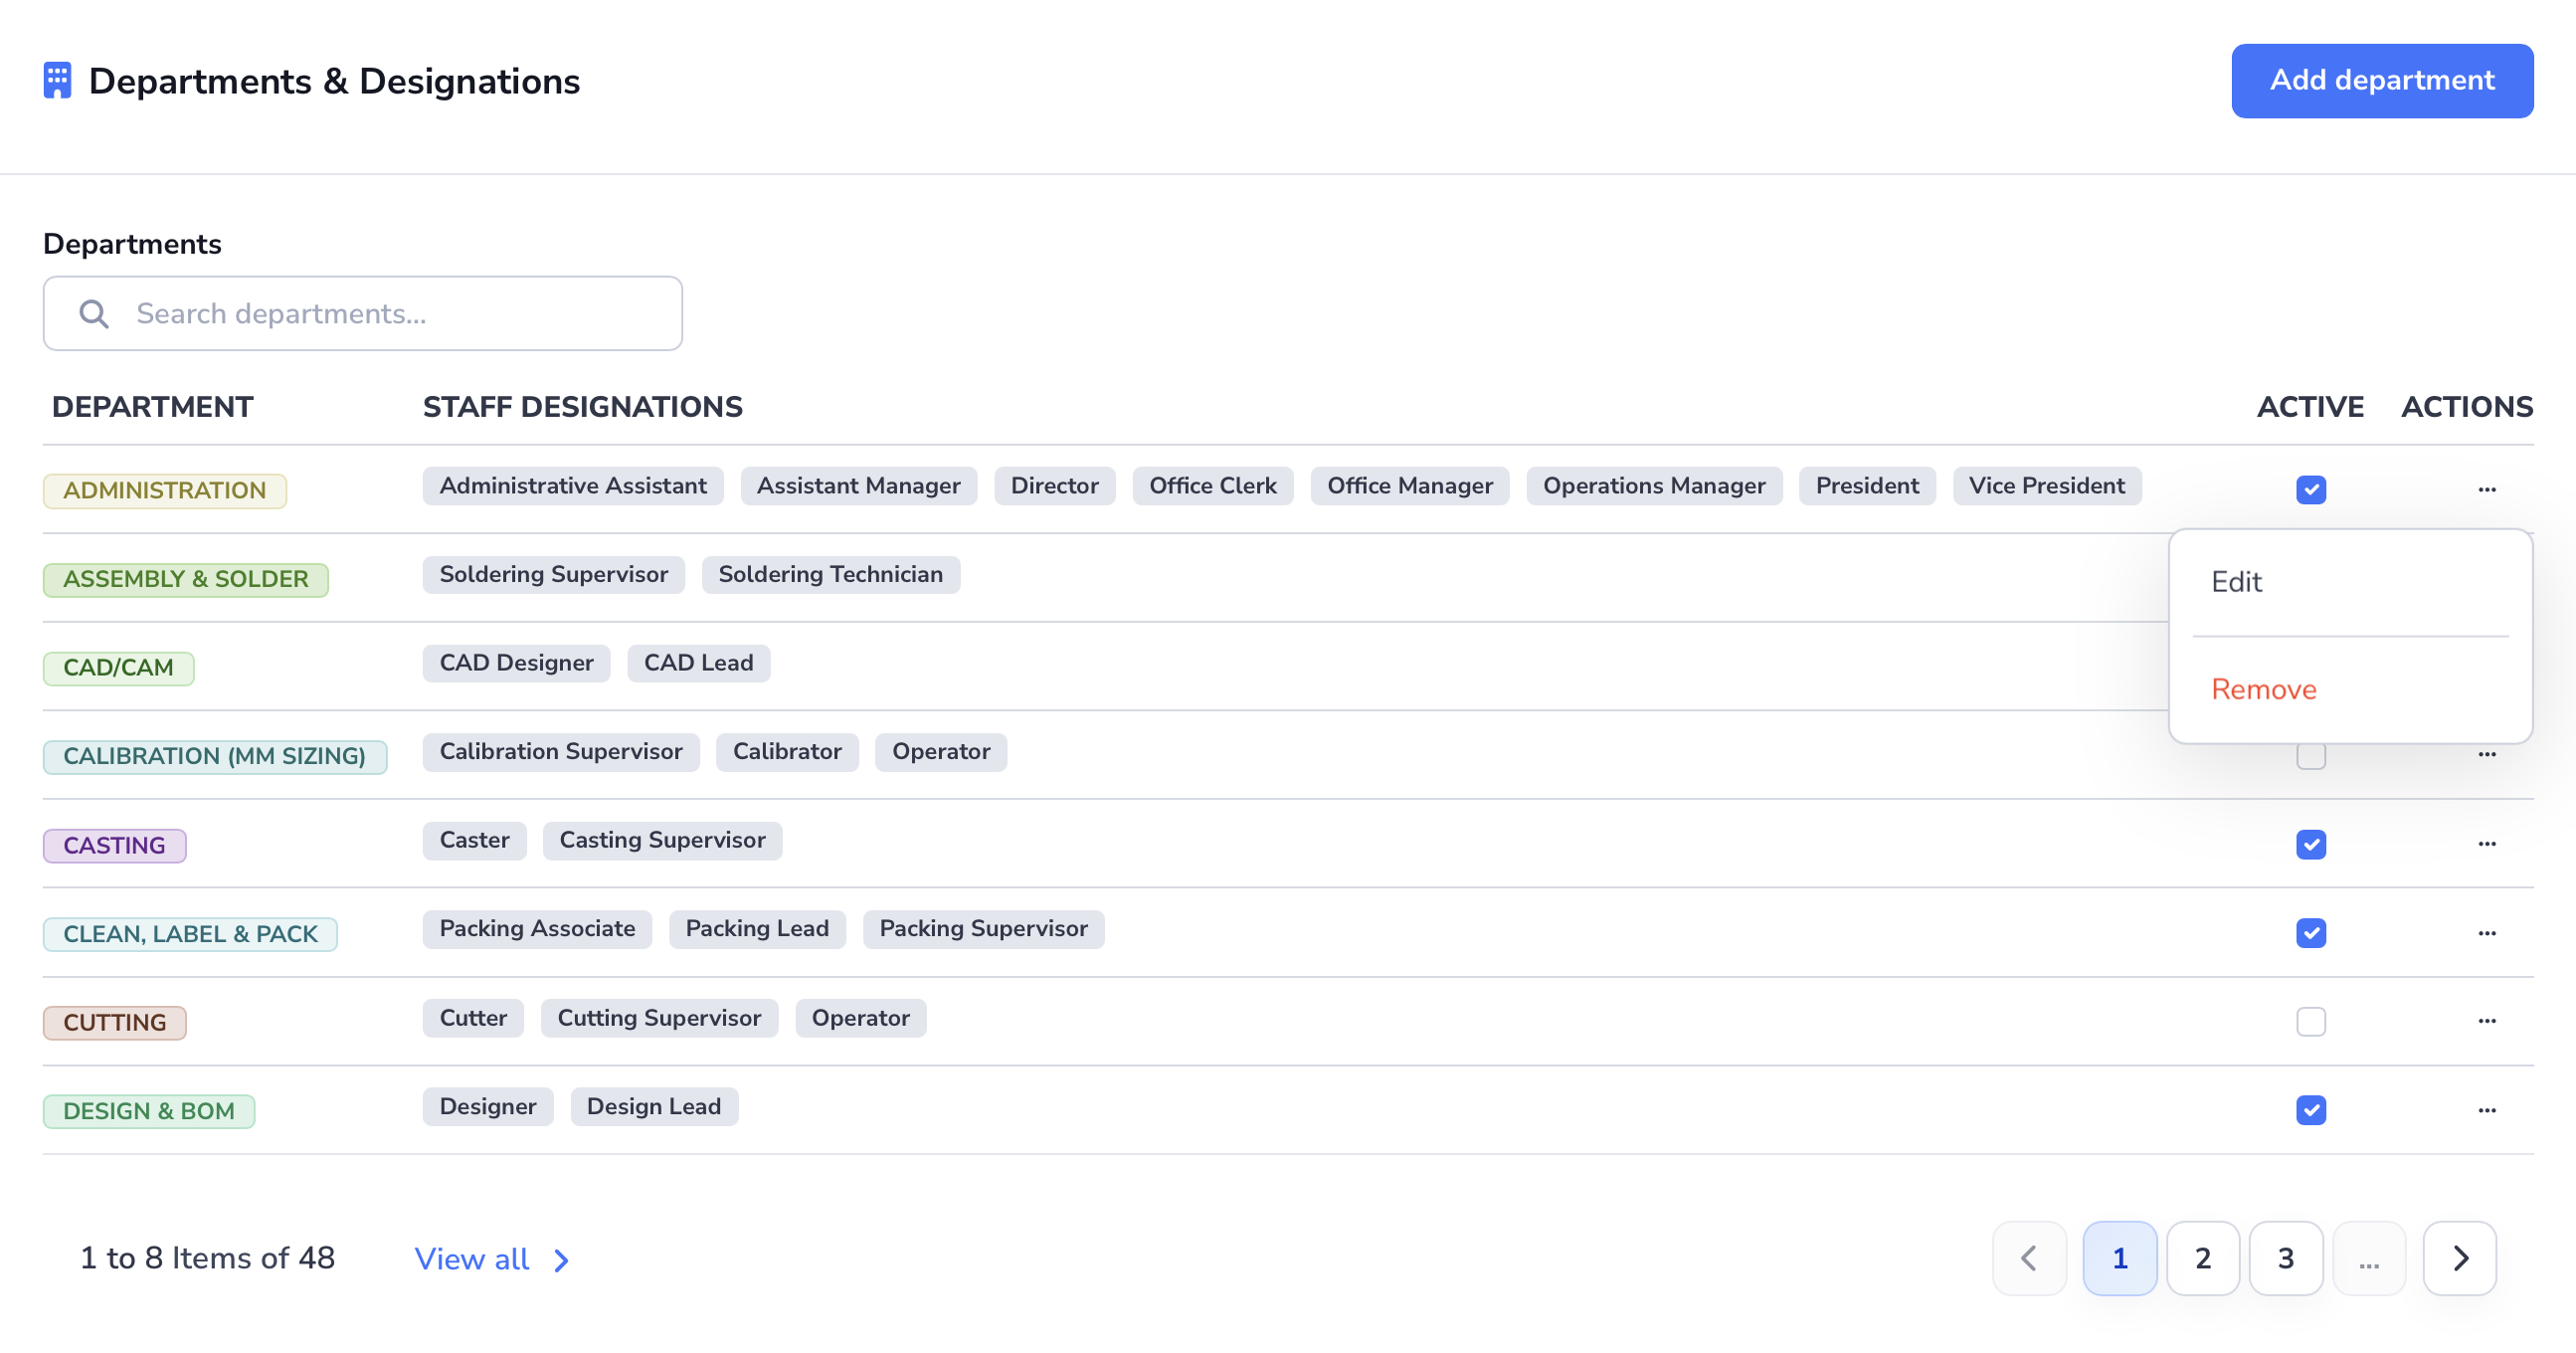
Use the Departments & Designations section to keep your internal team structure consistent for staff records, assignments, and reporting.
To add a department:
- Go to Admin Settings > Organization Settings.
- Open Departments & Designations.
- Click Add department.
- Enter the Department name.
- Add one or more designation values if needed. Separate multiple values with commas.
- Leave Active enabled if the department should be available right away.
- Click Save.
To edit a department or its designations:
- In the department list, find the department you want to update.
- Click the ⋯ menu, then select Edit.
- Update the department name or active status as needed, then click Save.
- In the designation area, keep the existing values you want to retain, deselect any you want to remove, and add any new designation values.
- Click Update Designations.
Compliance Details
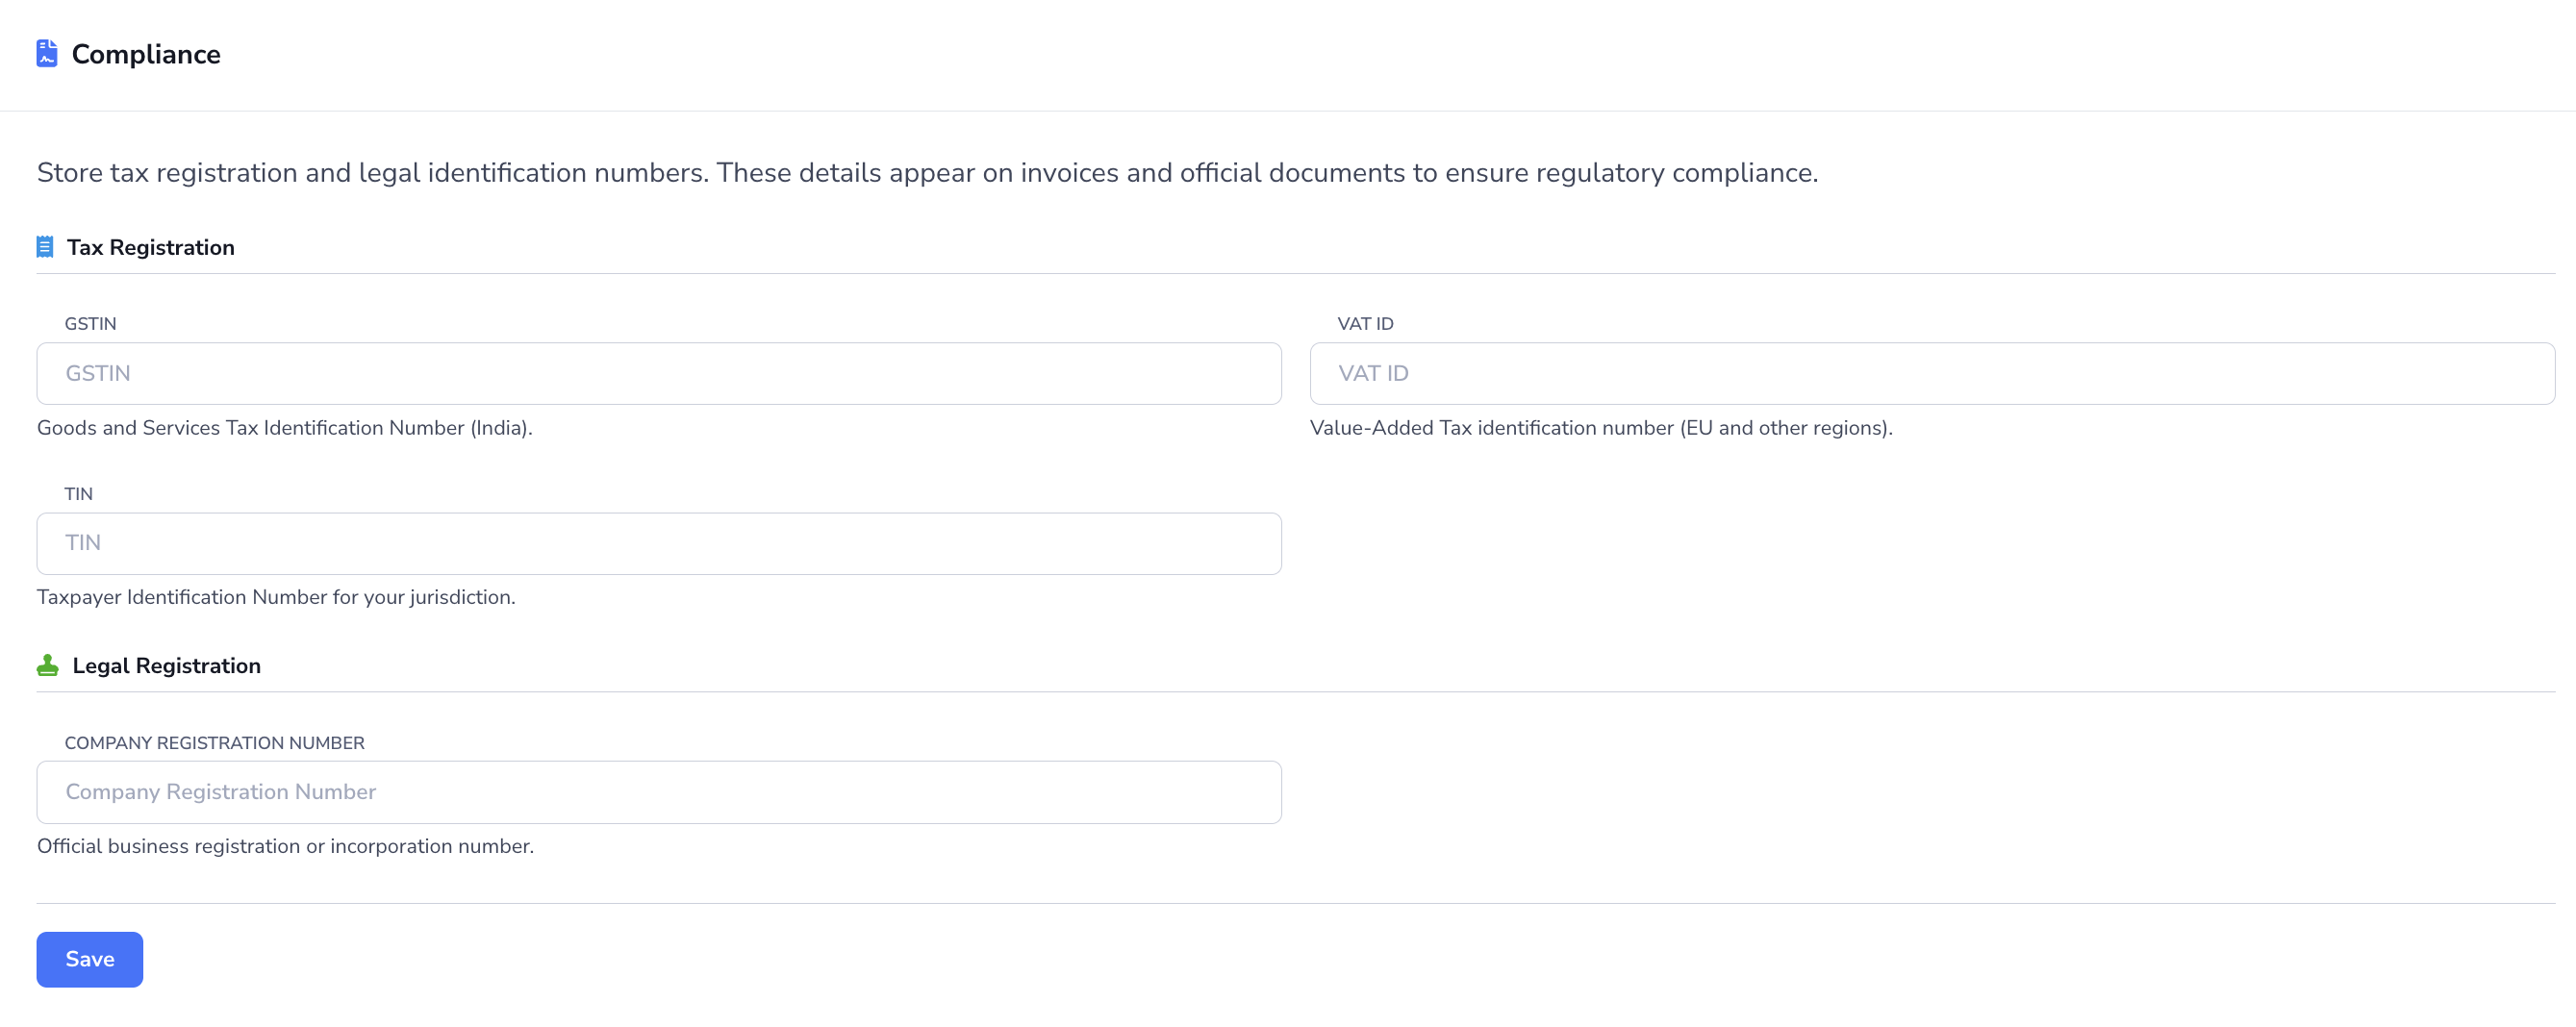
Use the Compliance section to store the tax identifiers and bank details that print on invoices.
- Go to Admin Settings > Organization Settings.
- Scroll to Compliance.
- Enter the tax fields that apply to your region, such as GSTIN, VAT ID, TIN, and Company registration number.
- Enter your bank details once: bank name, branch, account name, account number, IFSC or routing code, SWIFT, and IBAN.
- If you export from India, save IEC, LUT, and AD in the same card.
- Click Save.
Those seven bank fields, and the three India export codes when you use them, print on every invoice after that. If you have not saved them yet, the Create Invoice form borrows from your most recent invoice instead of showing empty boxes.
Next Steps
- Users & Access: Invite users and manage access for your workspace
- Staff Management: Learn how departments and designations support staff records
- Security and Access: Review what each role can do