Orders Settings
Use Admin Settings > Orders Settings to manage document numbering, payment defaults, invoice content, invoice product photos, and shipment carriers for your workspace. These settings affect how new sales orders, purchase orders, invoices, and shipment options behave.
Before You Start
Only admins can open Admin Settings > Orders Settings. If you do not have admin access, ask an existing admin to make these changes for you.
Numbering and Defaults
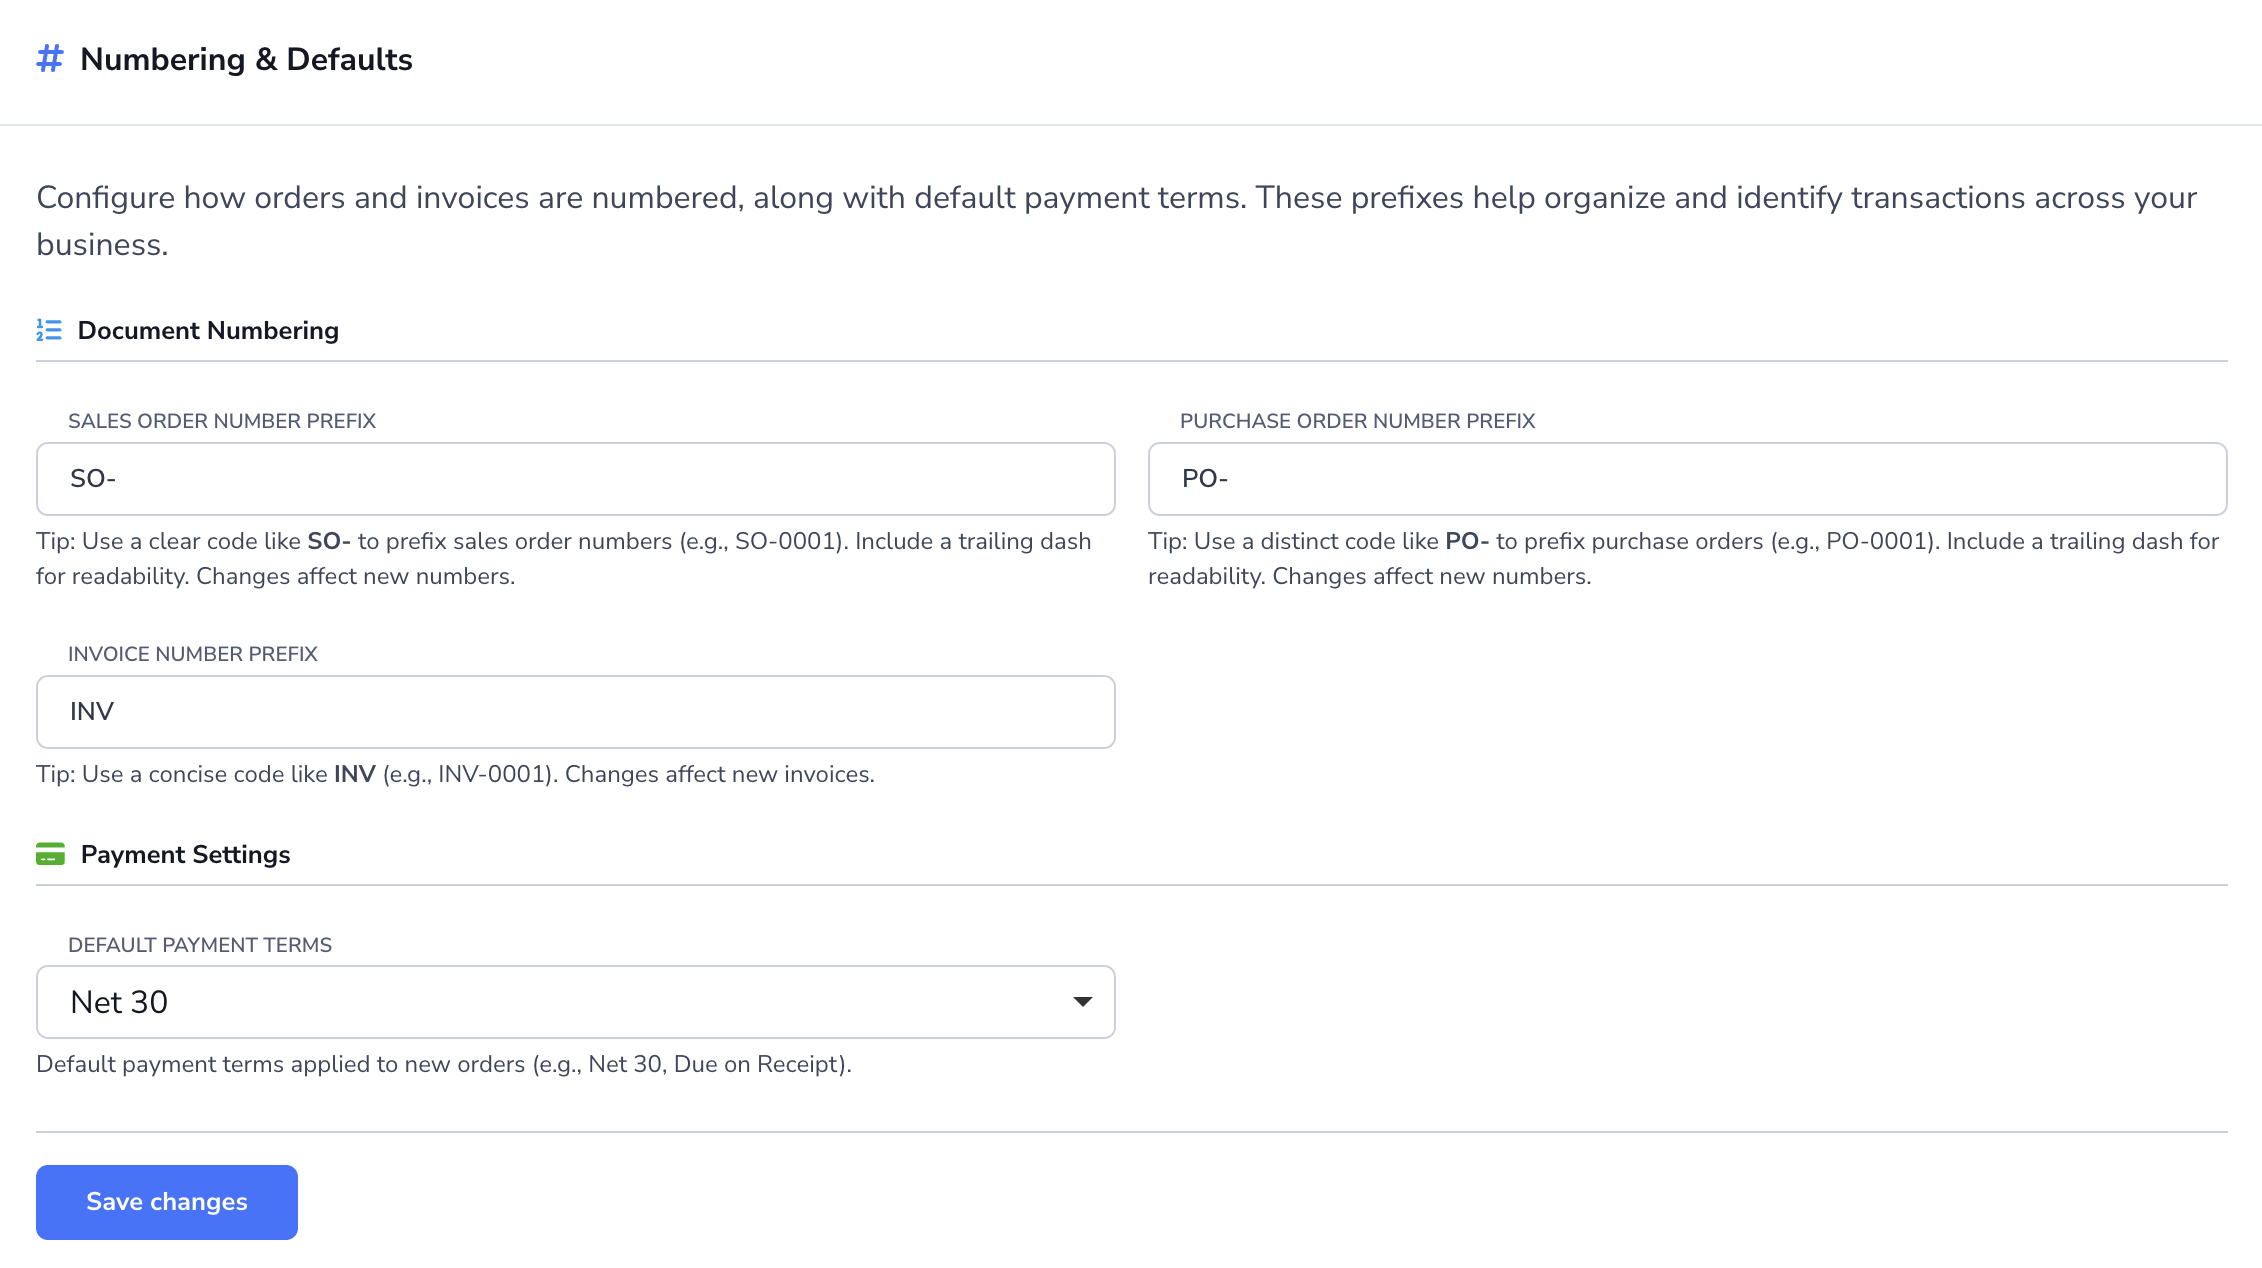
Use Numbering & Defaults to set the prefixes used for order and invoice numbers, and to choose the default payment terms for new orders.
- Go to Admin Settings > Orders Settings.
- In Numbering & Defaults, enter the Sales order number prefix, Purchase order number prefix, and Invoice number prefix you want to use.
- Choose the Default payment terms for new orders.
- Click Save changes.
Use short, clear prefixes such as SO-, PO-, or INV- so documents are easy to recognize. Prefix changes affect new numbers, not numbers that already exist.
Invoice Settings
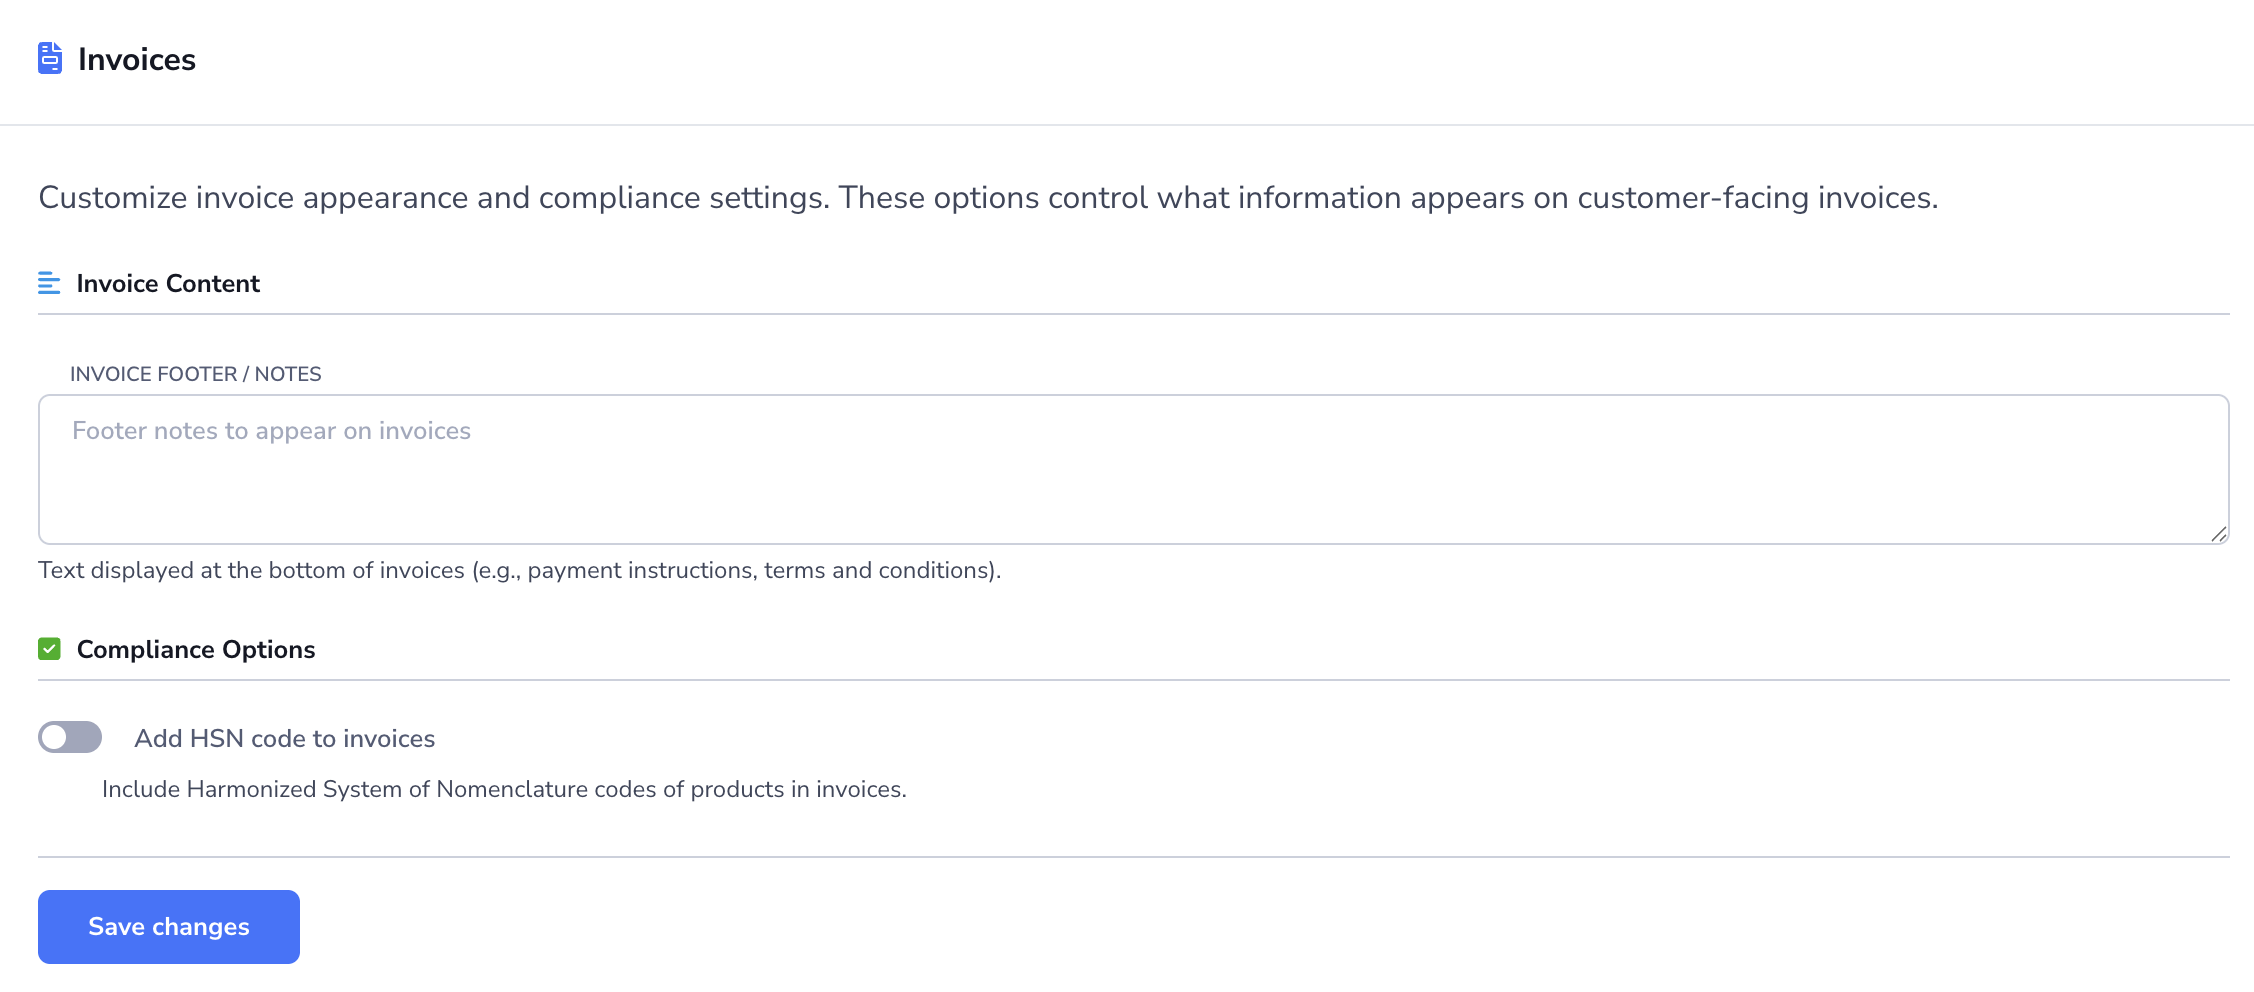
Use Invoices to control the notes, compliance details, and optional product images that appear on customer-facing invoices.
- Go to Admin Settings > Orders Settings.
- Scroll to Invoices. In the product, this is the Settings > Orders > Invoices area.
- In Invoice footer / notes, enter the text you want to appear at the bottom of invoices.
- Turn on Add HSN code to invoices if your region or tax process requires HSN codes on invoice documents.
- Turn on Add inventory product photos to invoices if you want the invoice preview and generated PDF to show available images beside invoice line items.
- Click Save changes.
This section is a good place to store payment instructions, invoice terms, or other standard notes your customers should see.
Invoice product photos are off by default and are available on the Professional, Business, and Enterprise plans. On Starter, this setting is locked and prompts users to upgrade. When the setting is enabled, Loupe Factory only shows images that are directly attached to the billed order line item. If a line item has no image, that invoice row remains text-only. Loupe Factory does not automatically substitute the inventory item photo on the final invoice.
Managing Shipment Carriers
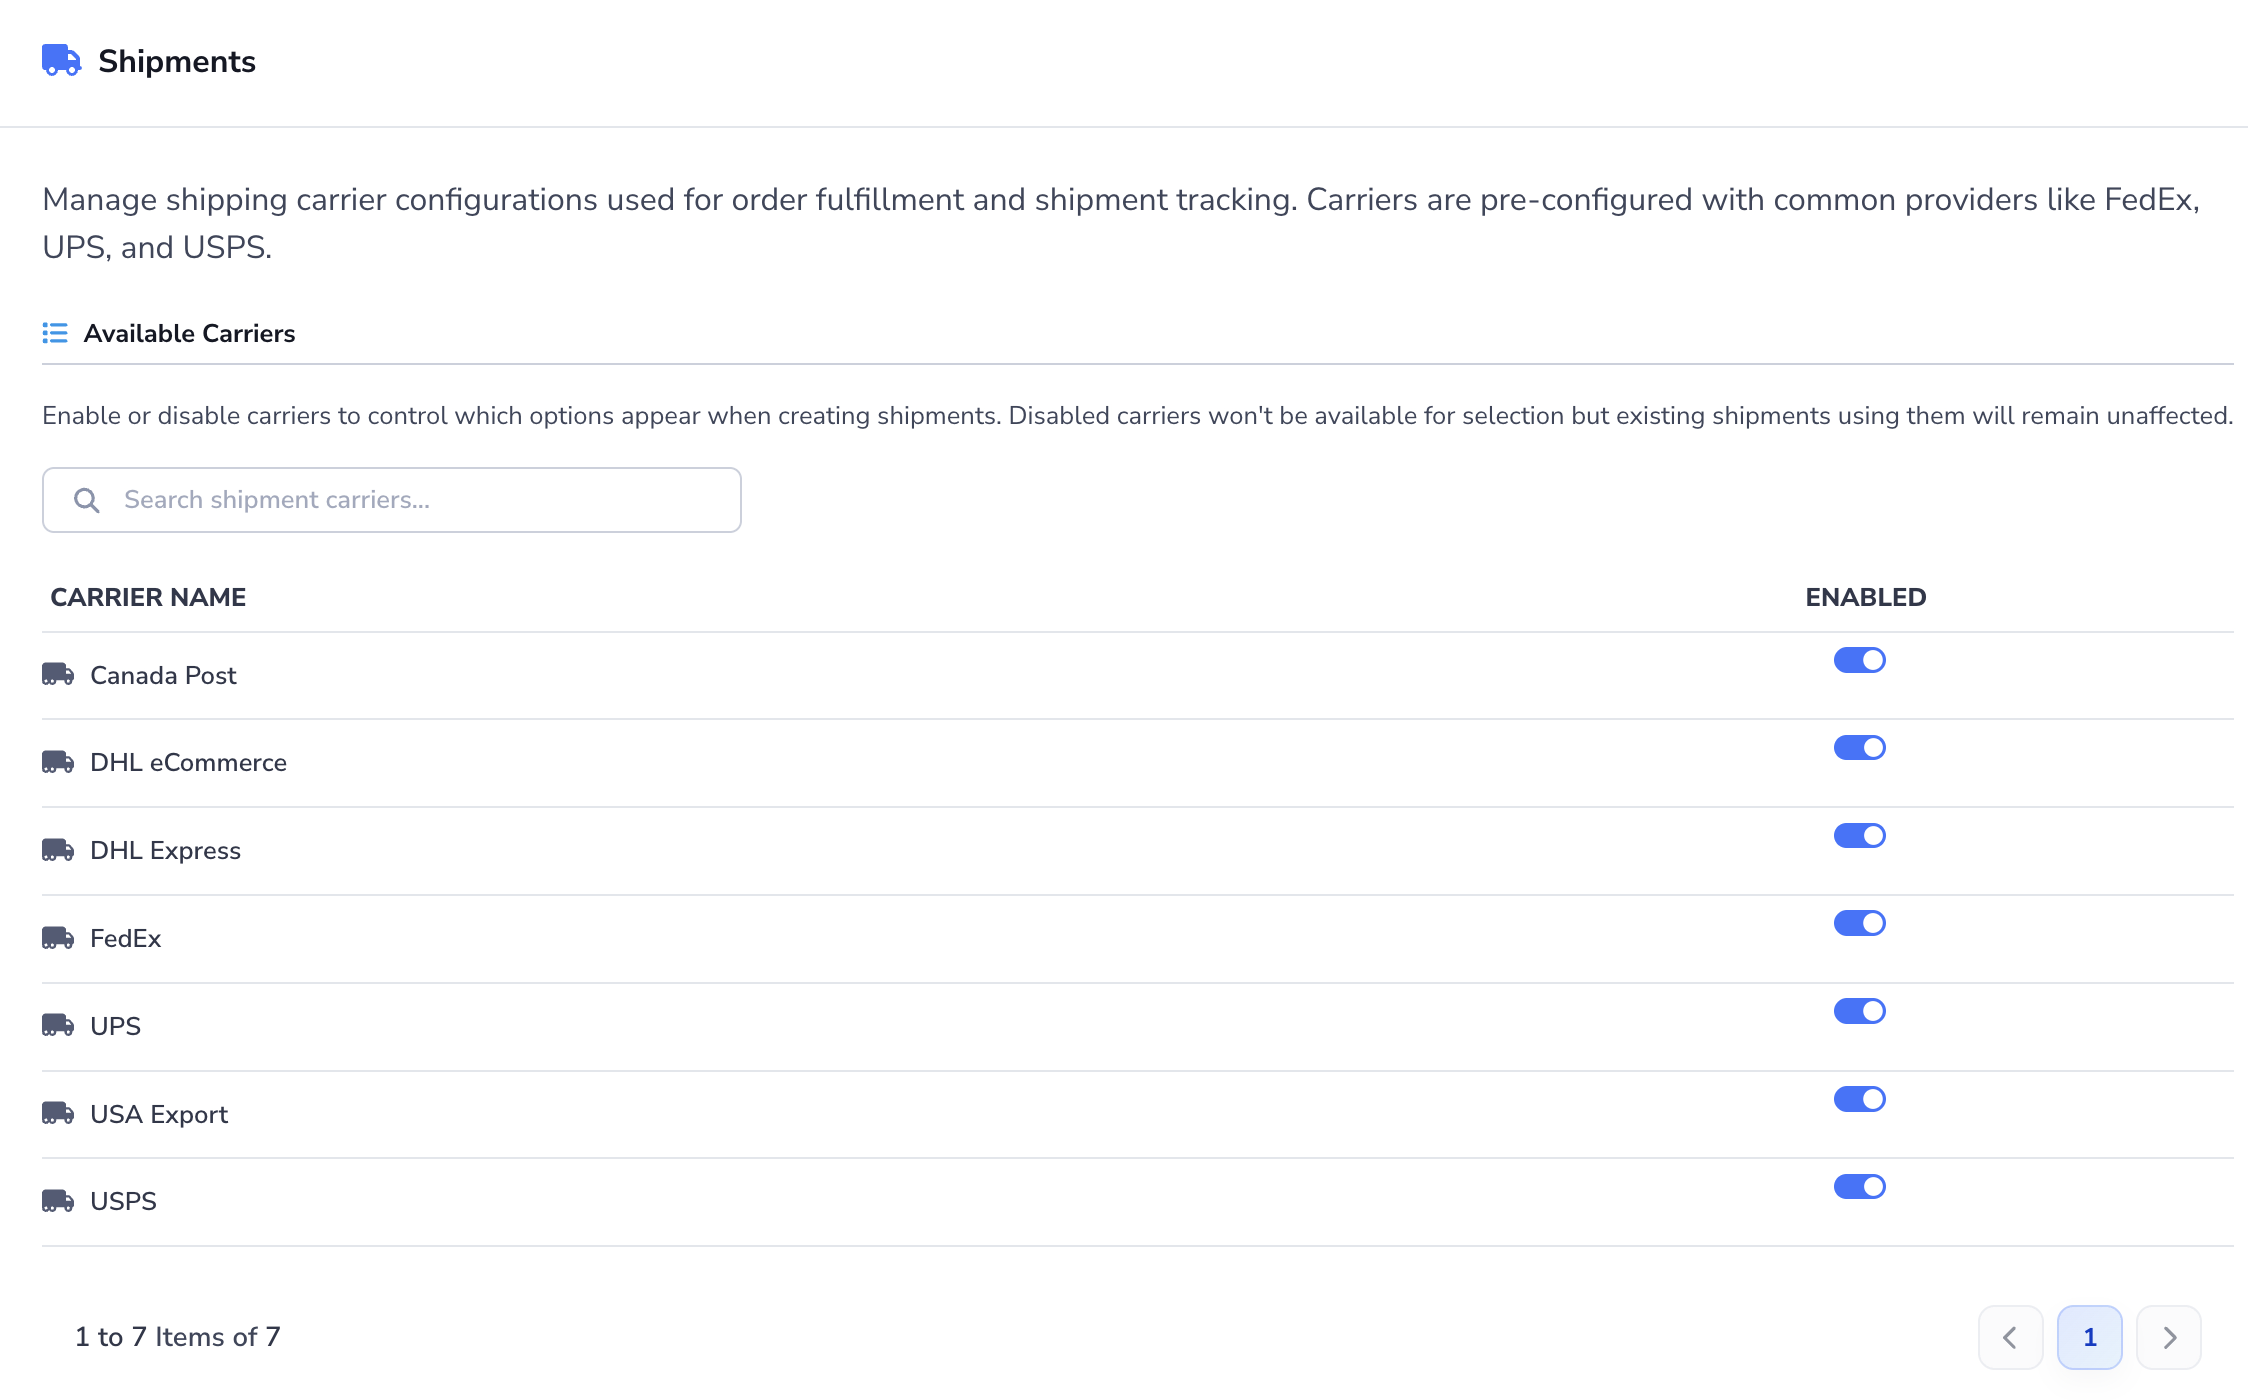
Use Shipments to control which carriers your team can select when creating shipments.
Enable or Disable a Carrier
- Go to Admin Settings > Orders Settings.
- Scroll to Shipments.
- In Available Carriers, find the carrier you want to update.
- Use the search bar if you need to narrow the list.
- Use the Enabled toggle to turn the carrier on or off.
Disabled carriers are hidden from future shipment selection, but existing shipments that already use those carriers remain unchanged.
Refresh the Default Carrier List
- Go to Admin Settings > Orders Settings.
- Scroll to Shipments.
- In Reset Carriers, click Refresh Shipment Carriers.
- Wait for the success message and page refresh.
This action synchronizes the carrier list with the default Loupe Factory configuration. Carriers already in use are preserved, while unused custom carriers are removed.

Helpful Notes
- Shipment carriers are preconfigured with common providers, such as FedEx, UPS, and USPS.
- Invoice settings and numbering changes apply to new work going forward.
- Payment terms help your team keep order creation consistent across users.
- Invoice product photos appear only when the billed order line item has its own image.
Next Steps
- Order Management: Learn how your team creates and manages orders day to day
- Shipment Tracking: Learn how enabled carriers affect shipment workflows
- Organization Settings: Keep business identity and compliance details current for commercial documents