Inventory Settings
Use Admin Settings > Inventory Settings to control how stock is identified, classified, and governed across Loupe Factory. Admins can set inventory defaults, manage inventory type catalogs, define policies, reset catalogs, and clear every inventory item when the workspace needs to start over.
Before You Start
Only admins can open Admin Settings > Inventory Settings. If you do not have admin access, ask an existing admin to make these changes for you.
General Defaults
Use the General section to set the default inventory tag prefix and decide whether rack or bin tracking should be used.
- Go to Admin Settings > Inventory Settings.
- In General, enter the Inventory tag ID prefix if you want Loupe Factory to generate item IDs with a standard prefix.
- Turn on Enable location rack tracking if your team needs rack or bin assignment for item locations.
- Click Save Settings.
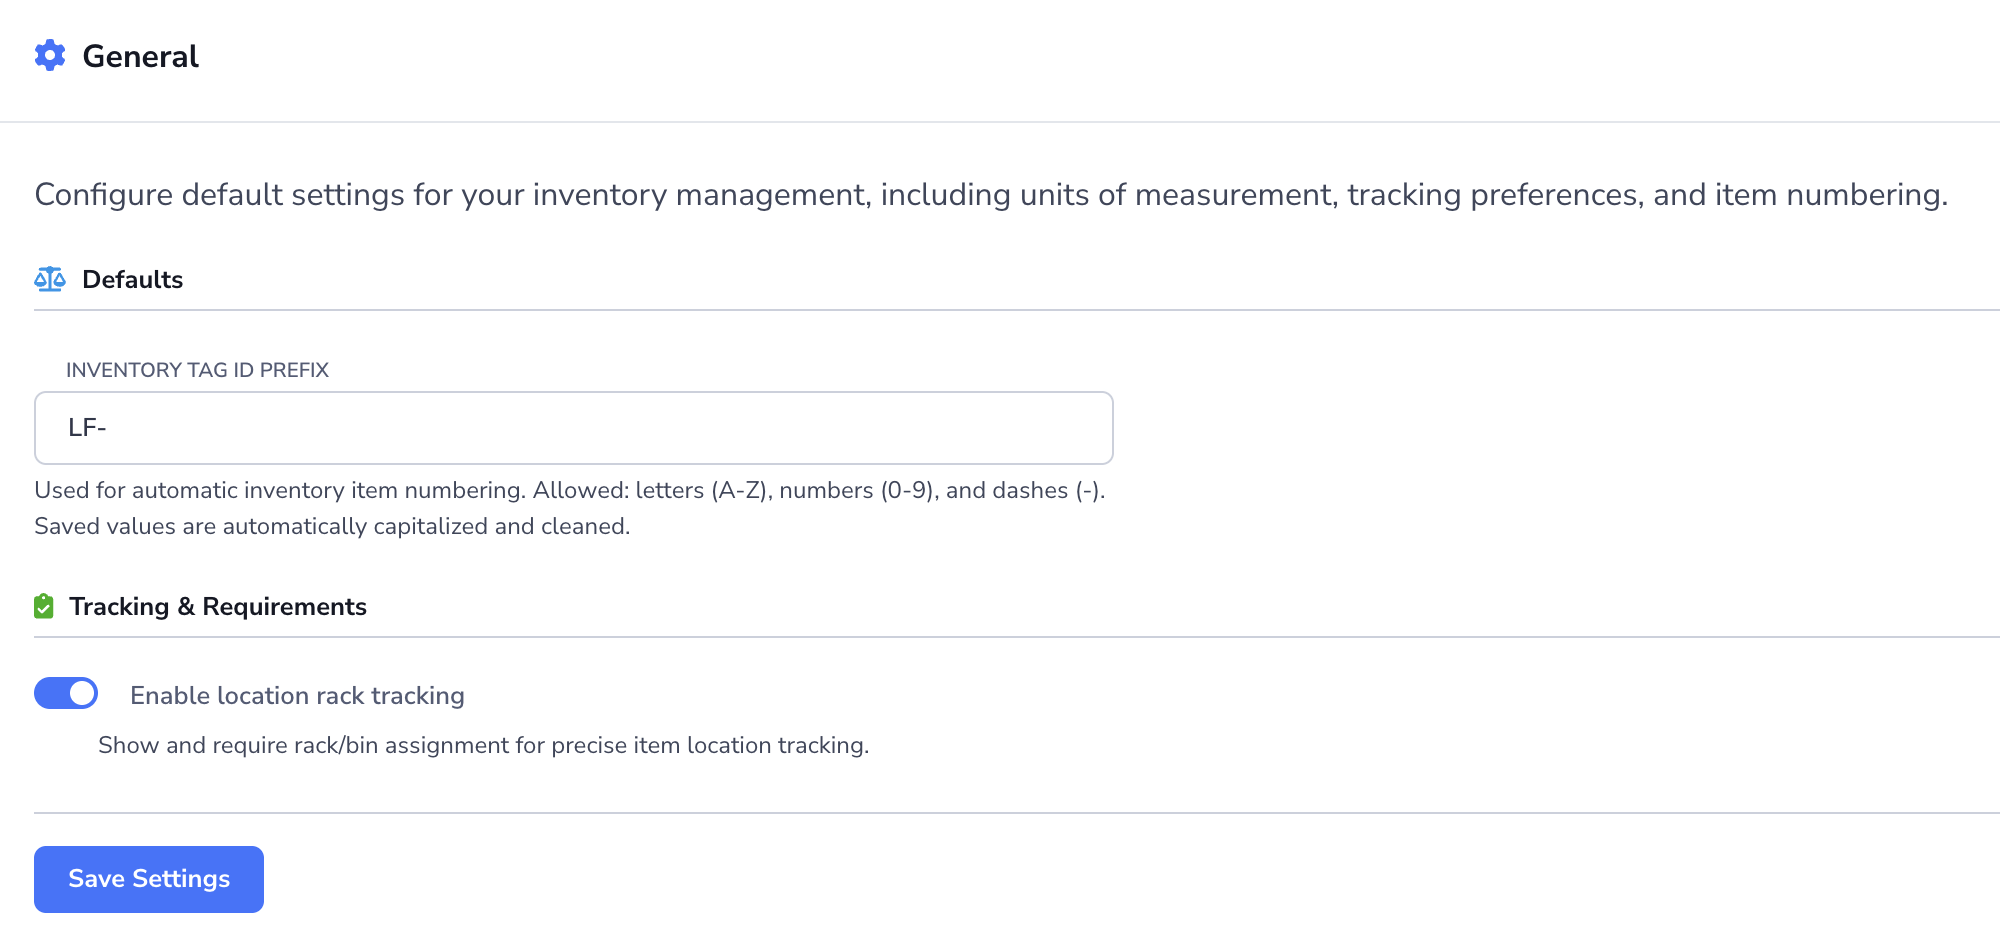
The inventory tag prefix supports letters, numbers, and dashes. Saved values are cleaned and capitalized automatically.
If you are looking for the default weight unit, manage that in Product Settings.
Managing Inventory Types
Use Inventory Types for the main inventory categories your team works with.
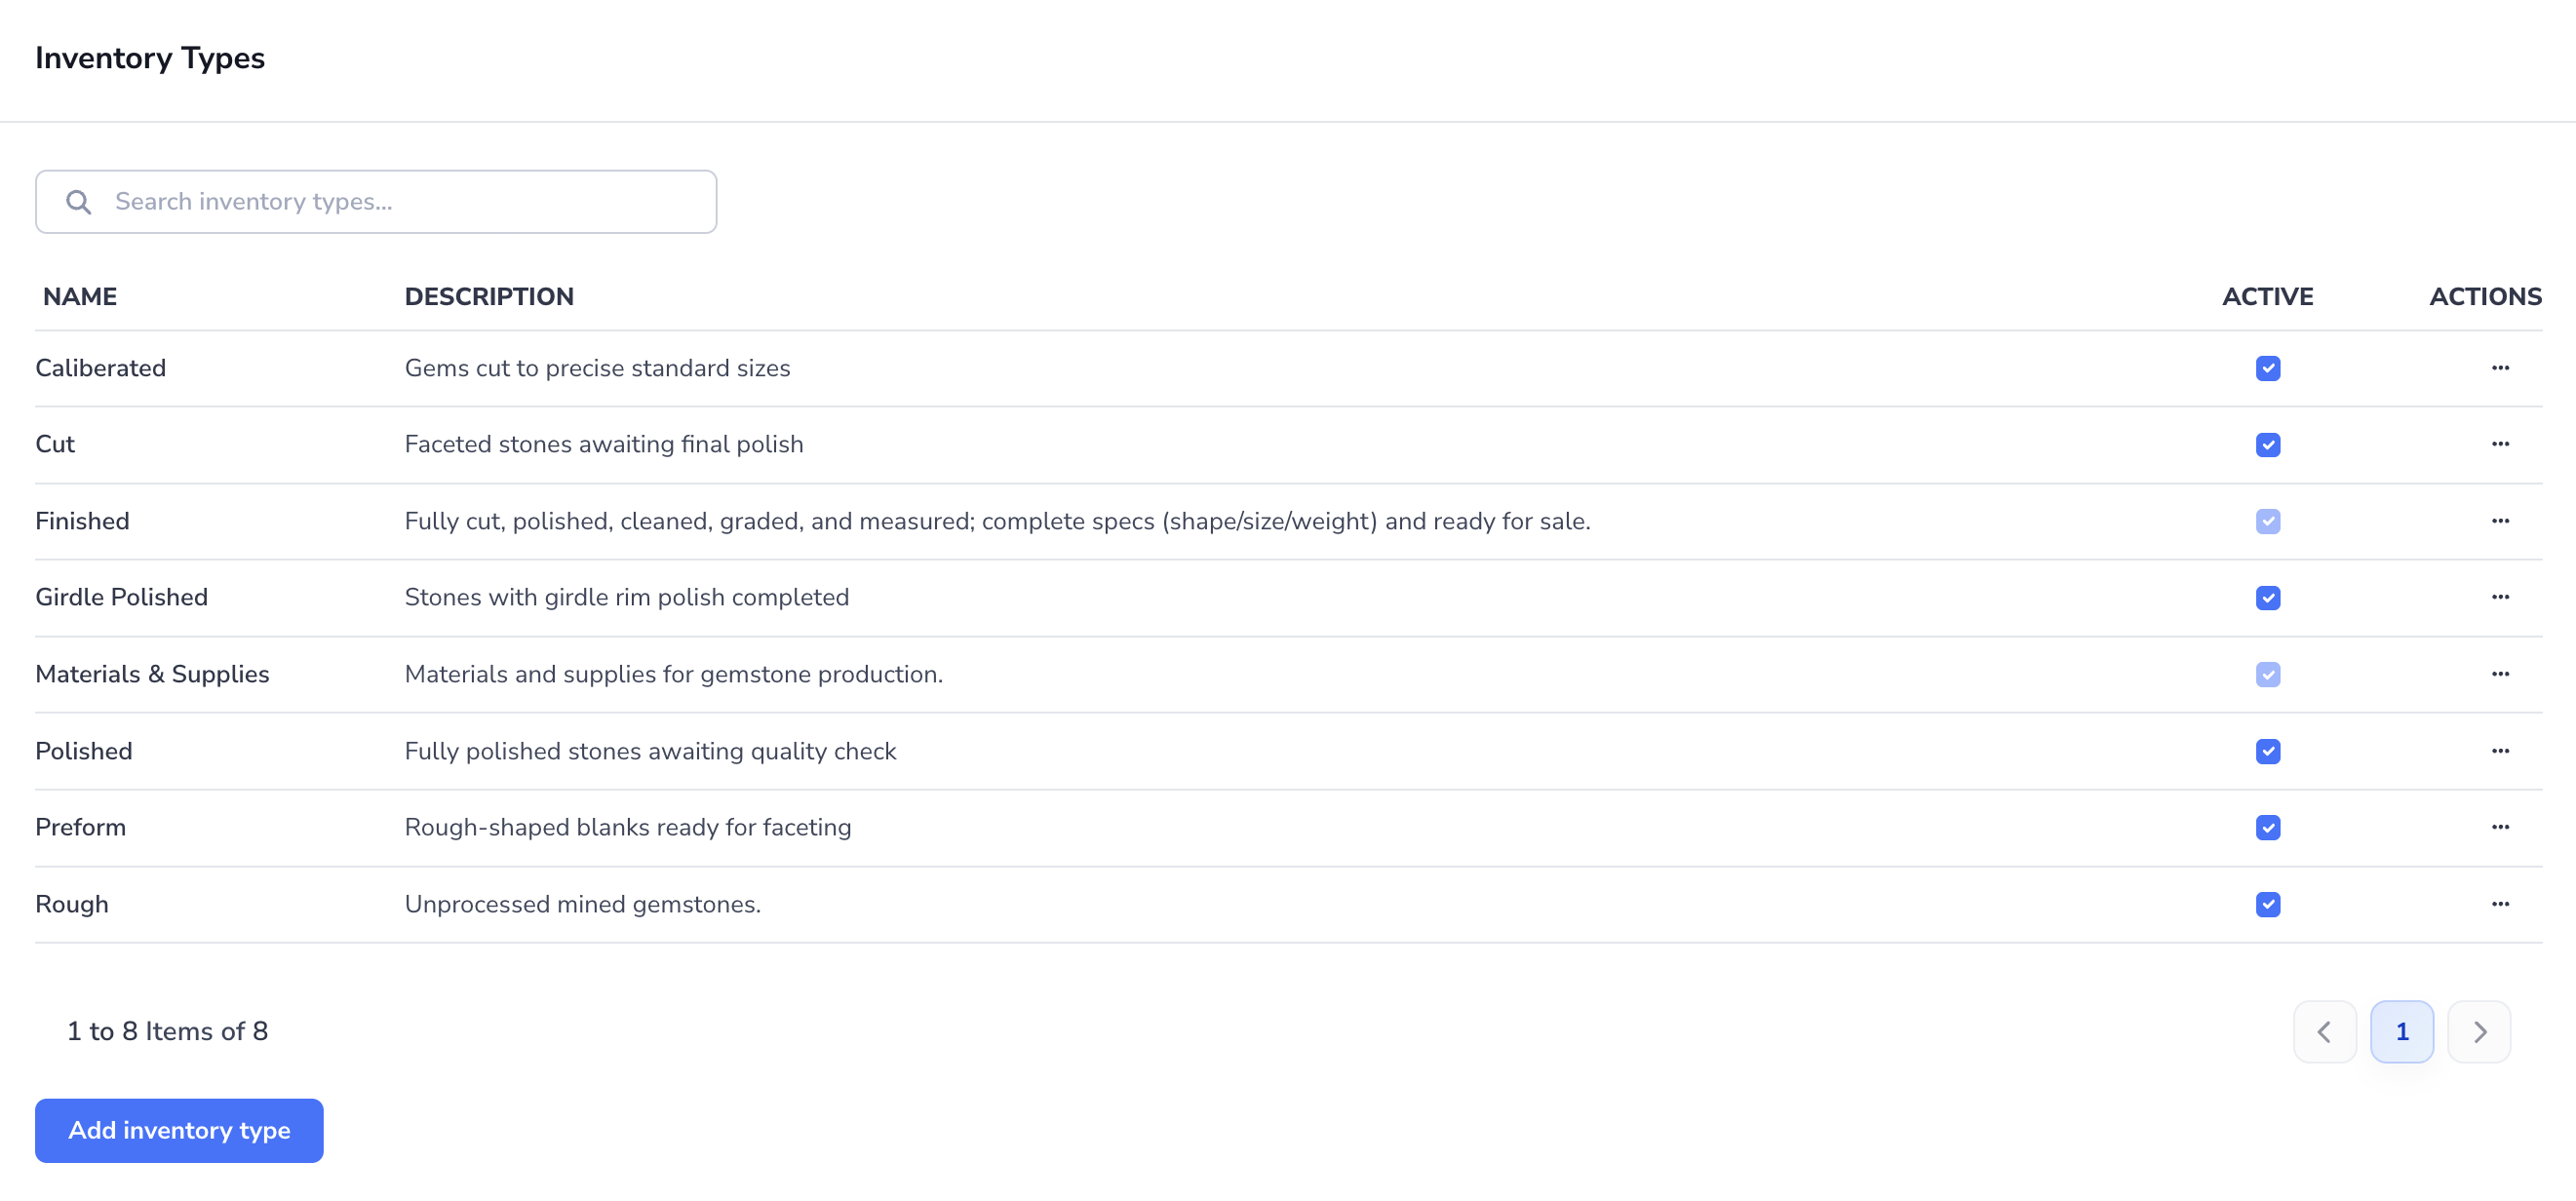
Add an Inventory Type
- Go to Admin Settings > Inventory Settings.
- In Inventory Types, click Add inventory type.
- Enter the Type name.
- Add a Description if it would help your team understand how to use the type.
- Leave Active enabled if the type should be available right away.
- Click Save.
Edit, Activate, or Remove an Inventory Type
- In the Inventory Types list, find the type you want to update.
- Use the search bar if you need to narrow the list.
- Use the Active checkbox to enable or disable the type.
- Open the row's three-dot menu to choose Edit or Remove.
- If you edit the type, update the fields and click Save.
Note
The built-in Finished and Materials & Supplies inventory types are protected, and are needed for the system to function. They can never be deactivated, edited, or removed in Loupe Factory.
Managing Finished Inventory Types
Use Finished Inventory Types to organize the different kinds of finished goods your team stores or ships.
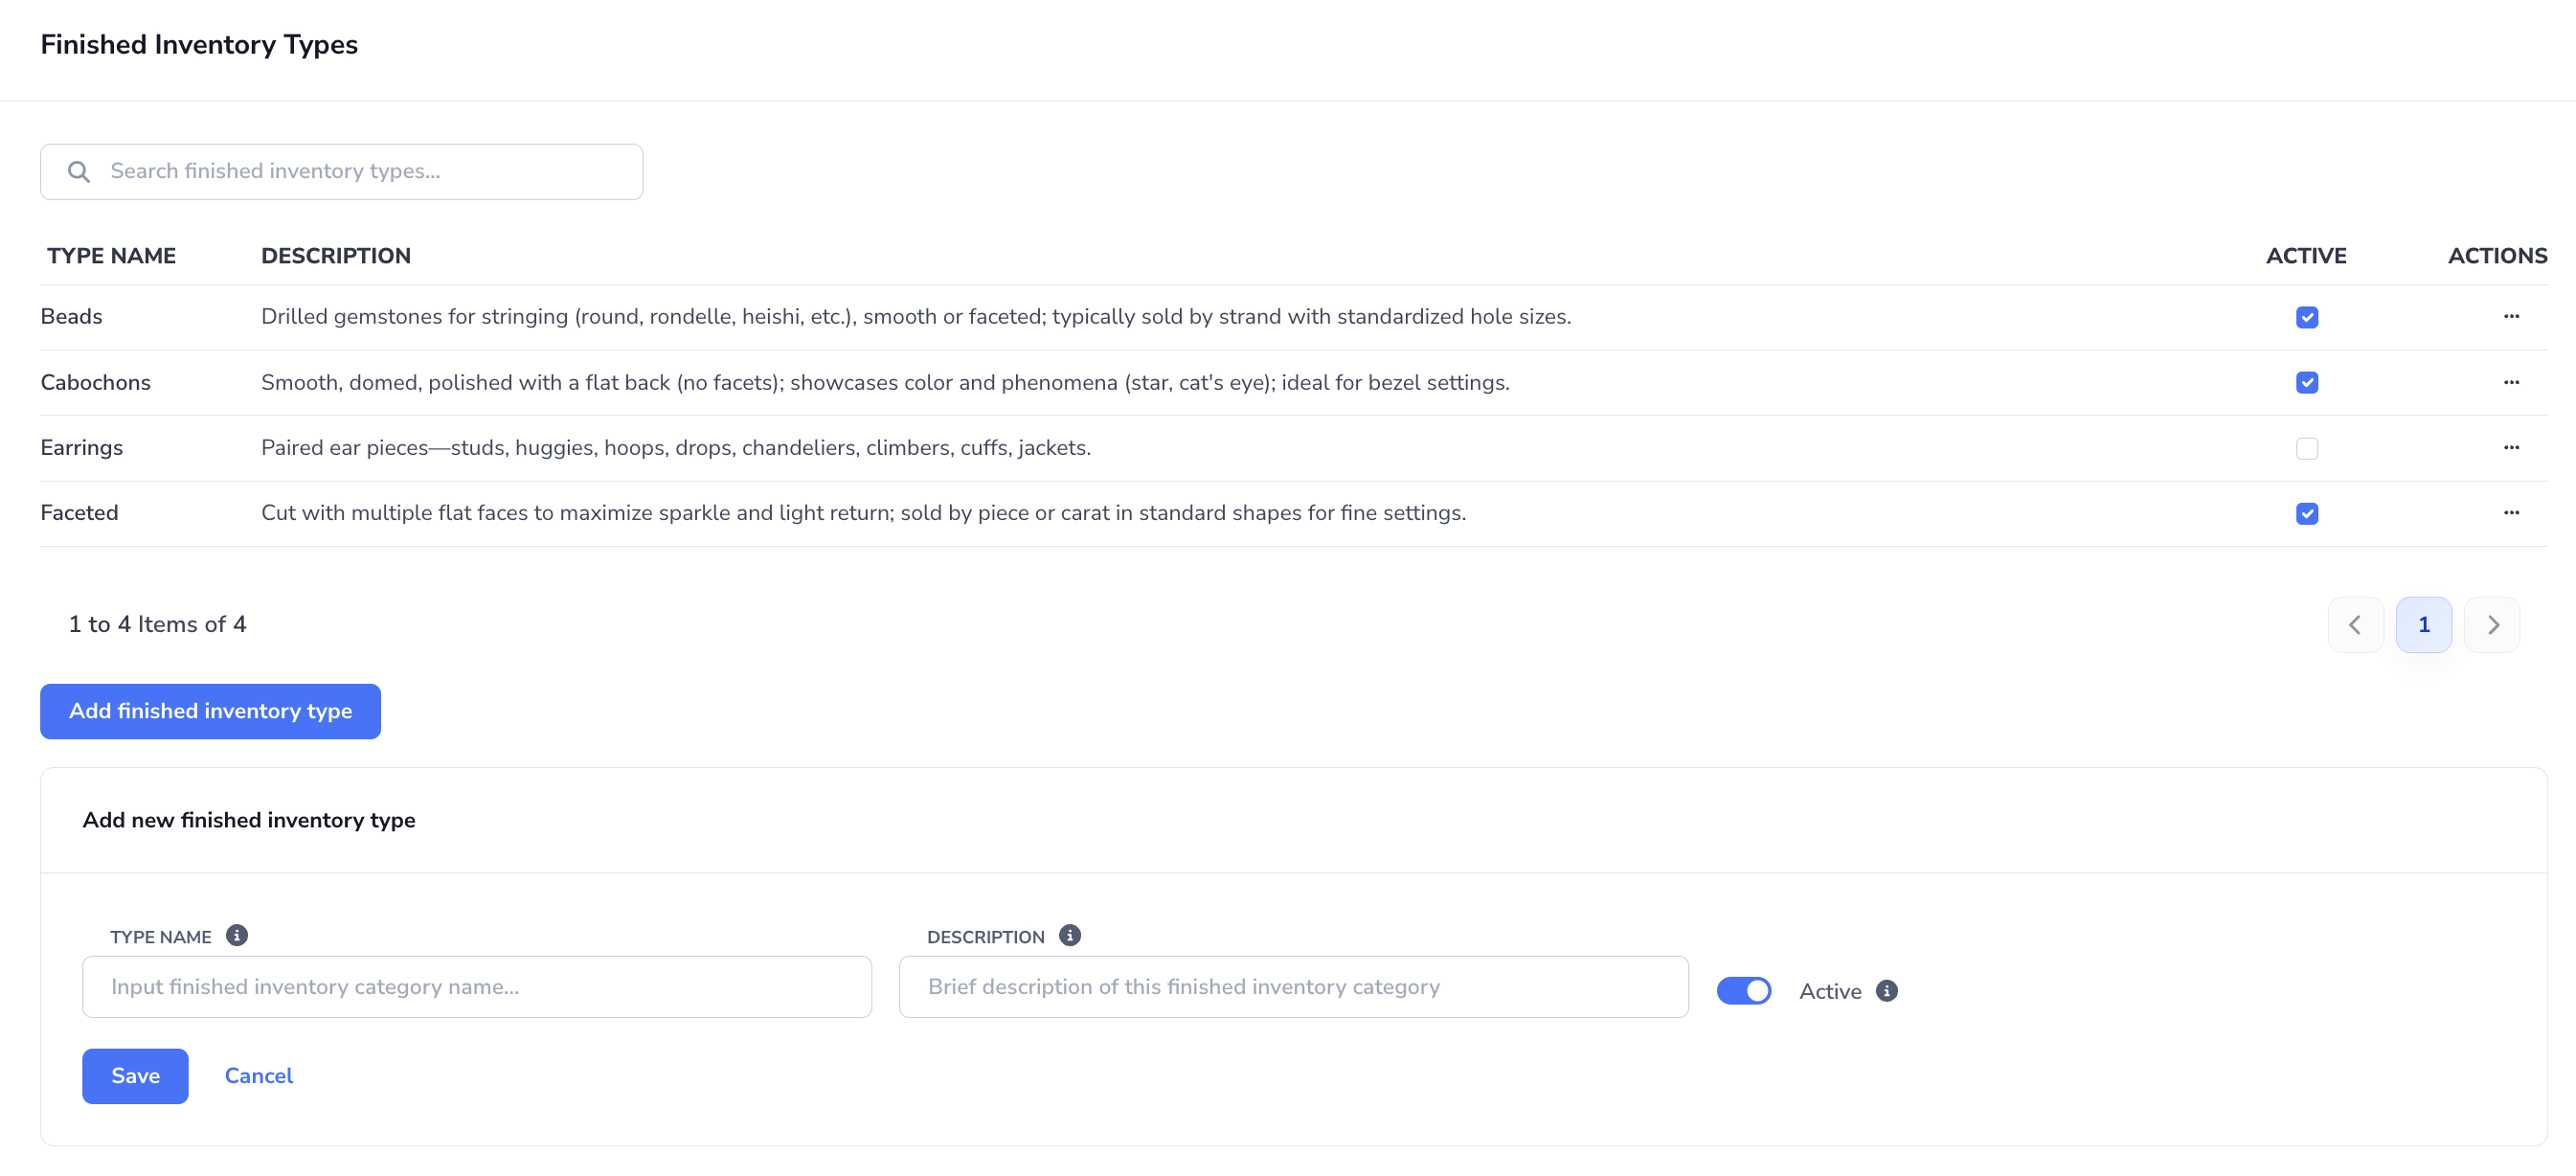
Shopify Category reference
The Shopify Category column shows each Finished Type's saved Shopify mapping. To set or change a mapping, add or edit the Finished Type, search for and select the appropriate Shopify category, then save.
A Products and stock push uses the lot's Finished Type mapping for the Shopify product's category. Shopify permits one category per product. Conflicting mappings leave the category unchanged, and blank mappings do not clear it. Pulls do not change saved mappings or the lot's Finished Type. See Shopify product categories for the checks to complete before pushing.
Add a Finished Inventory Type
- Go to Admin Settings > Inventory Settings.
- In Finished Inventory Types, click Add finished inventory type.
- Enter the Type name.
- Add a Description if helpful.
- Leave Active enabled if the type should be available right away.
- Click Save.
Edit, Activate, or Remove a Finished Inventory Type
- In the Finished Inventory Types list, find the type you want to update.
- Use the search bar if you need to narrow the list.
- Use the Active checkbox to enable or disable the type.
- Open the row's three-dot menu to choose Edit or Remove.
- If you edit the type, update the fields and click Save.
Managing Materials & Supplies Inventory Types
Use Materials & Supplies Inventory Types for raw materials, consumables, packaging, and other supply categories your team needs to track.
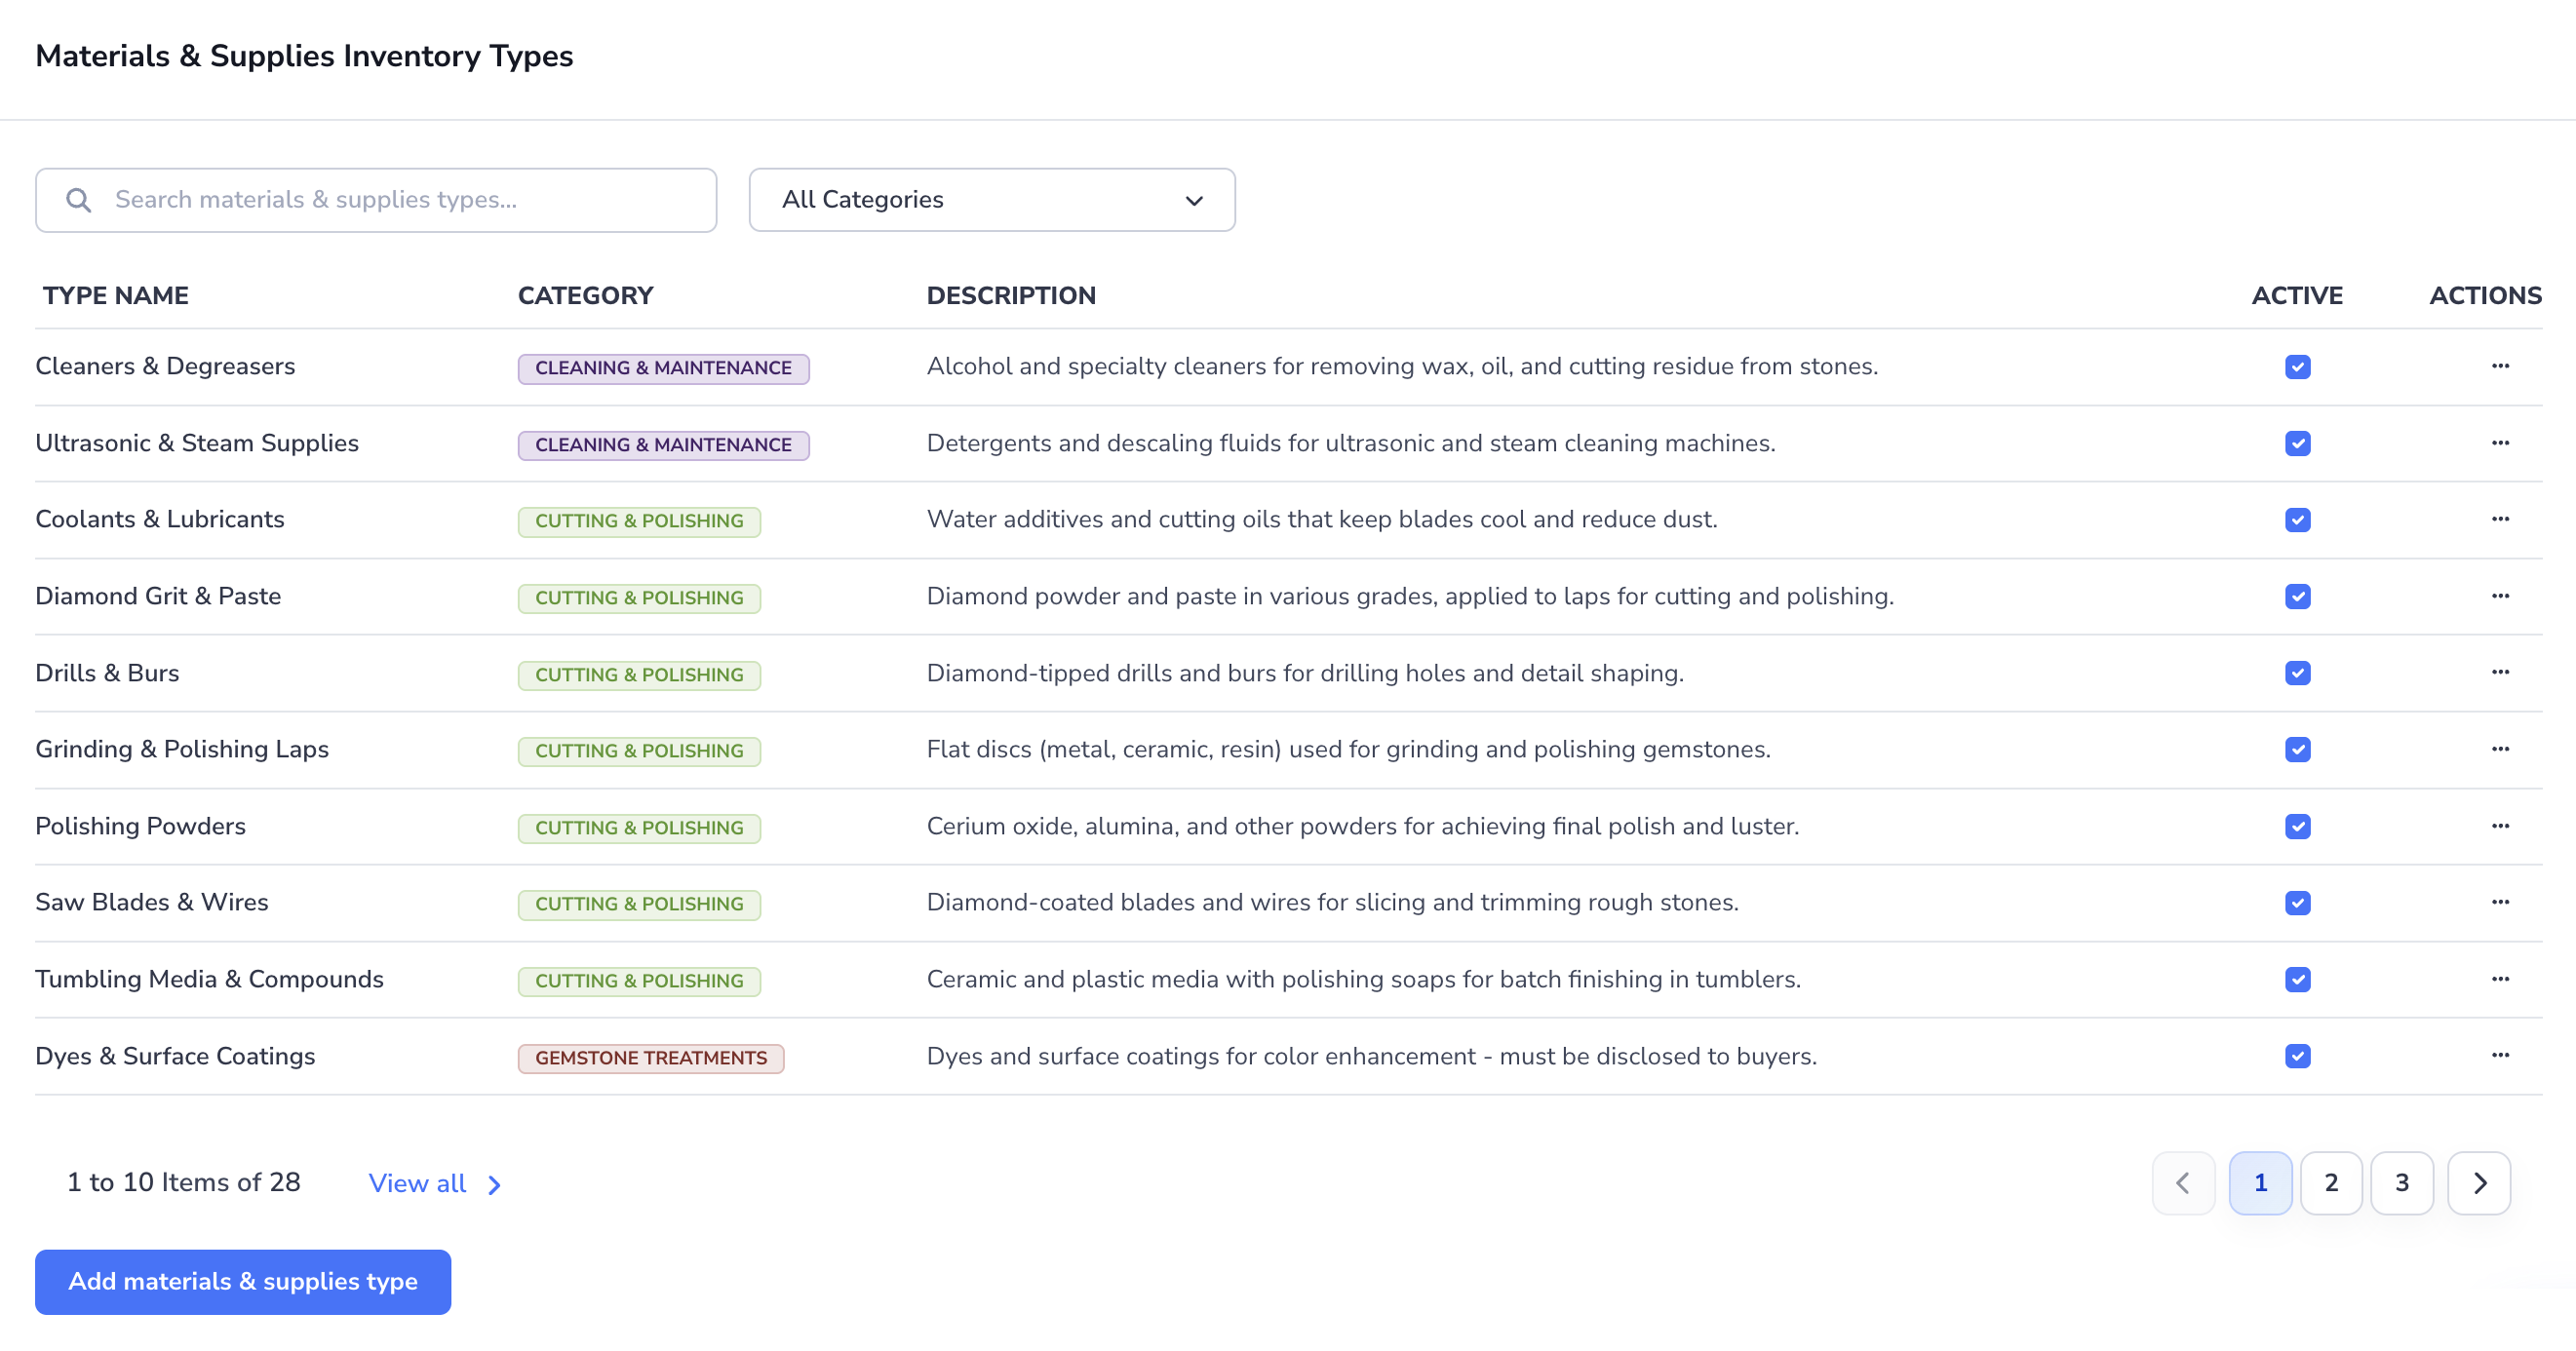
Add a Materials & Supplies Type
- Go to Admin Settings > Inventory Settings.
- In Materials & Supplies Inventory Types, click Add materials & supplies type.
- Enter the Type name.
- Enter a Category if you want to group similar types together.
- Add a Description if needed.
- Leave Active enabled if the type should be available right away.
- Click Save.
Edit, Activate, or Remove a Materials & Supplies Type
- In the Materials & Supplies Inventory Types list, find the type you want to update.
- Use the search bar if you need to narrow the list.
- Use the Category filter if you want to view one category at a time.
- Use the Active checkbox to enable or disable the type.
- Open the row's three-dot menu to choose Edit or Remove.
- If you edit the type, update the fields and click Save.
Categories are especially useful when your team manages a larger supply catalog across multiple purchasing or production areas.
Inventory Policies
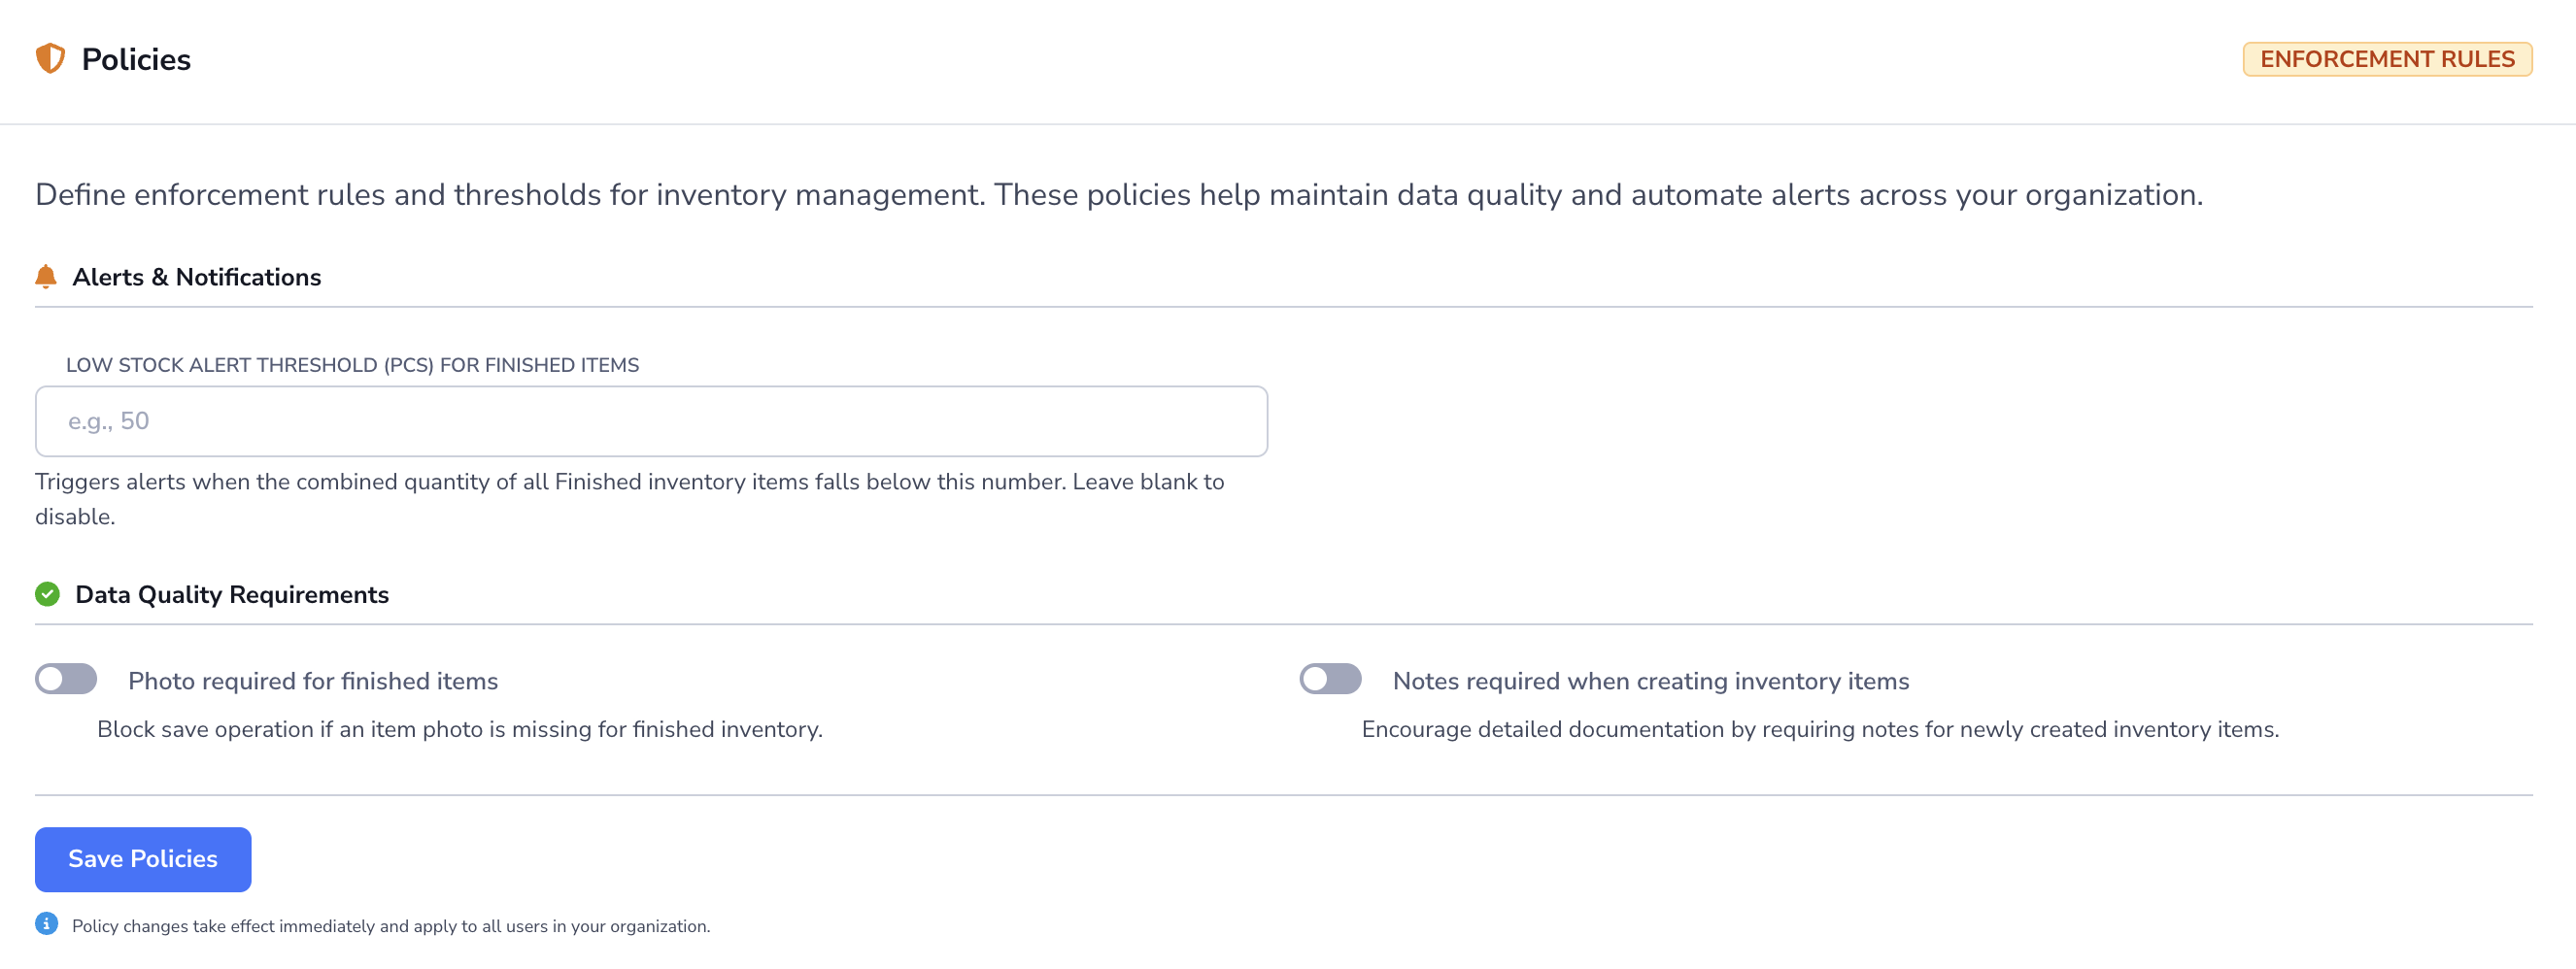
Use Policies to define alert thresholds and data quality rules for inventory records.
Set a Low Stock Threshold
- Go to Admin Settings > Inventory Settings.
- Scroll to Policies.
- In Alerts & Notifications, enter the Low stock alert threshold (pcs) for Finished items.
- Leave the field blank if you do not want to trigger low stock alerts.
- Click Save Policies.
This threshold is based on the combined quantity of finished inventory items.
Turn On Data Quality Requirements
- Go to Admin Settings > Inventory Settings.
- Scroll to Policies.
- Turn on Photo required for finished items if users must attach a photo before saving finished inventory.
- Turn on Notes required when creating inventory items if users must enter notes during record creation.
- Click Save Policies.
Policy changes take effect immediately for all users in the organization.
Resetting Inventory Types and Subtypes
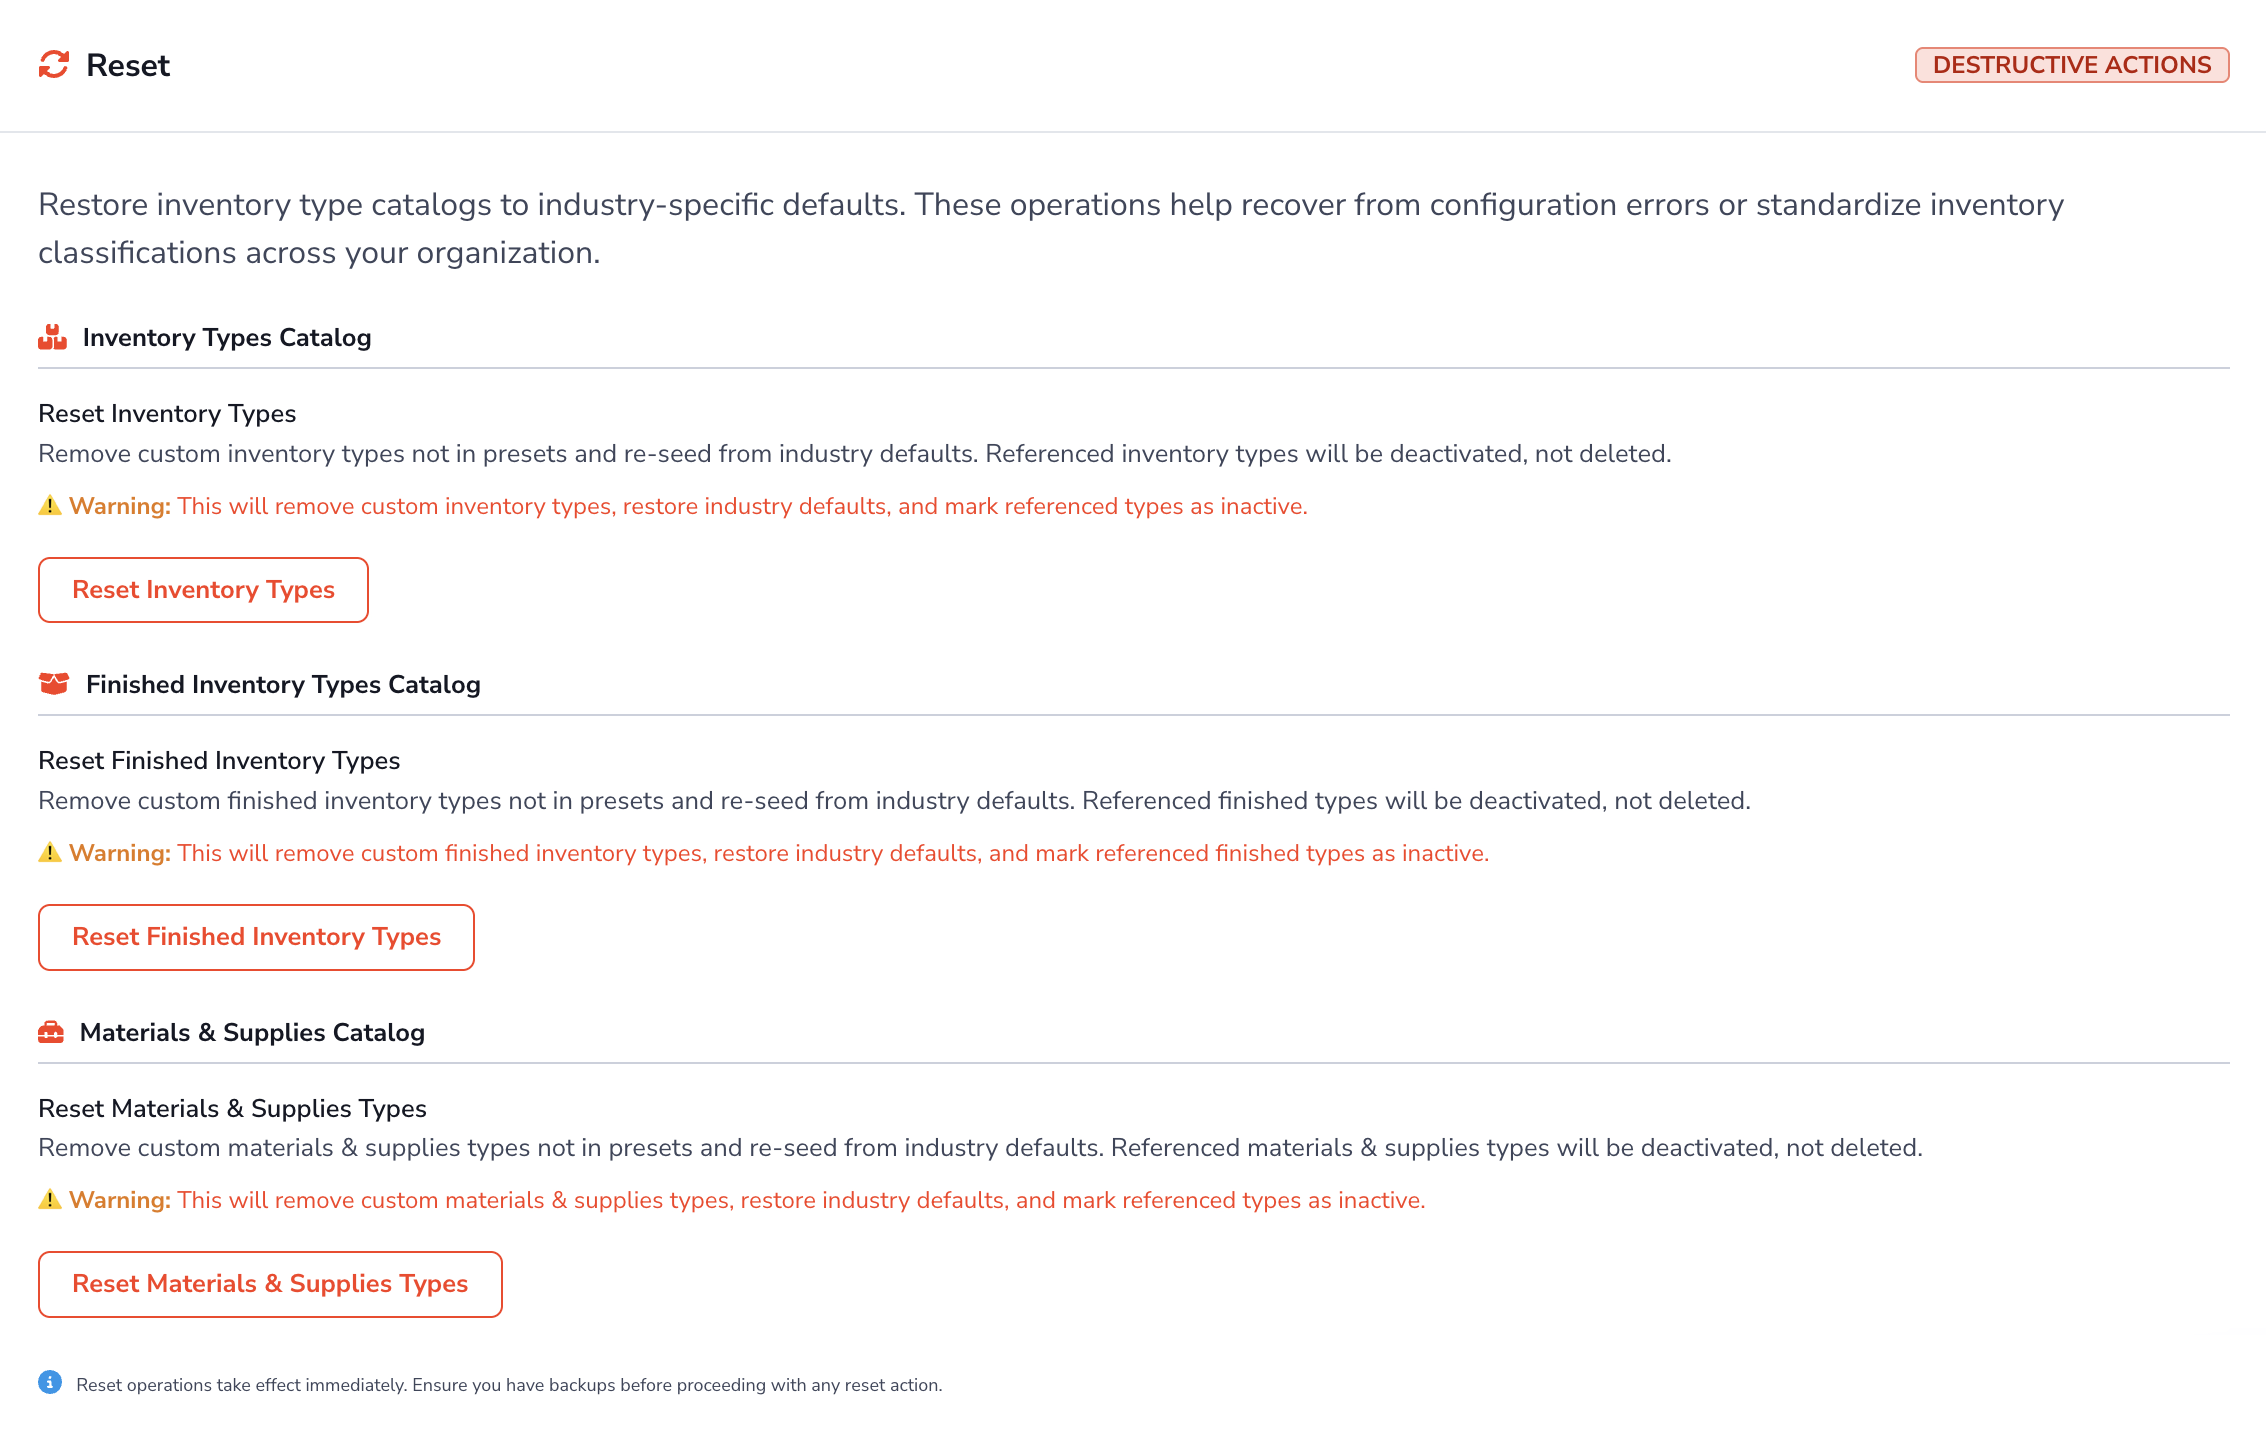
Use the Reset section when you want to restore one or more inventory catalogs to the default setup for your industry. Before resetting, open Industry Starting Points and select your industry to review the inventory labels that will be restored.
The last card in this section, Inventory Records, deletes inventory items rather than catalog entries. See Deleting All Inventory Items.
Warning
Reset actions take effect immediately. Review the warning text and make sure your team understands the impact before you continue.
Reset Inventory Types
- Go to Admin Settings > Inventory Settings.
- Scroll to Reset.
- In Inventory Types Catalog, click Reset Inventory Types.
- Confirm the action if prompted.
This reset removes custom inventory types that are not part of the preset catalog. Referenced types are marked inactive instead of being deleted.
Reset Finished Inventory Types
- Go to Admin Settings > Inventory Settings.
- Scroll to Reset.
- In Finished Inventory Types Catalog, click Reset Finished Inventory Types.
- Confirm the action if prompted.
This reset removes custom finished inventory types that are not part of the preset catalog. Referenced types are marked inactive instead of being deleted.
Reset Materials & Supplies Types
- Go to Admin Settings > Inventory Settings.
- Scroll to Reset.
- In Materials & Supplies Catalog, click Reset Materials & Supplies Types.
- Confirm the action if prompted.
This reset removes custom materials and supplies types that are not part of the preset catalog. Referenced types are marked inactive instead of being deleted.
Deleting All Inventory Items
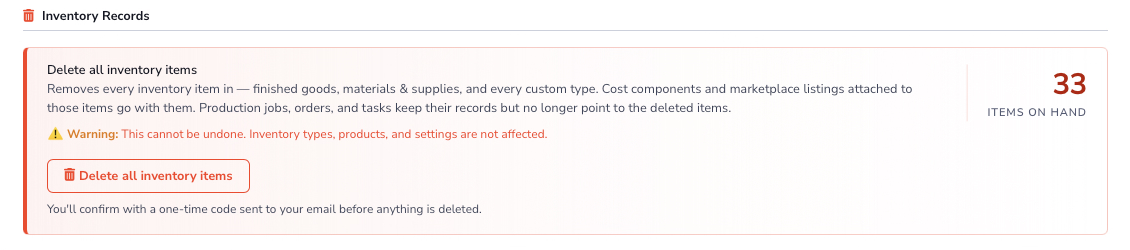
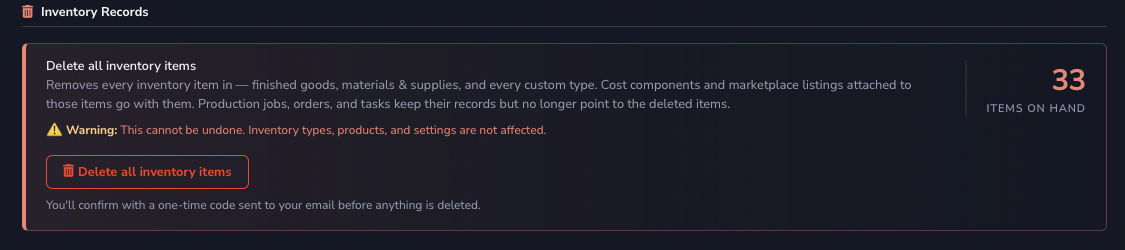
Delete all inventory items clears every inventory item from your workspace in one step. Use it to start over after a test import or a bad spreadsheet load, when fixing rows one at a time would take longer than importing them again. The control sits at the end of the Reset section, under Inventory Records, and only admins can use it.
The card shows how many items you have on hand, so check that number before you click. When your inventory is already empty, the button is disabled and the card says so.
What Is Deleted and What Is Kept
The deletion removes:
- every inventory item, across all inventory types: finished goods, materials & supplies, and any custom types
- the cost components and marketplace listings attached to those items
It keeps:
- inventory types, products, and your settings
- production jobs, orders, and tasks, which keep their records but no longer point to the deleted items
Export before you delete
This cannot be undone. If you might need the records later, download them first with Export All CSV in the All Inventory page header. See Exporting Inventory to CSV.
Delete All Inventory Items
- Go to Admin Settings > Inventory Settings.
- Scroll to Reset, then to Inventory Records.
- Click Delete all inventory items.
- In the Verify this deletion dialog, click Send verification code. Loupe Factory emails a six-digit code to your address. You stay signed in, the code applies only to this deletion, and it expires in ten minutes.
- Enter the code and click Verify and delete. If the email has not arrived, click Resend code.
- Read the confirmation. The dialog and your notification bell report how many items were deleted and what was removed with them, for example "Deleted 33 inventory items. Also removed 2 cost components."
Security Receipt After a Deletion
Loupe Factory emails a security receipt to you and to your workspace's billing contact. It records how many items were deleted, what was removed with them, who did it, and when. If you did not authorize a deletion, contact your workspace administrator right away or reply to that email.
Next Steps
- Product Settings: Keep product and inventory naming in sync
- Production Settings: Review how inventory mappings affect production stages
- Inventory Management: Learn the daily workflows that use these settings